Author: Job van Dieten
Maintainer: Jordi Pages < jordi.pages@pal-robotics.com >, Thomas Peyrucain < thomas.peyrucain@pal-robotics.com >
Source: https://github.com/pal-robotics/tiago_tutorials.git
| |
Matching (C++/Python)
Description: Using feature detection in two images, this class will attempt to find matches between the keypoints detected and thereby see if the image contains a certain object.Keywords: OpenCV
Tutorial Level: BEGINNER
Next Tutorial: ArUcO marker detection

Contents
Show EOL distros:
This tutorial requires the opencv_xfeatures2d package to be compiled
Purpose
The purpose of this demo is to show the capabilities of different detectors with different matchers.
Pre-Requisites
First, make sure that the tutorials are properly installed along with the TIAGo simulation, as shown in the Tutorials Installation Section.
Execution
Open a couple of consoles and source the catking workspace as follows in each one:
cd ~/tiago_public_ws
source ./devel/setup.bash
Now run the simulation in the first console as follows
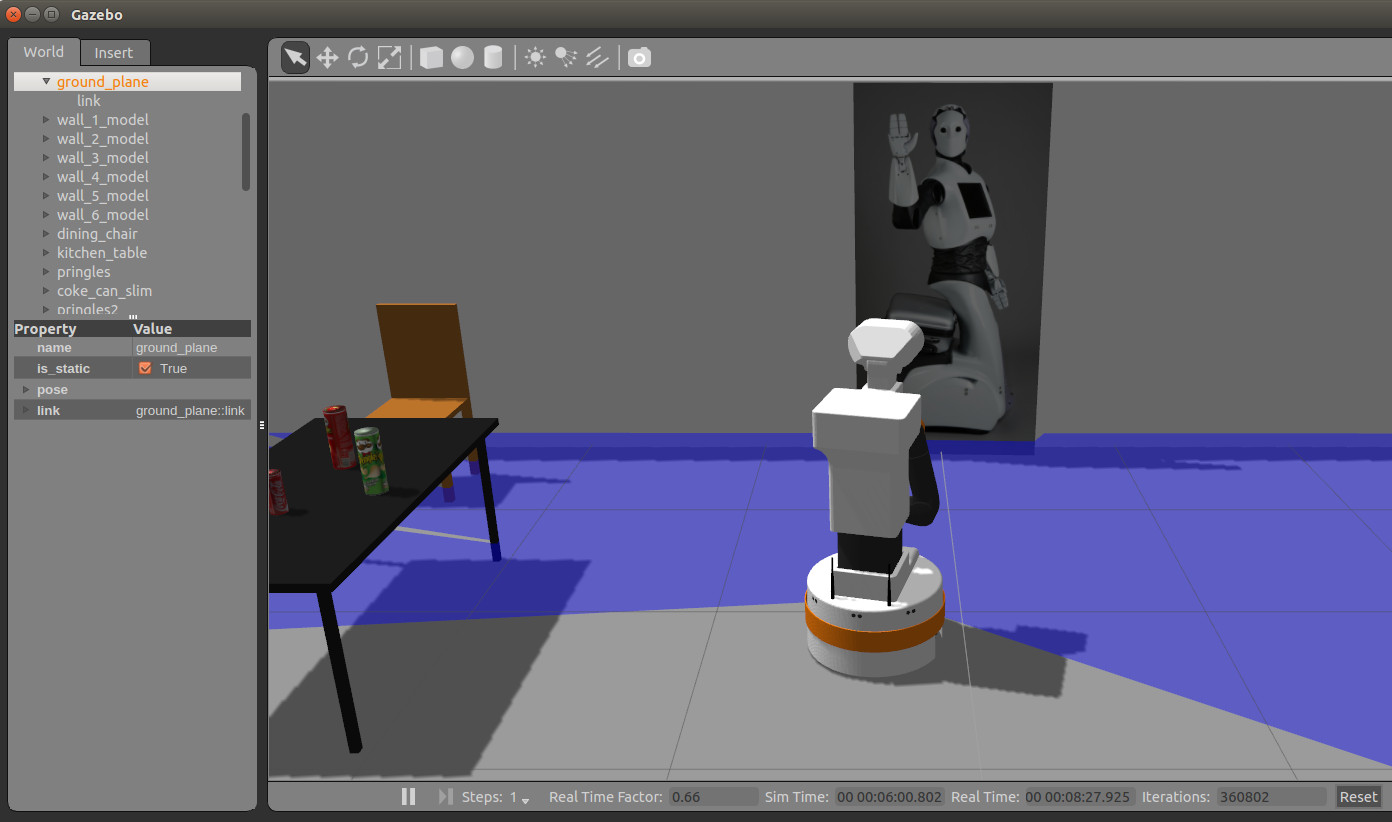
roslaunch tiago_gazebo tiago_gazebo.launch public_sim:=true end_effector:=pal-gripper world:=tutorial_office gzpose:="-x 0.35 -y -2.78 -z 0.005 -R 0 -P 0 -Y -1.81"
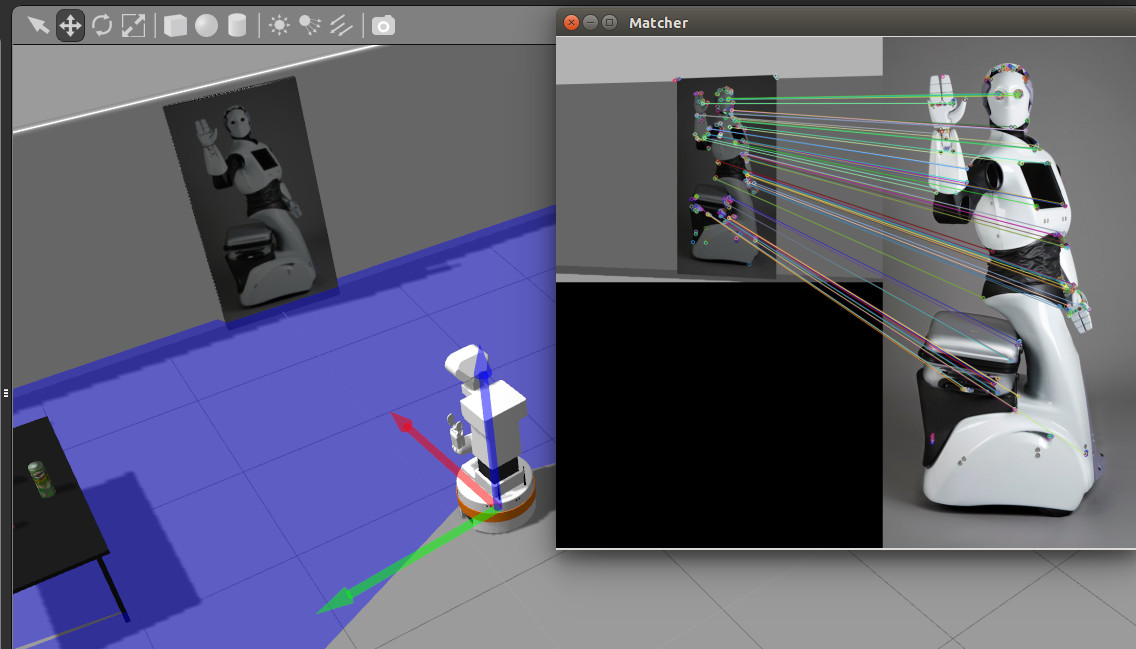
This will spawn TIAGo in front of a picture of REEM.

In the second console run the following instruction
roslaunch tiago_opencv_tutorial matching_tutorial.launch
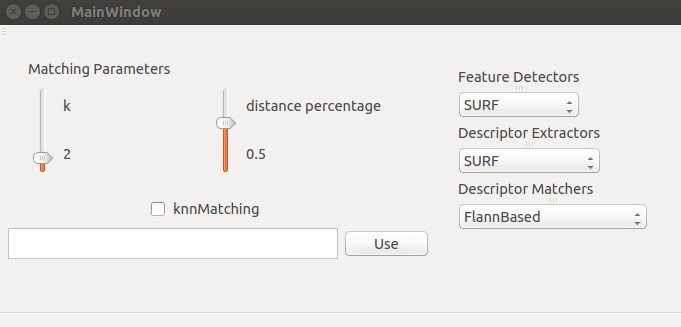
A GUI will be launched from which to select feature detectors, descriptor extractors and descriptor matchers. It also allows the user to set the 'k' and 'distance percentage' variables, which are used in the matcher part of the processes.

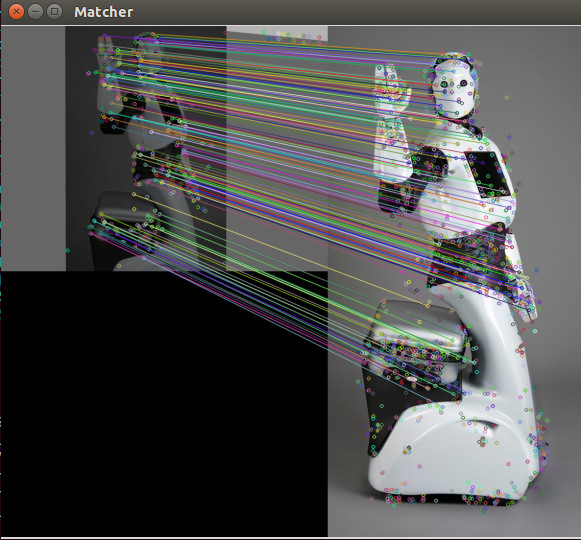
Another window will show up where the matched keypoints between the reference image and the video live feed are presented.

The reference image is set by default to
`rospack find tiago_opencv_tutorial`/resources/REEM.png
But it can be set to any image by using the text box on the bottom part of the GUI. The filename of the new image with its absolute path needs to be typed.
It is interesting to move the robot around the world and see how robust are the different feature and descriptor extractor algorithms.
Concepts & Code
The image processing is divided into three parts. The first was handled in the previous tutorial, namely feature extraction. The next is descriptor extraction, which extracts the vectors describing the images interesting features. The last is the use of knnMatching for detecting possible matching features.


