| |
Adding a Kinect to an iRobot Create/Roomba
Description: This tutorial has step by step instructions for modifying the iRobot Create/Roomba to power a Kinect.Keywords: iRobot Create, Kinect, Roomba
Tutorial Level: BEGINNER
Contents
Overview
The iRobot Create/Roomba has an Roomba Open Interface (ROI) Connector which supplies unregulated power from the Create/Roomba battery. The Kinect however requires a regulate 12V to power the sensors and camera. This tutorial will show you how to add a 12V regulator to the Create/Roomba for the Kinect.
Parts List
Required:
Kinect with power supply splitter (Warning: You will need to permanently modify/damage the splitter).
Voltage regulator 12V 1A (e.g. NTE966).
- 0.33μF and 0.1μF capacitors.
A small prototyping board (e.g. schmartboard 201-0001-01).
The schmartboard 201-0001-01 is a good selection because it has connected through holes perfect for this project.
- A DB25 connector.
Heat shrink tubing for covering up solder joints
Optional:
Connectors for disconnecting and reconnecting the components (i.e. Anderson Powerpoles)
Building the 12V Regulator
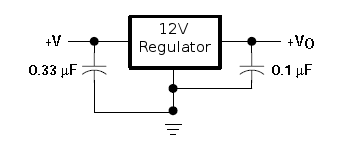
We are going to build the following circuit:
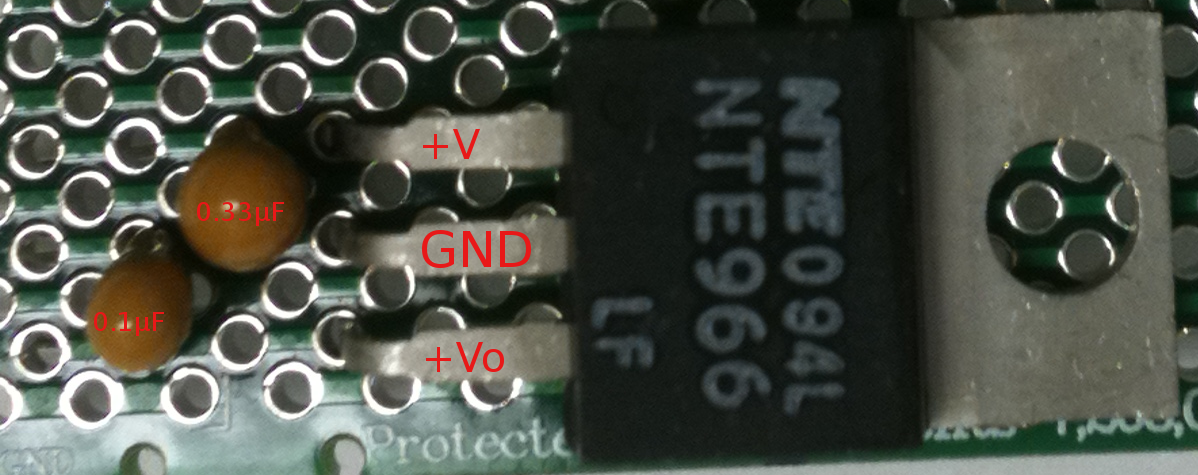
Solder the components onto the prototype board as shown below:
Note: Make sure that the capacitor polarity is correct with negative towards ground.
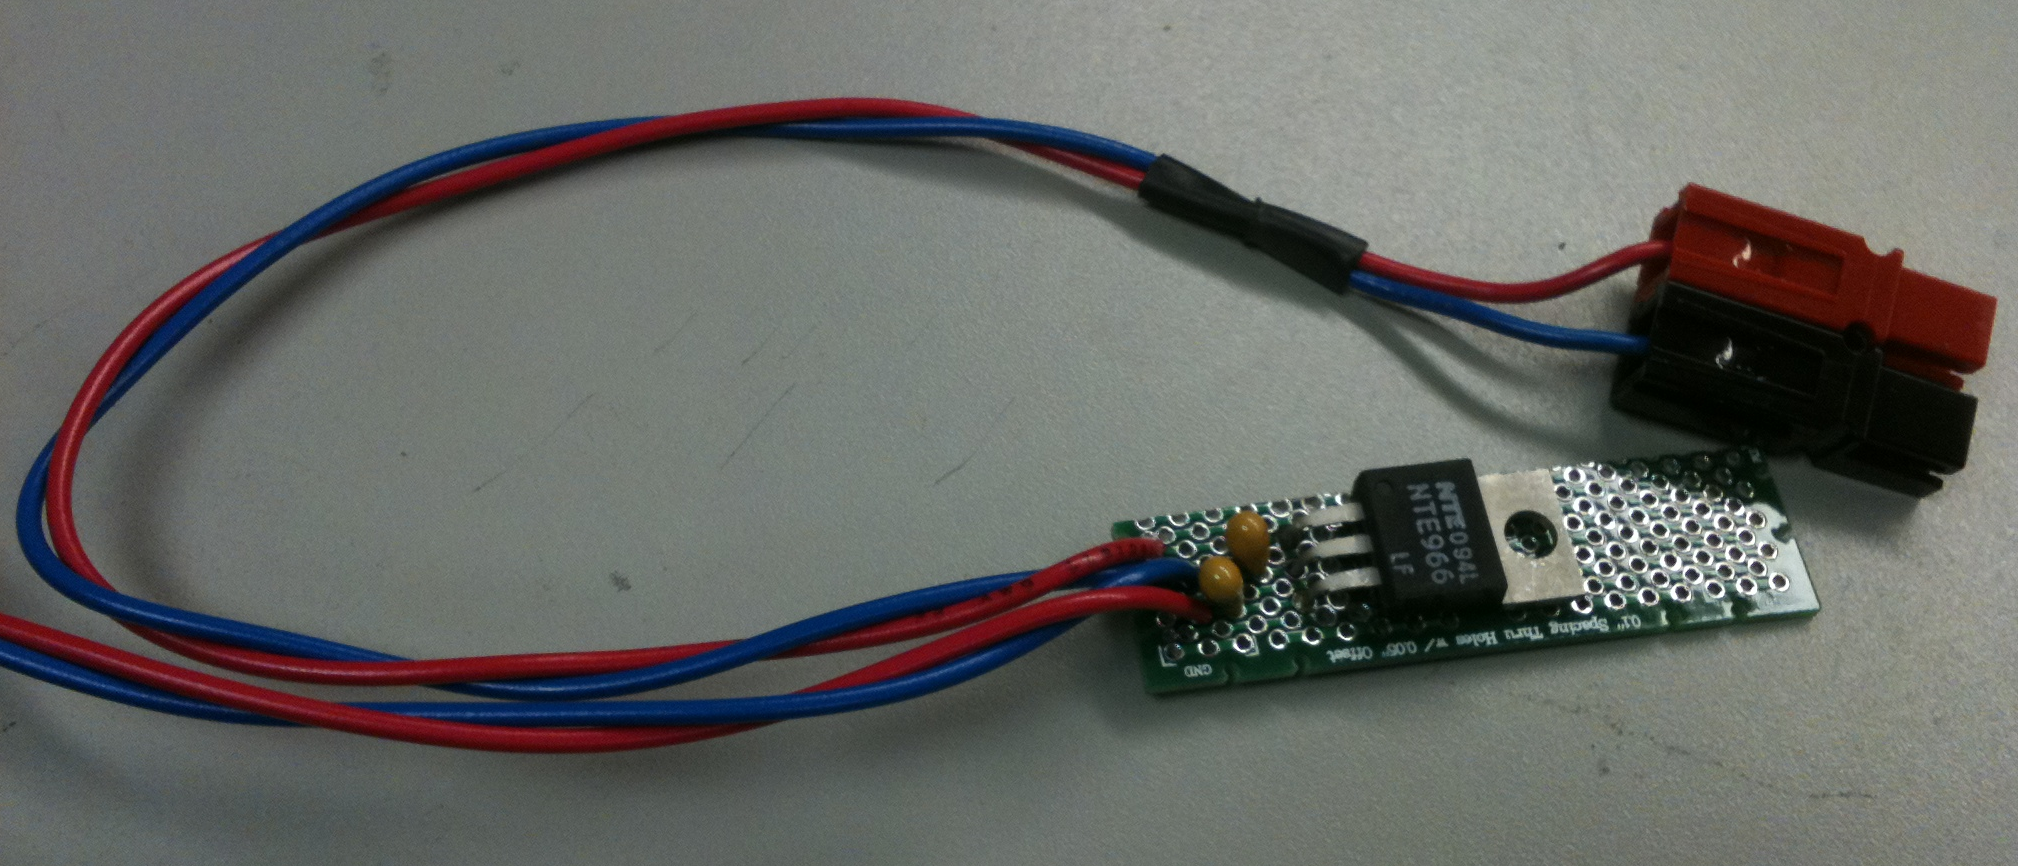
Using 22 AWG wire or greater (i.e. 20, 18, etc.), solder on the wires that will connect to the unregulated voltage and the Kinect. Below shows the wires soldered to the board with a Powerpole connector on the unregulated Voltage side, this can come in handy later if you want to disconnect the regulator from the RooStick or Create serial cable.
Finally use heat shrink to cover the regulator to prevent accidental shorting.
Connecting to the Kinect
Take the Kinect USB and power splitter cable and cut the cable connected to the power adapter about 10 inches from the splitter. Inside the cable there is a brown and white wire, the brown is +12V and the white GND. Confirm Voltages by plugging the wall adapter into a wall and using a digital multimeter.
Now solder the wires to the regulated voltage (+12V to +Vo and GND to GND) from the regulator as shown below. Make sure to cover the solder joints with heat shrink to prevent shorting.
Now the regulator and the Kinect splitter should look like below.
Connecting to Unregulated Voltage
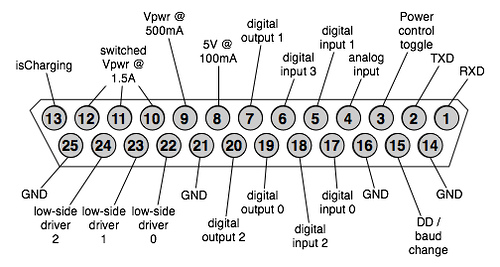
DB25 Connector on the Create
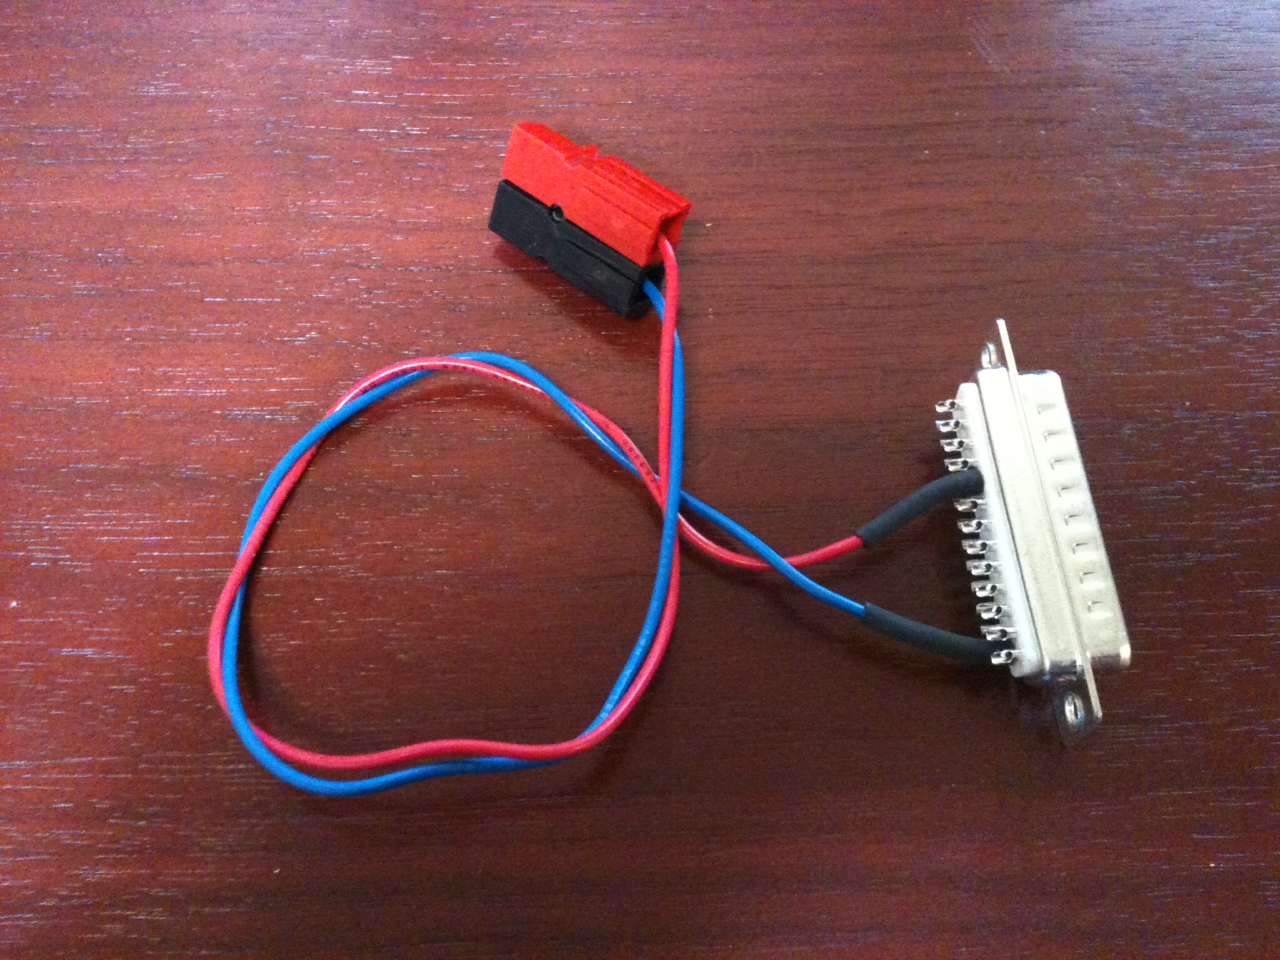
Buy a male DB25 connector from your local electronics store. Then connect a pigtail to the connector with +12V to pin 10 and GND to pin 14.
Plugging It In
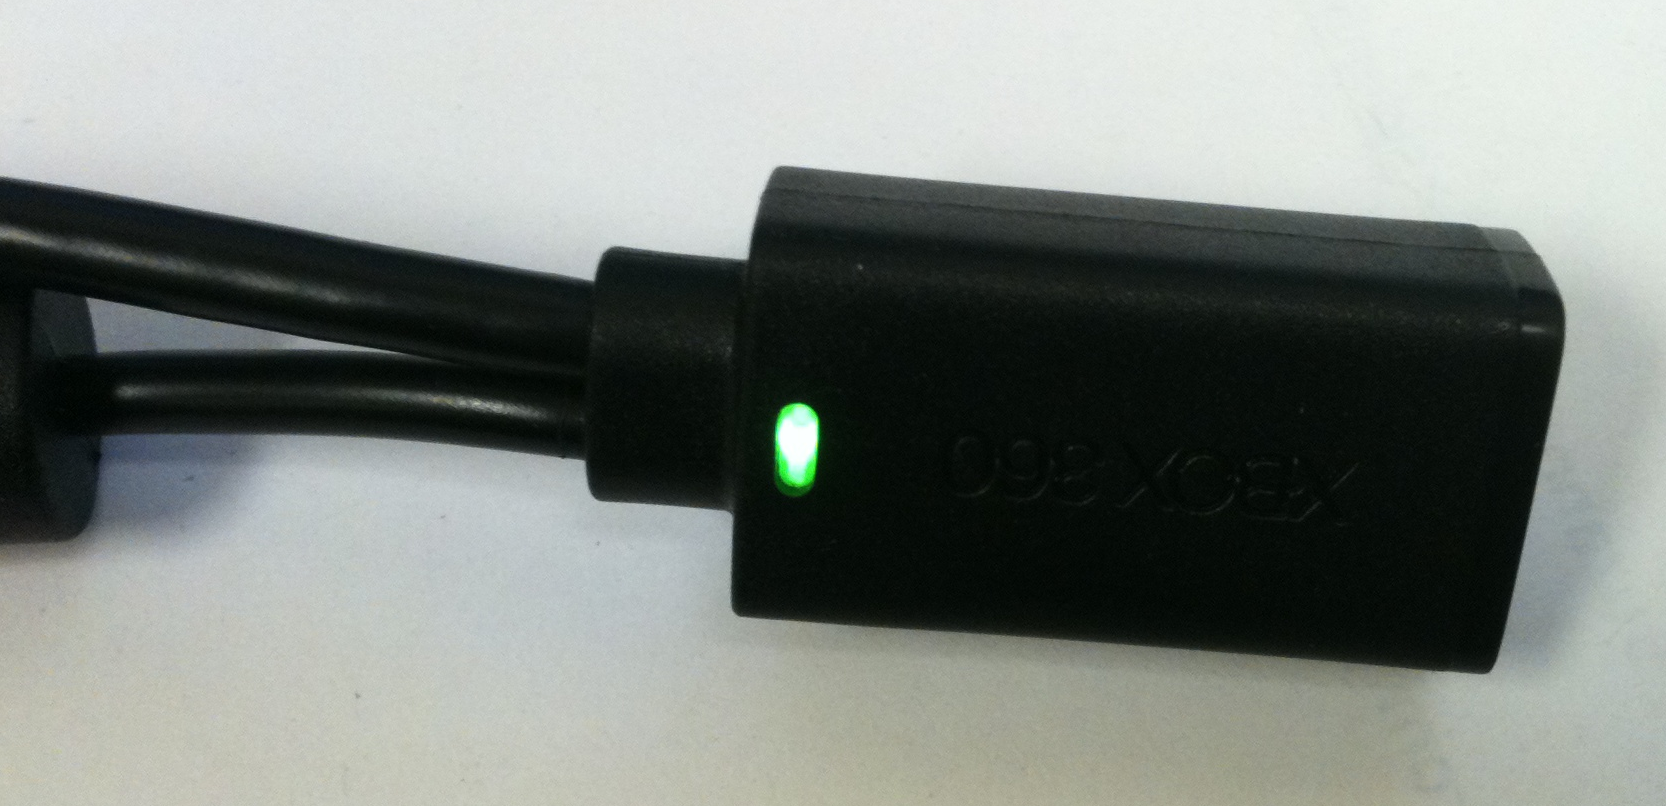
Connect the DB25 connector pigtail to the Voltage regulator assembly using the Powerpole connectors. Now plug the DB25 connector into your Create/Roomba and press the power button on the robot. You will see the green light on the Kinect power splitter light up, letting you know everything is working.


