|
Size: 4157
Comment:
|
Size: 4451
Comment:
|
| Deletions are marked like this. | Additions are marked like this. |
| Line 85: | Line 85: |
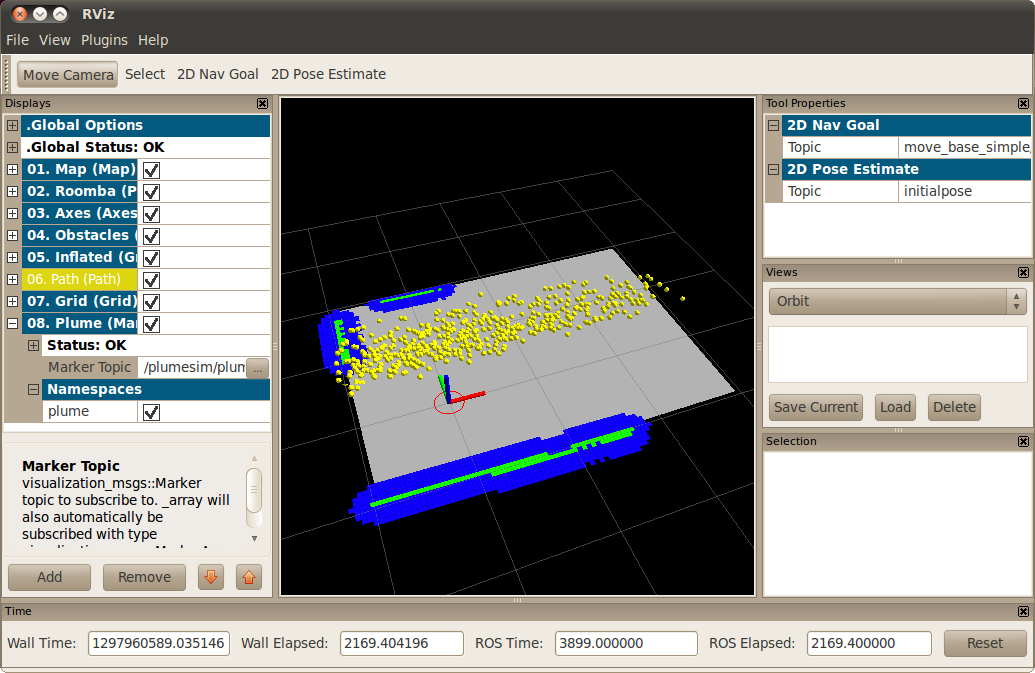
| All the navigation related elements are already present. However you need to add the plume. Press the Add button and select Markers. On the marker topic select plumesim -> plumesim_markers. You should now see something similar to the picture below. {{attachment:plume_rviz.png||width=90%}} |
| Note: This tutorial assumes that you have completed the previous tutorials: Download and install VirtualPlume. |
| |
Using VirtualPlume with virtual_nose
Description: This tutorial teaches how to use virtual_nose with VirtualPlume to simulate a virtual nose.Keywords: VirtualPlume, Nose
Tutorial Level: BEGINNER
Download virtual_nose
1. Open a terminal window and cd into a directory that is on your ROS_PACKAGE_PATH. Checkout virtual_nose using svn:
svn co http://isr-uc-ros-pkg.googlecode.com/svn/trunk/unstable/odor_tools
3. Now rosmake the virtual_nose package. It's assumed that you did the previous tutorial, so you have plumesim and lse_messages installed.
rosmake virtual_nose
Running PlumeSim and virtual_nose
Let's start by changing directory into the virtual_nose package and then into the example directory.
roscd virtual_nose
cd example
Before you can run plumesim or virtual_nose you need to have a robot. In this tutorial you will use a simulated robot on stage, however you can also run a simulated plume on a real robot, avoiding the hassle of releasing chemicals all over your lab when experimenting with odor related algorithms!
Start a roscore and open a new terminal window to run stage. Running stage and the navigation stack is out of the scope of this tutorial. For more information on that please refer to the stage and navigation tutorials.
rosrun stage stageros roomba.world
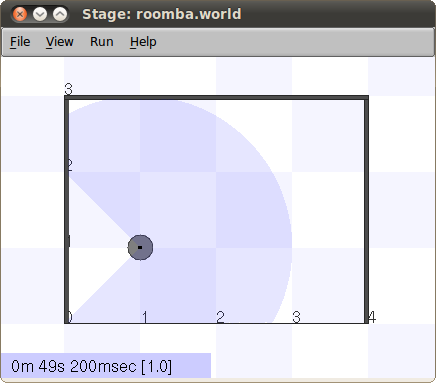
You should now see a small arena with a Roomba robot on stage. 
Now that you have a robot you should run the navigation stack to allow the robot to move autonomously. Furthermore PlumeSim requires a global frame_id on which to publish the plume, since the default frame is /map we'll be using map_server to give us a map. While we're at it we will use move_base for navigation and amcl for localization. Open a new terminal window and run the following command:
roslaunch move_base.launch
PlumeSim and virtual_nose are all that is missing. PlumeSim will provide you with a simulated chemical plume while virtual_nose will mimic a chemical sensor. Let's take a look at the plumesim.launch file:
<launch>
        <rosparam file="$(find plumesim)/settings/gaussian_settings.yaml" command="load" />
                <node pkg="plumesim" type="plumesim" name="plumesim" />

                <node pkg="virtual_nose" type="virtual_nose_node" name="virtual_nose_node" />
</launch>
Notice that before plumesim is started a yaml file is loaded into the parameter server, containing the necessary parameters to generate a gaussian plume. If no plume type is defined plumesim will give a fatal error upon startup.
After loading the gaussian parameters plumesim is started followed by virtual_nose.
All you need now is rviz to see the plume! Open another terminal window and run rviz:
rosrun rviz rviz
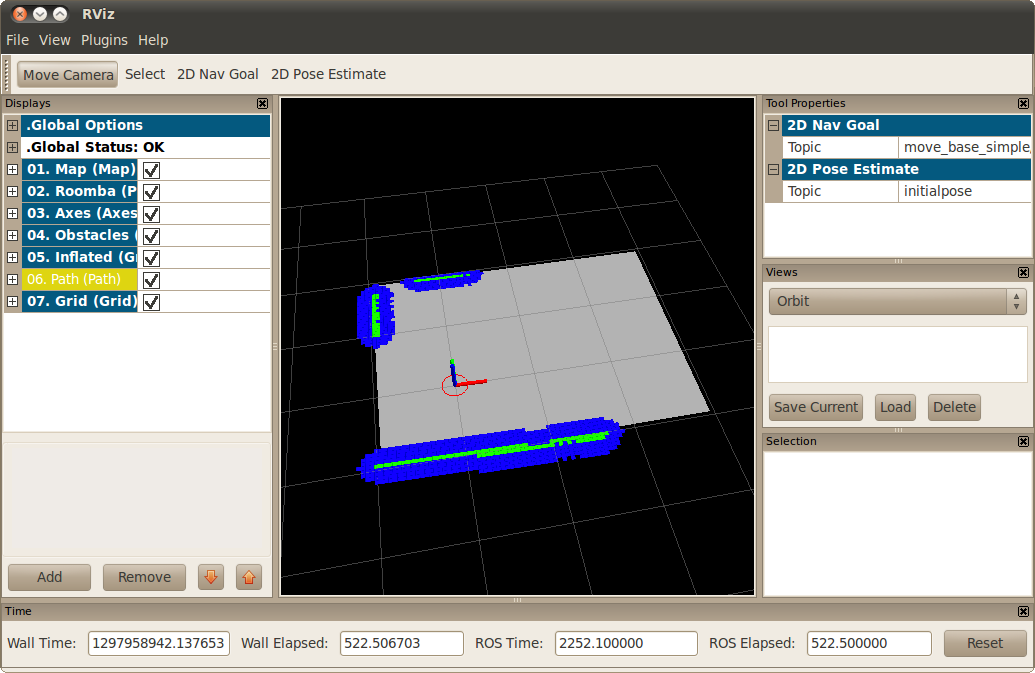
From the menu select File -> Open Config, or press Ctrl+O. Find your way into virtual_nose/example and chose the example.vcg file. You should now be able to see something similar to the picture below. 
All the navigation related elements are already present. However you need to add the plume. Press the Add button and select Markers. On the marker topic select plumesim -> plumesim_markers. You should now see something similar to the picture below. 


