!
| Note: This tutorial assumes that you have completed the previous tutorials: Install a new robot, Robot safety, How ROS work. |
| |
Robot common usage
Description: This tutorial will explain how to work with our robots, note that this tutorial will not explain the complex operation of the robot such as moveIt or ROS navigation, but after this tutorial you will know how to operate the robot in a common terms.Keywords: robotican, robotican robot, robotican operate, robotican common
Tutorial Level: BEGINNER
Start the robot
Before all the operation below we need to start the robot itself, this operation is done by a simple command. Please open a new terminal, and follow the instruction
$ run_<Robot name>
OR:
$ roslaunch robotican_robots <Robot name>.launch
<robot_name>: This parameter is associated with the name that the robot operator type in the new robot installtion section.
This command tell the robot to load all the necessary components of it to work, components like load the front camera, or load the differential driver for the wheels, and much more. This command is the first thing the robot operator need the run for the robot to work.
For the examples below we need to create a package that contain our source code. Please use this tutorial, to learn how to work with ROS package, also usethis code reference to learn how to execute a code with in the package
Common usage
NOTE: Not all of our robots have the same components, but the access method from components of our robots are the same.
Driving and Odometry
Driving
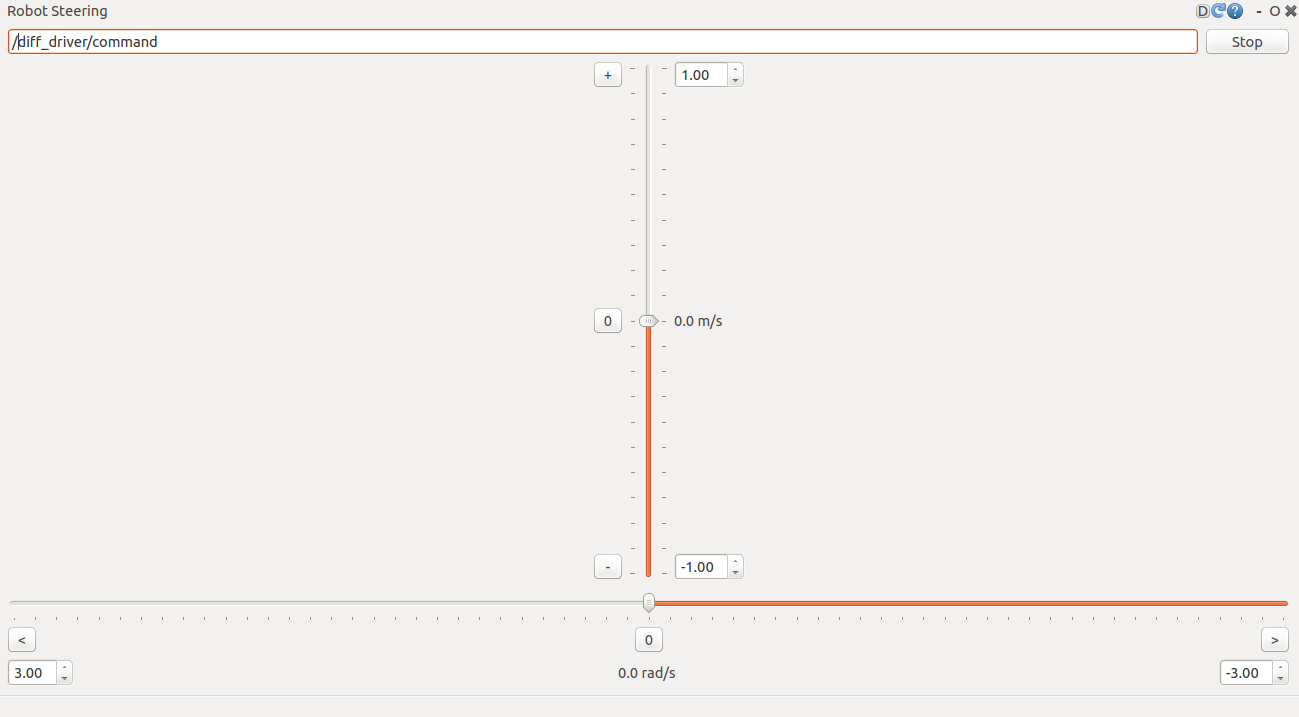
For the robot to start moving, the robot operator need to send geometry_msgs/Twist message to the topic diff_driver/command.One simple way to use this is by rqt robot streeing plugin. To access the robot streeing plugin, all the robot operator need to do is launch the rqt and click on Pulgins navigate to Robot tools and than Robot Streeing.

Now lets see how to drive the robot from the code. Please open your favorite IDE and write the code below.
WARNING: When running the code on the robot, the robot operator need to put the robot on a jack.
NOTE: To exit the code press CTRL + c
   1 #include <ros/ros.h>
   2 #include <geometry_msgs/Twist.h>
   3
   4 int main(int argc, char **argv) {
   5   ros::init(argc,argv, "test_driver");
   6   ros::NodeHandle nh;
   7   ros::Publisher driverPub = nh.advertise<geometry_msgs::Twist>("diff_driver/command",10);
   8   ros::Rate pubRate(50);
   9
  10   while(ros::ok()){
  11     geometry_msgs::Twist twist;
  12     twist.linear.x = 0.2;
  13
  14     drivePub.publish(twist);
  15
  16     ros::spinOnce();
  17     pubRate.sleep();
  18   }
  19
  20   return 0;
  21 }
Odometry
To get the robot estimated position, the robot operator need to subscribe to diff_driver/odometry the message type is nav_msgs/Odometry.
Now we will continue the last code we wrote, and make it read the position of the robot, and determent if the robot should drive forward or backward.
Please open your favorite IDE, and write the code below.
   1 #include <ros/ros.h>
   2 #include <geometry_msgs/Twist.h>
   3 #include <nav_msgs/Odometry.h>
   4
   5 const float LINEAR_LIMIT = 1.0;
   6 float currentLinearPosition = 0.0;
   7
   8 void odomCallback(nav_msgs::Odometry::constPtr &msg) {
   9    currentLinearPosition = msg->pose.pose.position.x;
  10 }
  11
  12 int main(int argc, char **argv) {
  13   ros::init(argc,argv, "test_driver");
  14   ros::NodeHandle nh;
  15   ros::Publisher driverPub = nh.advertise<geometry_msgs::Twist>("diff_driver/command",10);
  16   ros::Subscriber odomSub = nh.subscribe("diff_driver/odometry", 10 ,&odomCallback);
  17   ros::Rate pubRate(50);
  18   float linearVel = 0.2;
  19
  20   while(ros::ok()){
  21     geometry_msgs::Twist twist;
  22
  23     if (currentLinearPosition > LINEAR_LIMIT && linearVel > 0 ||
  24         currentLinearPosition < -LINEAR_LIMIT && linearVel < 0)
  25         linearVel = -linearVel;
  26
  27     twist.linear.x = linearVel;
  28     drivePub.publish(twist);
  29
  30     ros::spinOnce();
  31     pubRate.sleep();
  32   }
  33
  34   return 0;
  35 }
Battery
To check the battery of the robot, the robot operator need to subscribe to the topic battery_monitor this topic publish std_msgs/Float32. One easy way to display the battery status is by accessing the rqt topic monitor.
GPS
To check the reading from the GPS unit, the robot operator need to subscribe to the topic gps, the message type is sensor_msgs/NavSatFix. One easy way to display this topic is by accessing the topic monitor, and checking the gps topic.
Ultrasonic
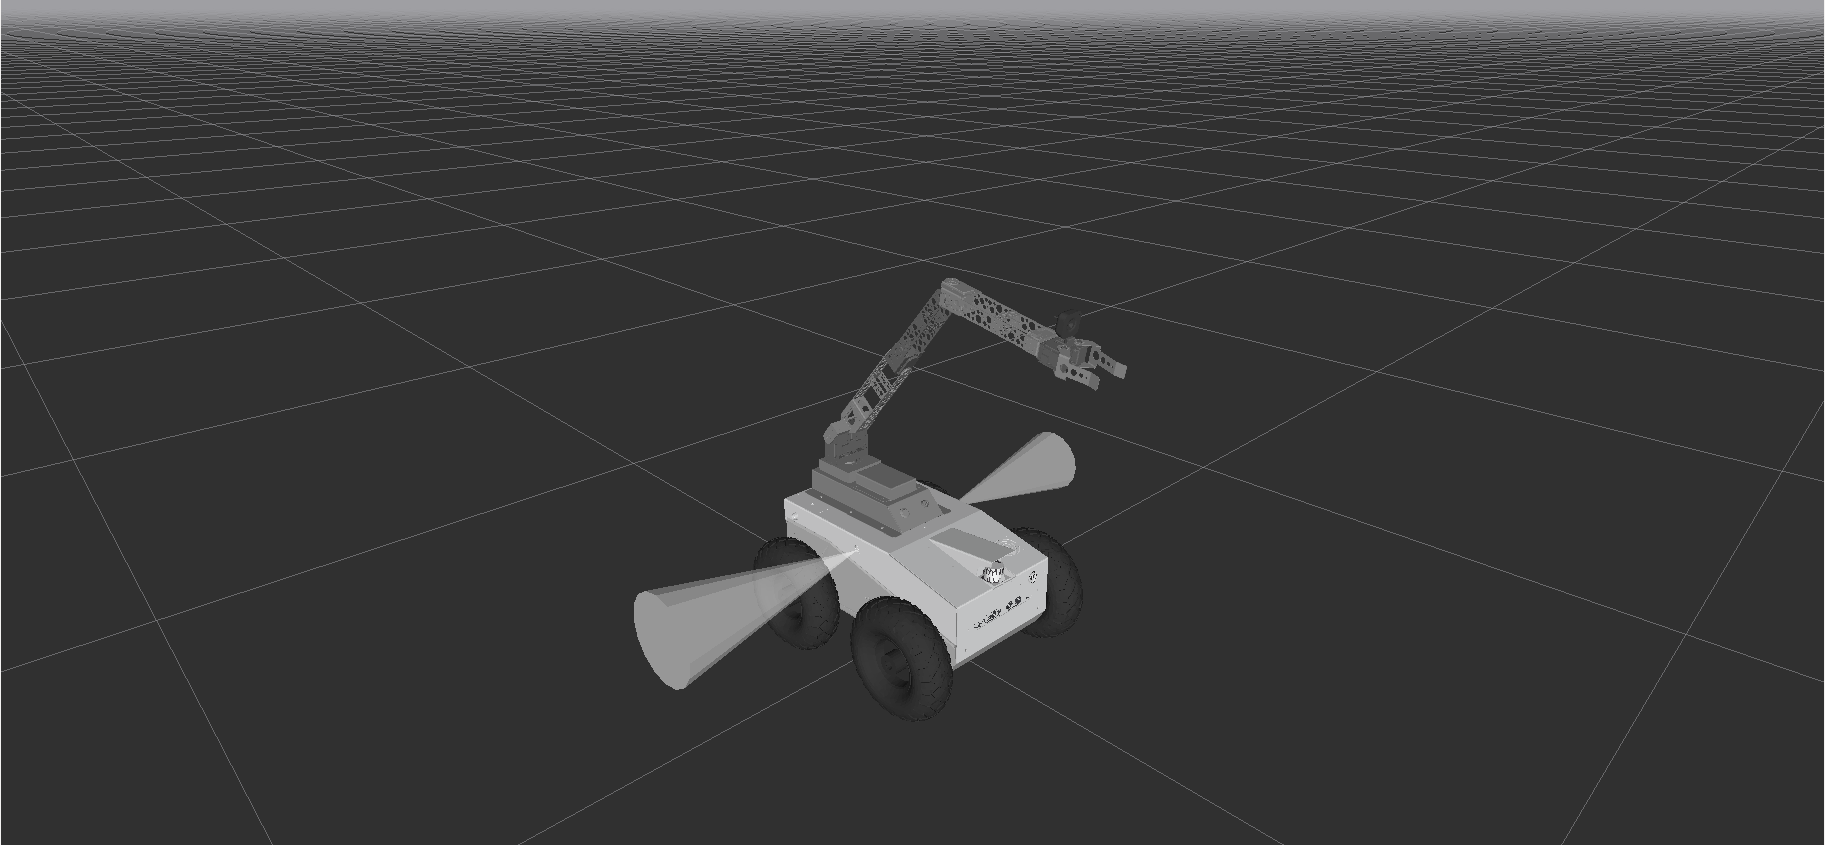
To check the reading from the ultrasonic unit, the robot operator need to subscribe to the topic one of the three topics first left_urf, second right_urf, thrird rear_urf, the message type is sensor_msgs/Range. One easy way to display this topic is by accessing the topic monitor, and checking the one of the three topics, if the robot operator want to display the ultrasonics in rviz, he simply need to check the boxes in the rviz. 

Imu
To check the imu unit of the robot, the robot operator need to subscribe to two topics, one is for the linear accelaretion and angular velocity, and the other is for magnetic field (the magnetometer)
First lets discuss the linear accelaretion and angular velocity, the topic the robot operator need to subscribe is imu_AGQ this topic publish sensor_msgs/Imu message . the robot operator can access this topic by rqt topic monitor and see the fields of the message.
Second is the Magnetic field, the topic the robot operator need to subscribe is imu_M this topic publish this topic publish sensor_msgs/MagneticField. the robot operator can access this topic by rqt topic monitor and see the fields of the message.
Laser
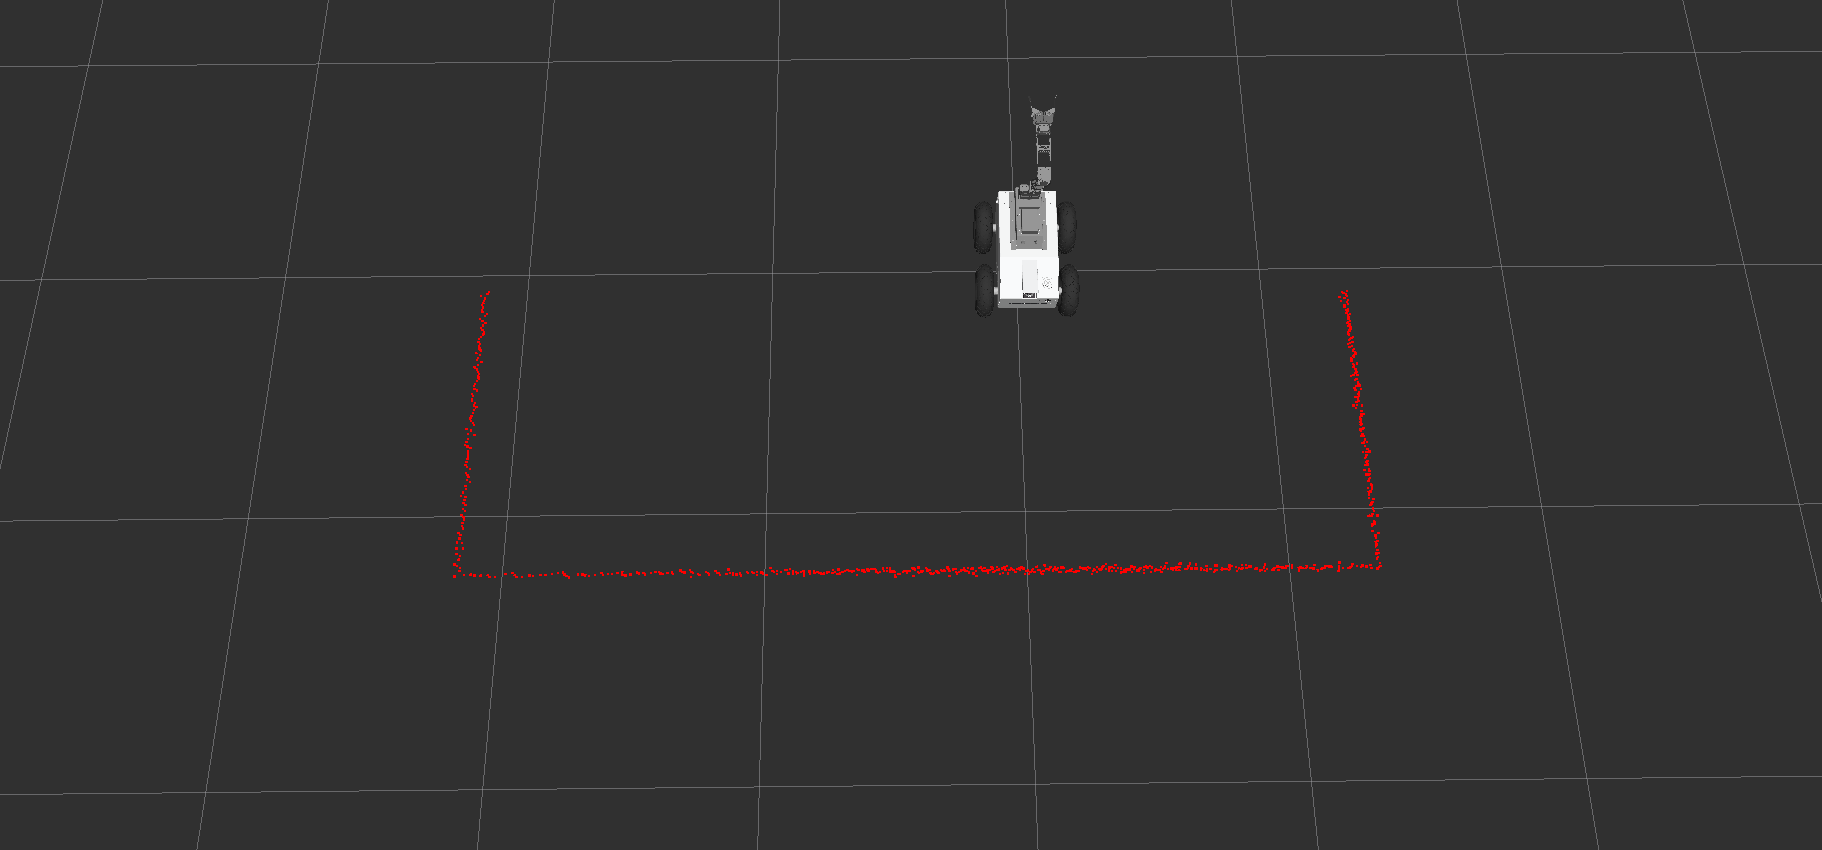
To check the laser reading of the robot, the robot operator need to subscribe to the topic scan, this topic publish sensor_msgs/LaserScan message. One simple way to read the laser scan is by the rviz window and check the laser scan box.


Now to explain the two images above.The First is telling the Rviz to listen to the laser scan topic, which publish the laser reading. the second is just painting the laser reading on the screen.
Cameras
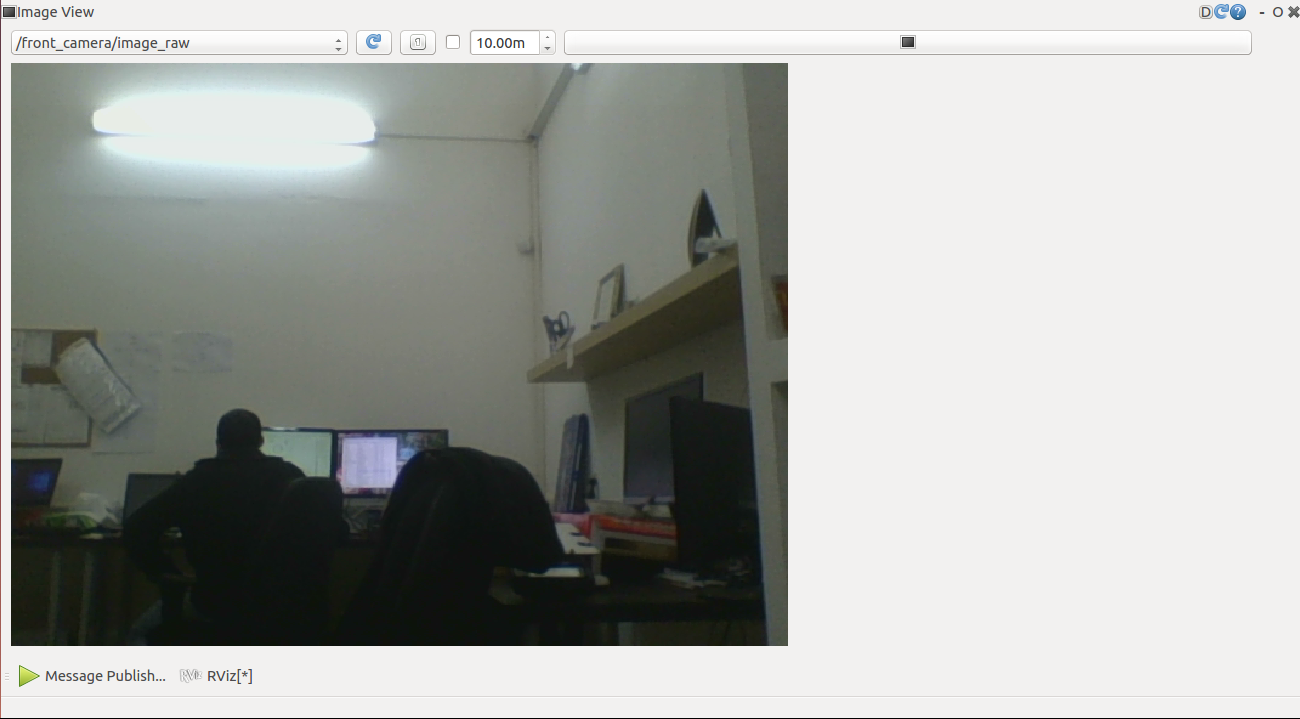
To check the cameras of the robot, the robot operator need to use the rqt plugin called Image View, this plugin is located in Visualization. after clicking the plugin a window will appear at the top left of this window is a combo box which contain all the camera releted topics by clicking on one of them the robot operator will read the info from the camera.

Checking other topic and subscribers
To check other topic that this tutorial didn't discuss, all the robot operator need to do is go to the rqt and click the monitor topic plugin, all the topic which the robot publish is there, also the message type of the topic.
To check other subscribes this tutorial didn't discuss, all the robot operator need to do is go to the rqt and click the Message publisher plugin, on the left side of the plugin will be a combo box that contain all the subscribers of the robot, also the message type the subscriber gets.


