| |
Do scene recording on a real robot
Description: In this tutorial we record a scene by moving the robot by hand to the objects of the scene.Tutorial Level: BEGINNER
Contents
Description
In this tutorial we record a scene by moving the robot by hand to the objects of the scene.
Setup
Make sure you are using the robot as master, to do this you have to export the following environment variables:
export ROS_MASTER_IP=http://{ip}:{port} (IP of the robot)
export ROS_MASTER_URI=http://{ip}:{port} (URI of the robot)
- export ROS_HOSTNAME=$(hostname) (this is your hostname)
Do the following steps on your robot (e.g. via SSH):
Edit dbfilename in sqlitedb.yaml in the asr_ism package. This is the location where the database will be stored. A new database will automatically be created if the sql file doesn't exist in the specified location.
Warning: If you specify an already existing database file, it will be overwritten!run rosrun asr_resources_for_active_scene_recognition start_modules_scene_learning.sh to start required modules for scene recording and make sure all tmux windows are set up correctly and don't show errors (see section 3 in AsrResourcesForActiveSceneRecognition on how the tmux windows should look like)
- Open another tmux window and run "rosrun asr_resources_for_active_scene_recognition start_recognizers.sh". Depending on your setup you may need to do this directly on your robots GUI because it uses OpenGL (not via SSH).
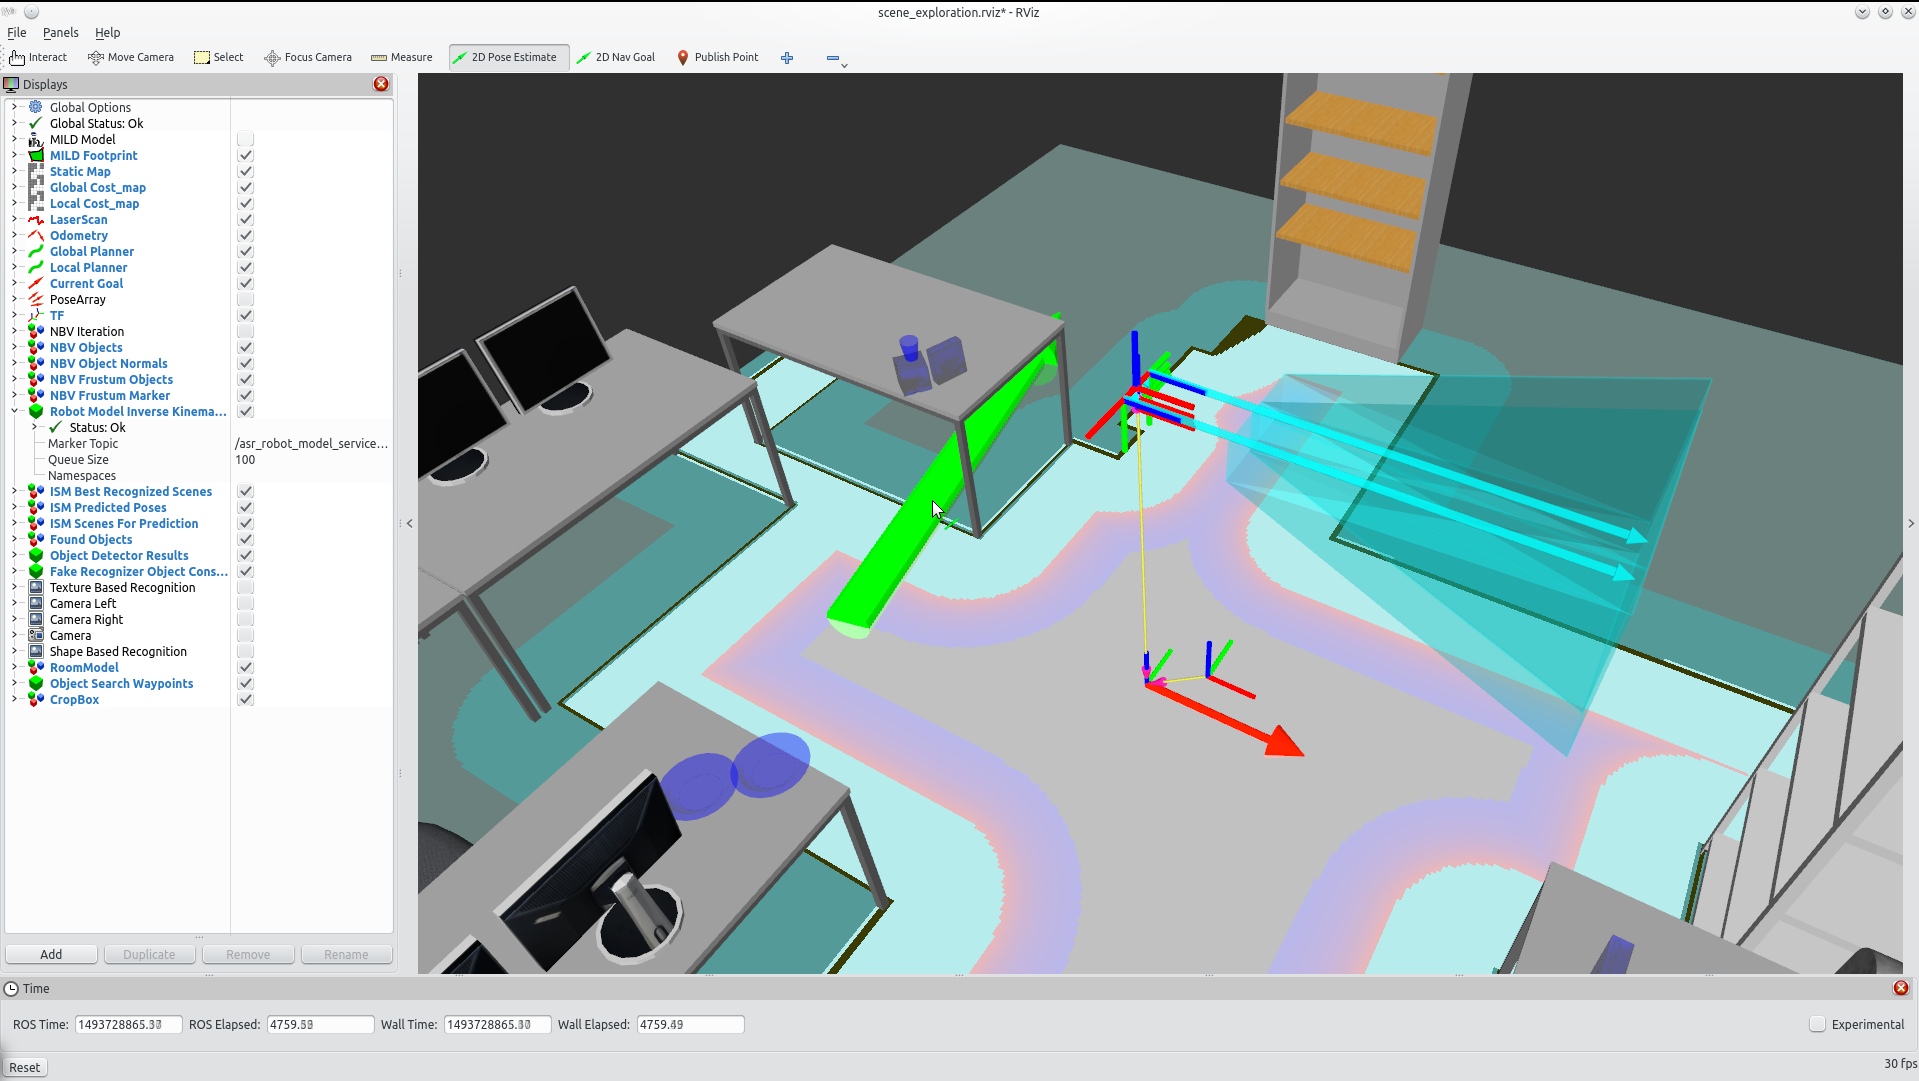
- on your local machine, launch rviz: roslaunch asr_resources_for_active_scene_recognition rviz_scene_exploration.launch.
- Place the objects in the room. Pay attention to place the objects in a way so that the robot is able to detect them from the direction of the object normals.
Tutorial
The actual recording of the scene is divided into three parts. First we have to capture each object of the scene once. After that is done, we recognize and record the objects of the scene again, but now we can move them slightly to represent slightly different arrangements of the same scene and uncertainties in the objects poses. To capture the objects you will have to move the robot Platform from one recording location to another by hand, as the robot obviously does not yet know where those objects are located. After that, we train the scene to create an ism model. This is needed in order to have associations between the objects in the scene.
Part One
1. Move the robot Platform to the first location from where you want to record objects.
2. In Rviz, click on "2D Pose Estimate" and the click on the current location of the platform on the map. Hold the mouse button and drag it until the appearing green arrow has the same orientation as the robot

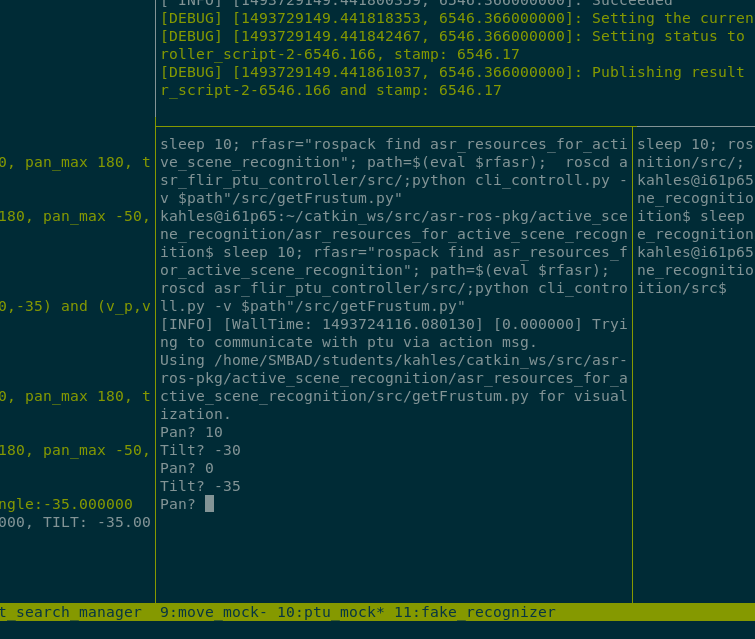
3. Use the ptu cli_controll.py (in tmux window 2:ptu the lower right panel) to control the tilt and pan of the cameras so that they capture the objects you want to record from the current position. Make sure that those objects are fully in the field of view of both cameras. You can check this in rviz using the camera view.

4. For each object you want to record you have to start the recognizers, therefore use tmux "window 5:recorder" the lower panel. issue the command start, ObjectName,recognizertype. This tells the object recognizer to look out for the object specified by ObjectName and recognizertype. If you struggle at this point see AsrResourcesForActiveSceneRecognition, section 3.3. to see how this tool works.
5. In the window where you launched recorder.launch, type a to add the objects from the current view to marked objects. You can check that all desired objects have been marked by pressing s. Finally, to capture them press enter. Objects that were marked and that are in the current view appear green in rviz, objects that are marked but are not in the current view will be blue and objects that are not marked but that are in the current view will be yellow.
6. For each object you just have started the recognition, issue the command stop, ObjectName,recognizertype so that the object recognizer stops looking for them.
7. Slowly move the robot Platform to the next location. If you are to fast there might be problems with the robots localisations and the following recordings will be flawed.
8. Repeat Step 3 to 7 until you have captured all objects of the scene once.
Part Two
In Part Two we alter the objects poses slightly by moving them around and capture that process. The procedure is the same as steps 3 to 8 in part one, only step 5 is different and you don't have to execute step 6.
- Instead of typing a to add the objects from the current view to marked objects, we use the automatic recording option of the recorder. To start automatic recording, press spacebar. What automatic recording does is to record the poses of the objects every x milliseconds and store them. While the automatic recording is running, start to slowly move the objects in the current view. Make sure they stay in the field of view of both cameras. Once you are done modifying the poses of the objects, write them to the database by pressing enter.
Once you are done recording all objects, stop the recorder with ctrl + c.
Part Three
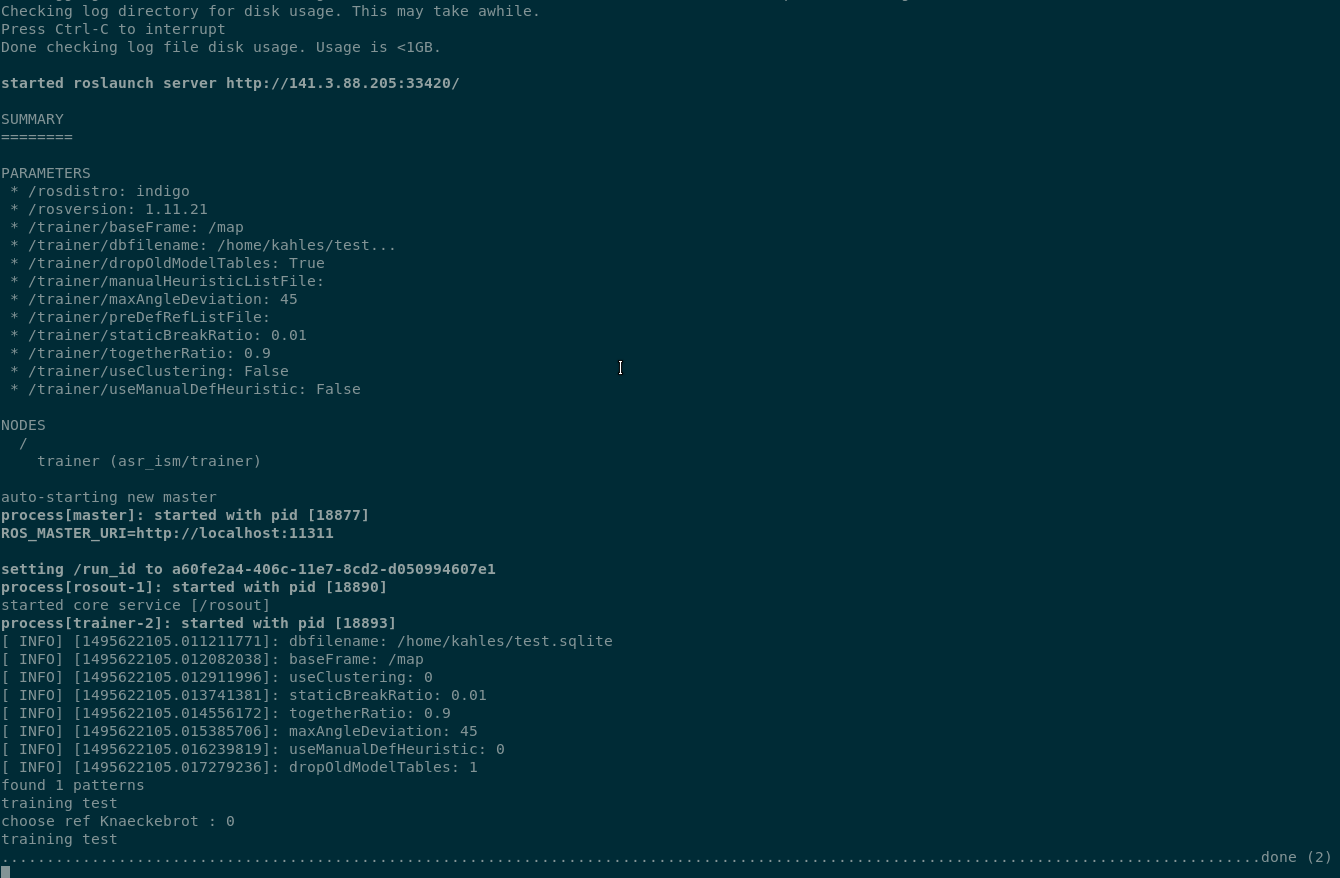
To train the scene, we need to launch the trainer. It will modify the database you set in sqlitedb.yaml in the asr_ism package. If you don't want the database to be modified in place, make a backup of it first. Then execute
roslaunch asr_ism trainer.launch
It will print process information and print done(n) if it has finished. Press ctrl+c to quit the trainer.

You're done with recording the scene. Now proceed with the next tutorial, doing scene recognition with the recorded scene.


