| |
Simulate scene recognition in simulation
Description: In this tutorial we do the recognition of a scene in the simulation.Tutorial Level: BEGINNER
Contents
Description
In this tutorial we do the recognition of a scene in the simulation.
Setup
Set the following settings in asr_next_best_view/param/next_best_view_settings_sim.yaml:
radius: set it to "0.15" (default value)
sampleSizeUnitSphereSampler: set it to "384" (default)
colThresh: set it to "40" (default)
Set the following settings in asr_state_machine/param/params.yaml:
- mode: set it to "2"
- Set config_file_path in asr_fake_object_recognition/param/params.yaml to an XML file in "./config/story_1" or "./config/story_2" respectively, depending on which scenario you want to operate in, in the next step. For instance, if you want to search objects of the scene categories in story_2.sqlite, choose an object configuration in "./config/story_2".
Set dbfilename in asr_recognizer_prediction_ism/param/scene_recognition.yaml to one of the pre-trained databases for story_1 or story_2 respectively in "${CATKIN_WS}/src/asr-ros-pkg/active_scene_recognition/asr_resources_for_active_scene_recognition/scene_recordings" where ${CATKIN_WS} is the absolute path to your catkin workspace.
run: "rosrun asr_resources_for_active_scene_recognition start_modules_sim.sh" and make sure all tmux windows are set up correctly and don't show errors (see section 3 in AsrResourcesForActiveSceneRecognition on how the tmux windows should look like)
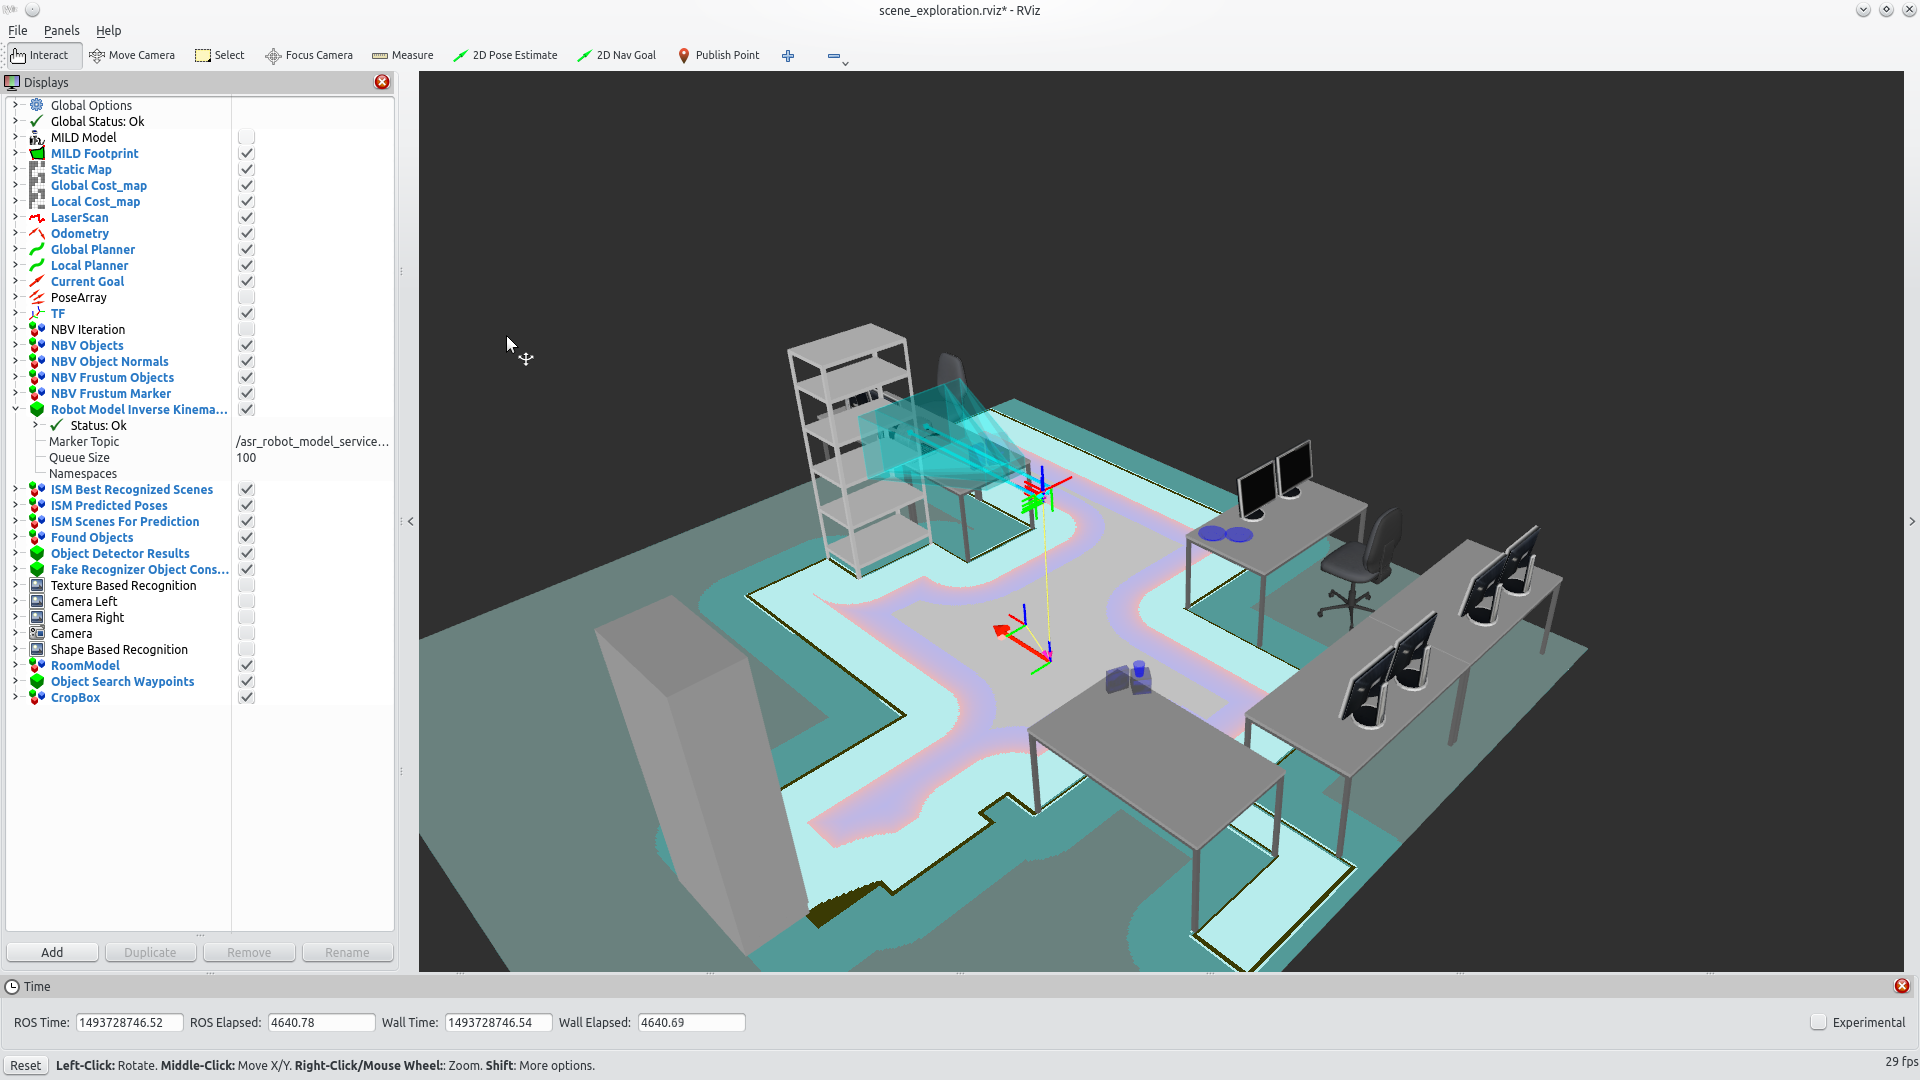
- Make sure that step 5 launched rviz and rviz looks like this:

Tutorial
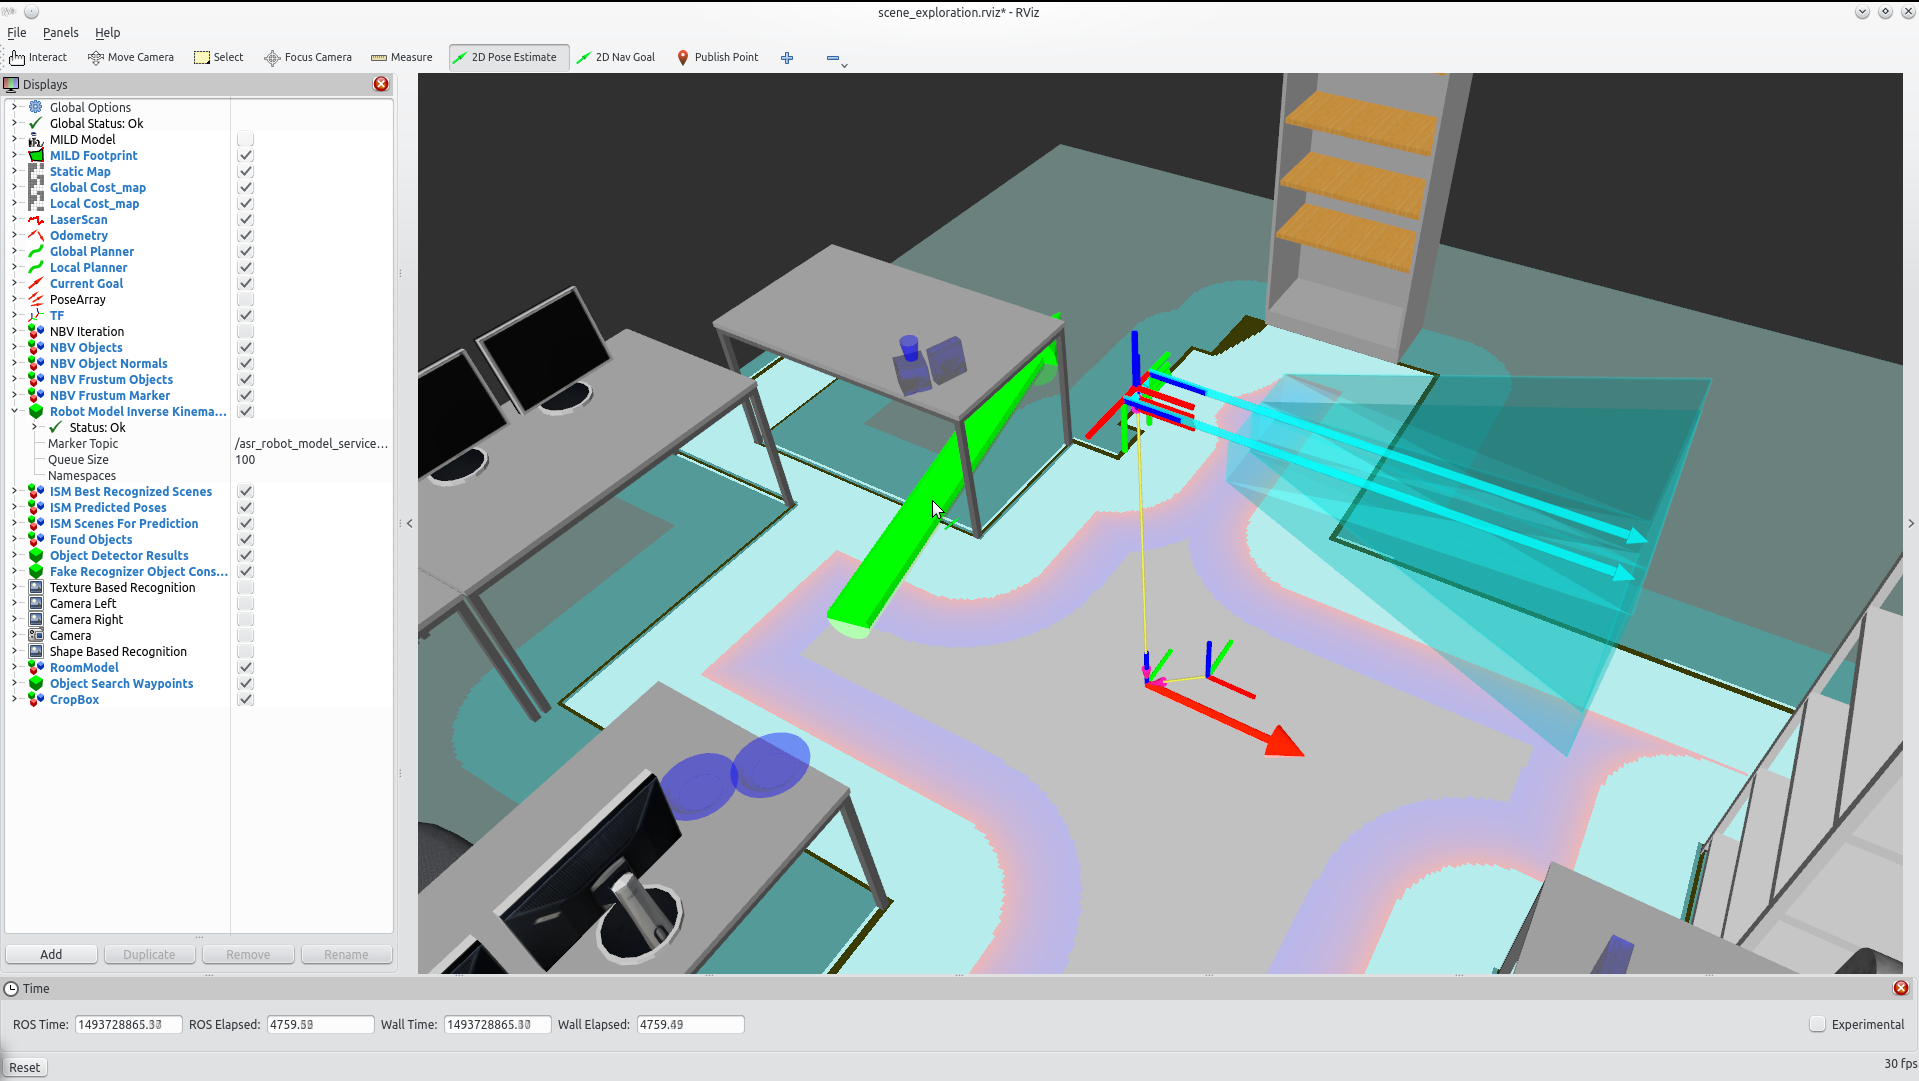
1. Set the robot position by clicking "2D Pose Estimate" at the upper toolbar and dragging an arrow like on the image below

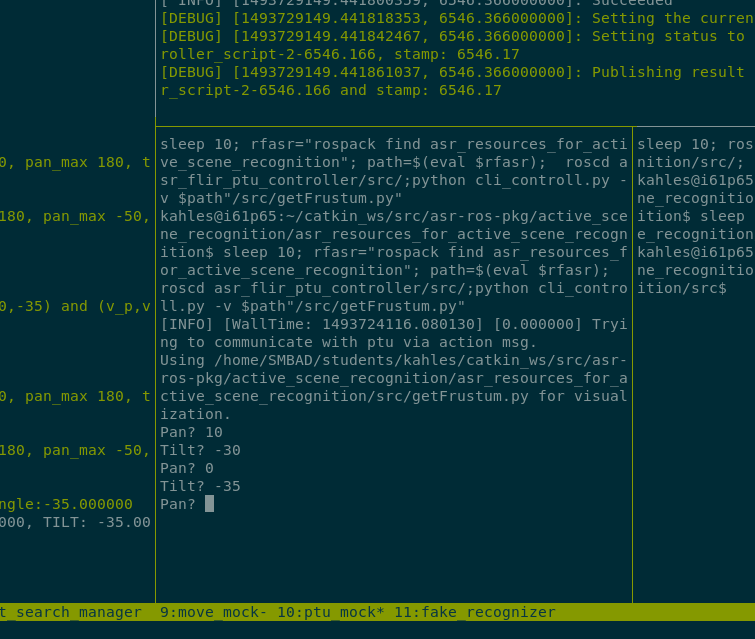
2. Open the put_mock tmux window and enter Pan and Tilt values into the prompt. After entering Pan and Tilt and pressing enter, the blue frustum in rviz gets updated. Enter values until the blue frustum includes the objects on the table.


3.Enter the rviz state_machine window and press enter
4.Wait some minutes until the robot has found all objects. You can watch this process it in rviz. The robot should visit all three tables with (blue) objects on it. After it has found all objects, the state machine terminates with return code "found_all_objects"


