| Note: This tutorial assumes that you have completed the previous tutorials: How to configure cob_sensor_fusion. |
| |
In-gripper object training on Care-O-bot
Description: This tutorial teaches you how to train a new object with the IPA object detection package using Care-O-bot. The object is placed within the gripper, from whereon object training takes places autonomously by the robot.Keywords: object training, Care-O-bot
Tutorial Level: BEGINNER
These tutorials require packages that are not open to the public. If you want to run the packages, please contact richard.bormann <at> ipa.fraunhofer.de . |
If you have Care-O-bot related questions or discover Care-O-bot specific problems please contact us via the Care-O-bot mailing list.
Contents
Startup a robot
To execute the following tutorial, you have to start either a real or a simulated Care-O-bot (cob_bringup or cob_bringup_sim). At least the following components should be fully operational:
- robot arm
- robot sdh (gripper)
- torso
- camera (stereo cameras or RGB-D camera)
Prerequisites for object training
Prerequisites for object training are as follows:
You need an overlay of the cob_object_perception_intern stack. You also need to compile the packages srs_common (object model database) and cob_object_perception (data type definitions).
Check calibration or calibrate the robot cob_calibration/Tutorials
Check tf tree with rviz e.g. from your local machine
 export ROS_MASTER_URI=http://<robot-ip>:<port>
 rosrun rviz rviz
All sdh joints as well as a connection from the sdh to the head axis must exist.Check if the stereo images are properly setup (How to configure cob_sensor_fusion)
Launch packages for object training
You must launch a the sensor_fusion node, which captures the stereo images and the object detection node on pc2, which creates the object models out of the captured stereo images.
roslaunch cob_sensor_fusion sensor_fusion_train_object.launch
roslaunch cob_object_detection object_detection.launch
Note: The training specific launch file for sensor_fusion holds stereo parameters that allow the measurement of distances very close to the camera system (as the object is moved right in front of the cameras)
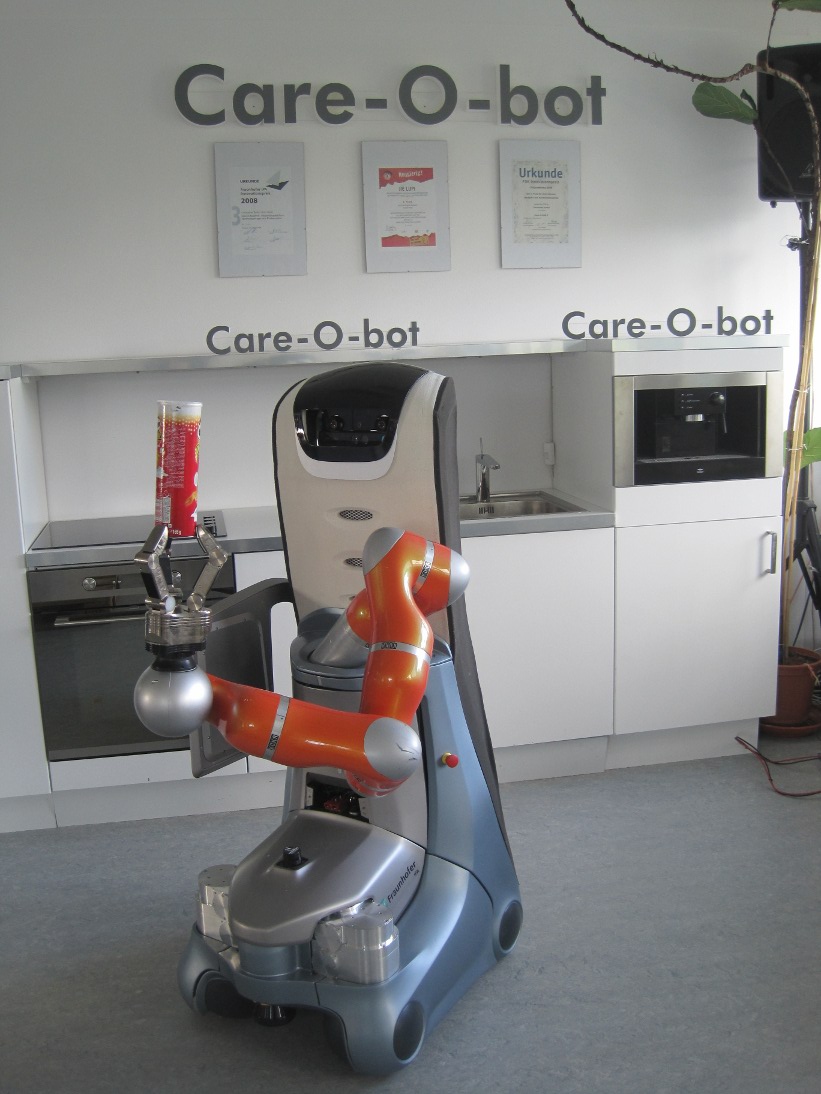
Place the object in the robot's gripper
Real robot
ATTENTION: Make sure the arm is in 'folded' position before continuing. Executing the following script will move the robot arm. You are adviced to keep your emergency stop button in close proximity. |
Manually place the object into the robot's gripper as follows:
- Move the arm to the training position.
roslaunch cob_object_detection arm_move_to_training_position.launch
- Depending on the object's shape, either open the gripper using a spherical grasp
rosrun cob_object_detection sdh_open_close_sphere.py
or open the gripper using a parallel grasprosrun cob_object_detection sdh_open_close_cylinder.py
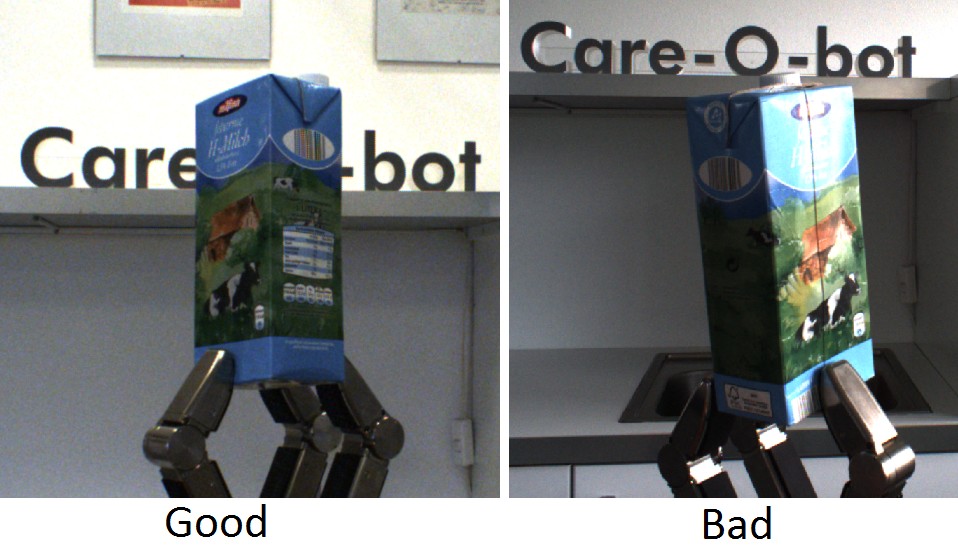
- Once the gripper has opened, place the object in the robot's gripper between the tips of the fingers. After a few seconds, the gripper will automatically close. Make sure the object has a stable position. Otherwise, try again continuing with step 2.
- Make sure that most parts of the object are visible by the cameras and not covered by the gripper
rosrun image_view image_view image:=/stereo/left/image_color
If necessary you can move the robot to improve lighting conditions using cob_teleop. E.g. in the ipa-apartment environment it is helpful to turn on the light and close the blinds.
Simulator
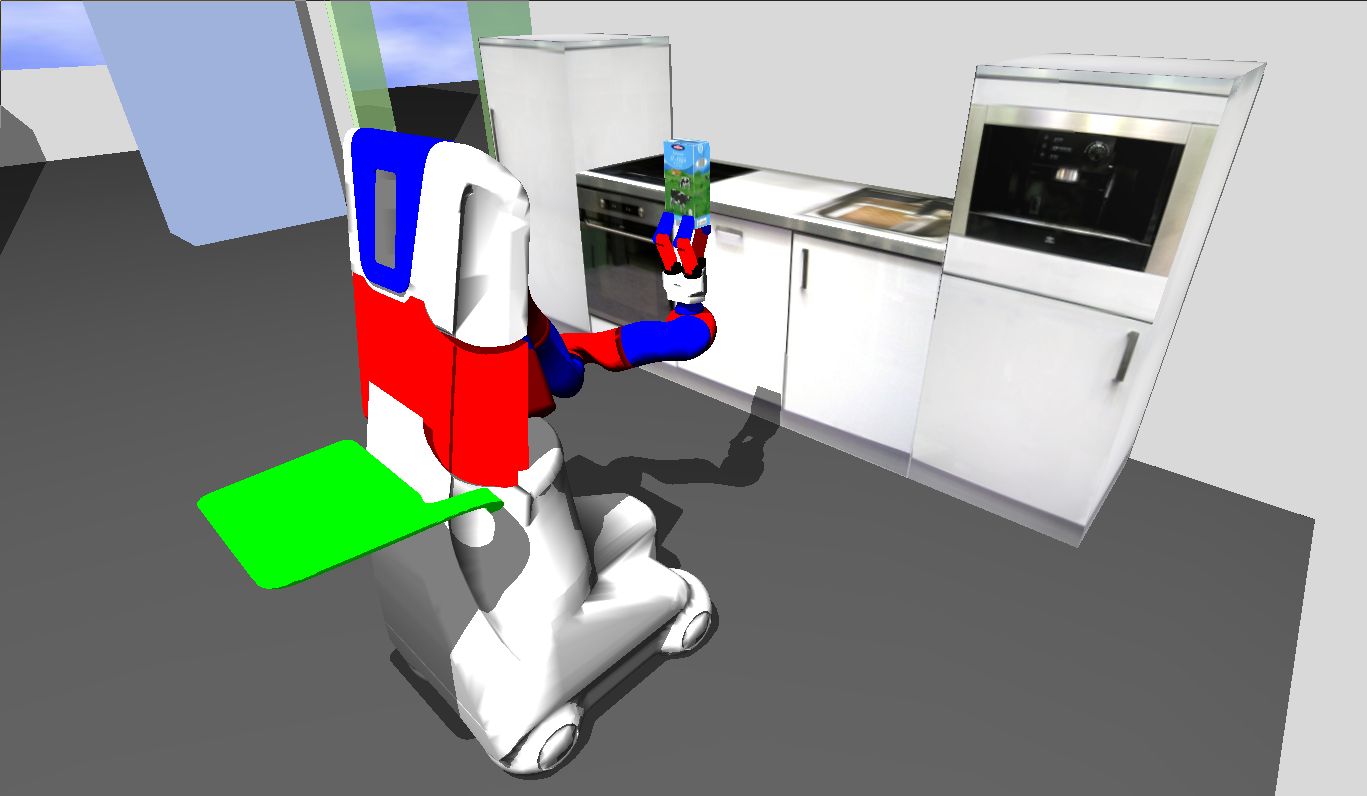
In order to place a simulated object into the gripper follow these steps:
- Move the arm to the training position.
roslaunch cob_object_detection arm_move_to_training_position.launch
- Depending on the object's shape, either open the gripper using a spherical grasp
rosrun cob_object_detection sdh_open_close_sphere.py
or open the gripper using a parallel grasprosrun cob_object_detection sdh_open_close_cylinder.py
- Pause simulation (pause mode)
- Spawn the object e.g.
Within gazebo you can spawn objects using cob_bringup_sim.
 roslaunch cob_gazebo_objects upload_param.launch
 rosrun cob_bringup_sim spawn_object.py "<object name>"
Hint: <object name> is specified in ROS Parameter Server, e.g. 'milk' or 'zwieback'
- Move the object into the gripper using the gazebo build-in tools for object manipulation
- Continue the simulation
Record object images
If you have placed the object in the gripper, you can start recording object images by running
rosrun cob_object_detection sdh_rotate_for_training.py "<object_name>"
Replace <object_name> with an appropriate object name.
The recoreded images are stores in the /tmp/ folder.
Kinect (usually not used)
Instead of using the stereo cameras, it is possible to use the Kinect RGB-D camera for image recording. In order to do so, you have to start cob_sensor_fusion using the Kinect launch file.
roslaunch cob_sensor_fusion sensor_fusion_kinect.launch
Additionally, you must modify the rotate object script, in order to adapt the tf camera link.
roscd cob_object_detection/ros/scripts/
gedit rotate_sdh_for_tarin_object.py

...
def main():
    kinect_flag = True
...
Building the object model
Having recorded the object images, we can now build the object model
rosservice call /object_detection/train_object_bagfile ["object_name"]
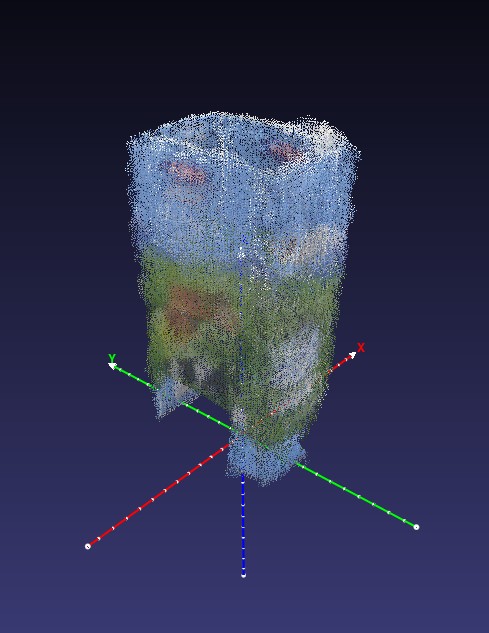
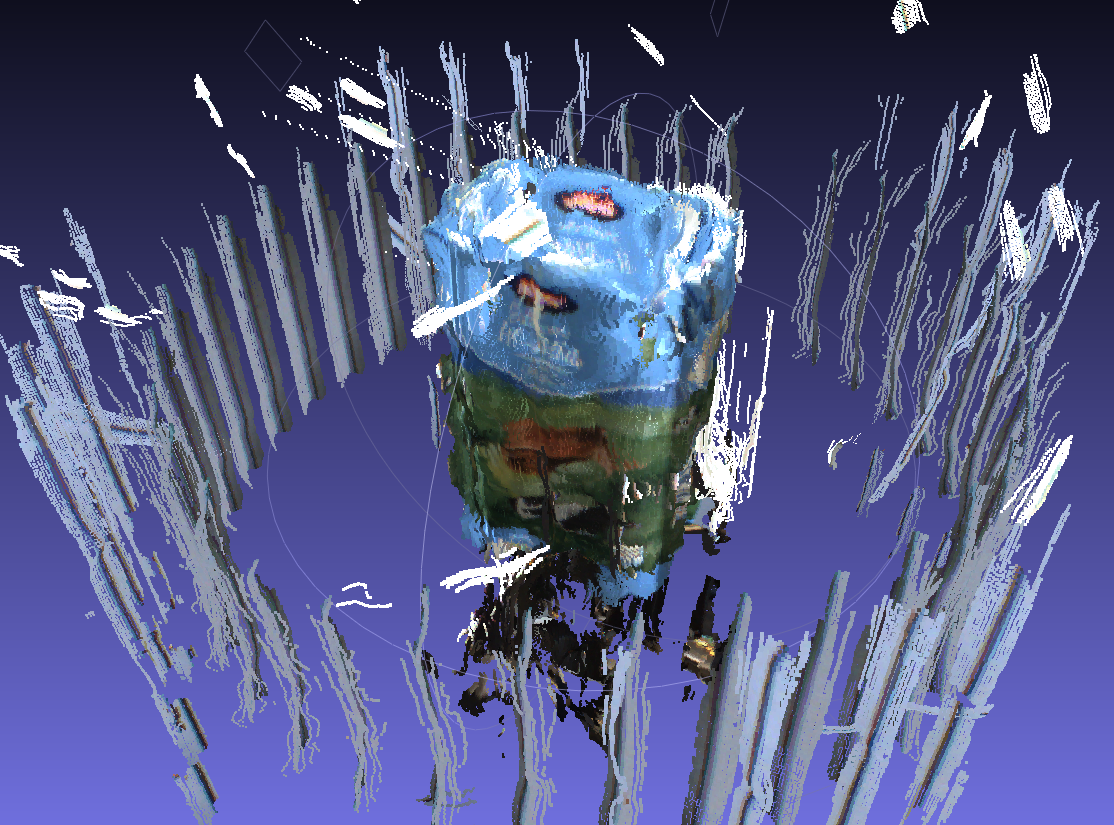
Initially, the images are segmented to remove the gripper and background from all images. The segementation results are saved in the /tmp/ folder for debugging purposes. When the 3D object modeling fails, you might want to have a look at the segmented object images. Especially the *<object_name>_all.ply file, that shows all segmented images within one common coordinate frame might be interesting to chech
- if the segmentation succeeded b. if the transformations given by the arm are approximately correct
Here is an exemplary image of *<object_name>_all.ply that is sufficient for a successfull object modeling.
Object Models
The generated object models are saved in the folder:
roscd cob_object_detection/common/files/models/ObjectModels
There will be 3 different models:
- A feature point model *.txt
- A point cloud model *.txt.ply
- A surface model *.txt.iv
The point cloud model can be visualised with a point cloud viewer like Meshlab. The surface model can be visualised with an iv-viewer like Qiew.
Here is an example of the optimized point cloud model:
