| |
Dynamixel workbench single manager with GUI
Description: This tutorial describes how to open GUI and method to use it.Keywords: robotis, dynamixel, single manager, GUI
Tutorial Level: BEGINNER
Contents
IF YOU ALREADY CREATE my_dynamixel_workbench_tutorial PACKAGE, THEN YOU JUMP TO STEP 3.
Step 1: Create a package
$ cd ~/catkin_ws/src
$ catkin_create_pkg my_dynamixel_workbench_tutorial std_msgs roscpp
Step 2: Create a launch file for the single manager node
First we need a launch file in launch folder in my_dynamixel_workbench_tutorial package. This launch file connects to the dynamixel_workbench_single_manager package and sets device name and baudrate of a Dynamixel. We assume that the Dynamixel is connected to /dev/ttyUSB0 and baudrate 57600. If not, make sure you set your device name and baudrate correctly. NOTE: IN THIS TUTORIAL, WE USE XM430-W210
1. Make a launch file in ros package which we created
$ cd my_dynamixel_workbench_tutorial
$ mkdir launch
$ cd launch
$ gedit single_monitor.launch
2. Type or copy&paste code below to connect dynamixel_workbench_single manager packages and set parameters
<launch>
<arg name="use_ping"         default="false"/>
<arg name="id"               default="1"/>

<arg name="device_name"      default="/dev/ttyUSB0"/>
<arg name="baud_rate"        default="57600"/>

<arg name="scan_range"       default="200"/>

<param name="ping"             value="$(arg use_ping)"  type="bool"/>
<param name="ping_id"          value="$(arg id)"/>

<param name="device_name"      value="$(arg device_name)"/>
<param name="baud_rate"        value="$(arg baud_rate)"/>

<param name="scan_range"        value="$(arg scan_range)"/>

<node name="single_dynamixel_monitor" pkg="dynamixel_workbench_single_manager"
        type="single_dynamixel_monitor" required="true" output="screen"/>
</launch>
Step 3: Run single_monitor and single_manager_gui
Before we operating this package, we need to access permission for USB device
$ sudo chmod a+rw /dev/ttyUSB0
Now we can run tutorial package:
$ cd ~/catkin_ws && catkin_make
$ roslaunch my_dynamixel_workbench_tutorial single_monitor.launch
If single_manager find linked Dynamixel, we could show state of it and command list:
[ID] 1, [Model Name] XM430-W210, [BAUD RATE] 57600 [VERSION] 2.0
dynamixel_workbench_single_manager : Init Success!
And we run single_manager_gui:
$ rosrun dynamixel_workbench_single_manager_gui dynamixel_workbench_single_manager_gui
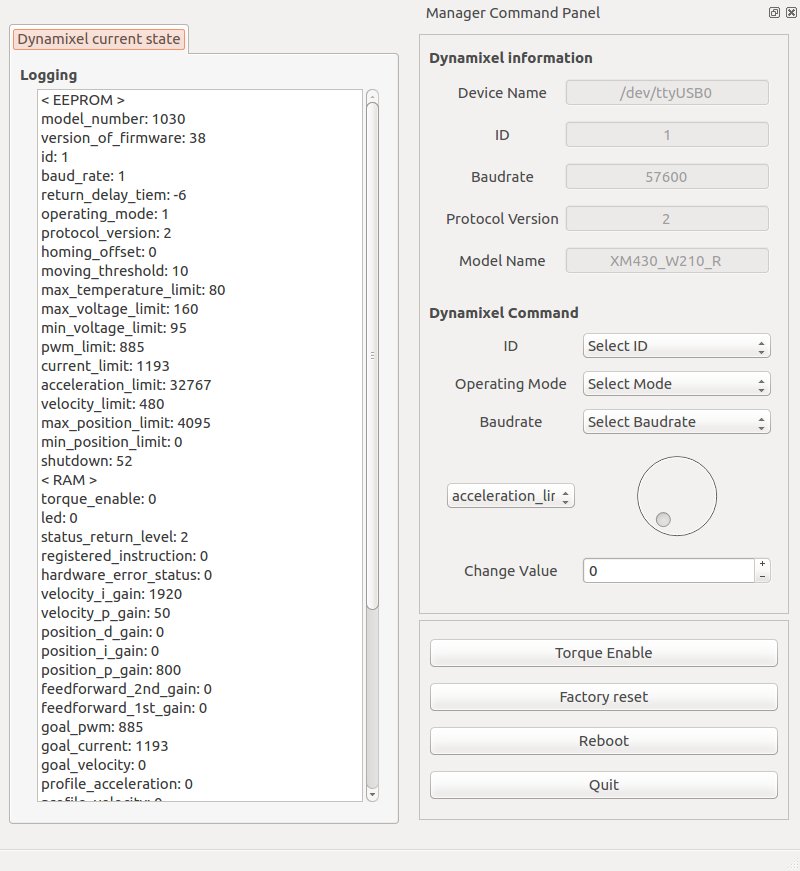
Now, GUI is opened! 
We check current states of linked Dynamixel in left window and information of it in up-right.
Step 4: Send command to Dynamixel
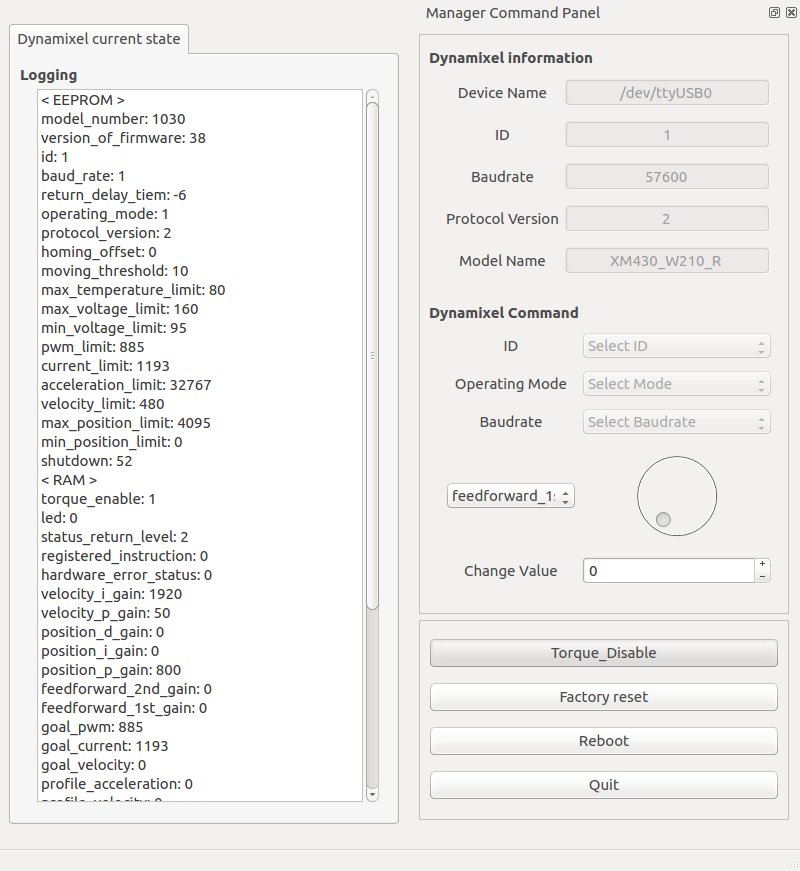
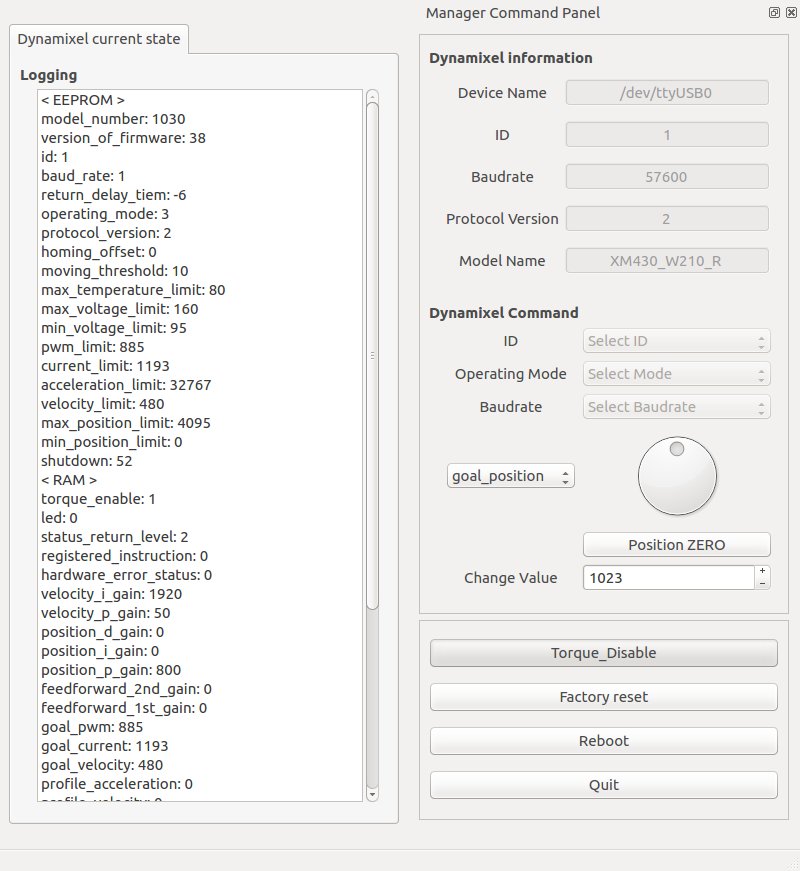
Let's operate the Dynamixel using GUI. We easily change a ID, Operating Mode and Baudrate by seperated widget and access all address using combobox widget. If we change motor position, first we push a Torque Enable button. (NOTE: SOME ADDRESS VALUES CAN BE APPLIED AFTER TORQUE ON. IF YOU WANT MORE INFORMATION, PLEASE FOLLOW THE LINK E-MANUAL) 
Second, we should select goal_position in combobox and turn dial, type value on line edit or push Position ZERO. 
The Dynamixel is running!! If you have a question about running single_manager_gui, please make anew issue.


