| Note: This tutorial assumes that you have completed the previous tutorials: System Configuration. |
| |
Creating a New Behavior
Description: Explains how to set up a new behavior using the FlexBE UI.Tutorial Level: BEGINNER
Next Tutorial: Using the Statemachine Editor
In this tutorial, and in the next one, we will create a very simple demo behavior to demonstrate the steps required for behavior creation.
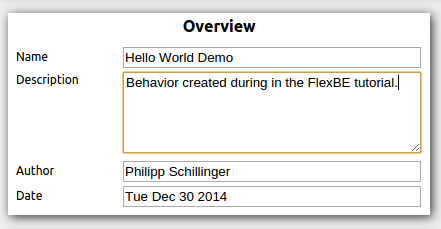
Launch the FlexBE App and start with giving your new behavior a name, describe it, and enter your own name as author. You can launch the FlexBE App by using roslaunch
$ roslaunch flexbe_app flexbe_ocs.launch
We would like our new behavior to print a "Hello World!" message when executing it. In the Private Configuration section of the dashboard, constant values of the behaviors can be defined. This serves as a single point of change for any value required by the behavior. So let's define a new string named hello for our message.

Add the new string by clicking the Add button. We will use it later.
Also, we want our behavior to wait some time before printing the message. However, the time to wait should not be constant. Instead, we want the operator to select a value when he starts execution of the behavior. For this purpose, Behavior Parameters are available. Select Numeric as type of the new parameter and name it waiting_time.
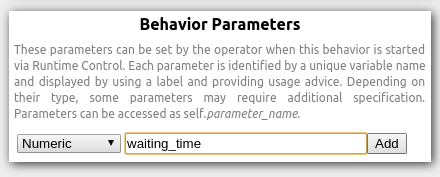
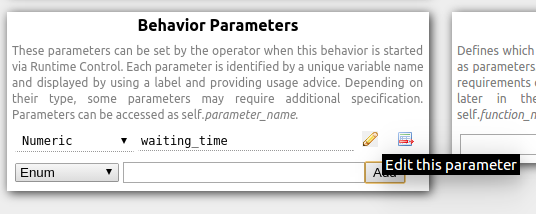
Add the parameter and edit its properties by clicking on the pencil icon.
You can now enter reasonable values for the waiting time as shown below. Unit is seconds, because we will use this value later to pass it to a state which waits for the given amount of seconds.
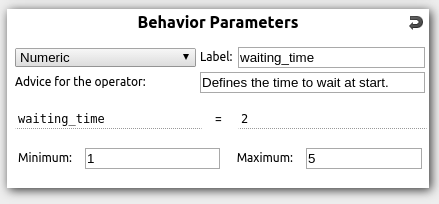
To leave the property view of the parameter and have the list of all parameters displayed again, click on the arrow icon at the top of this box.
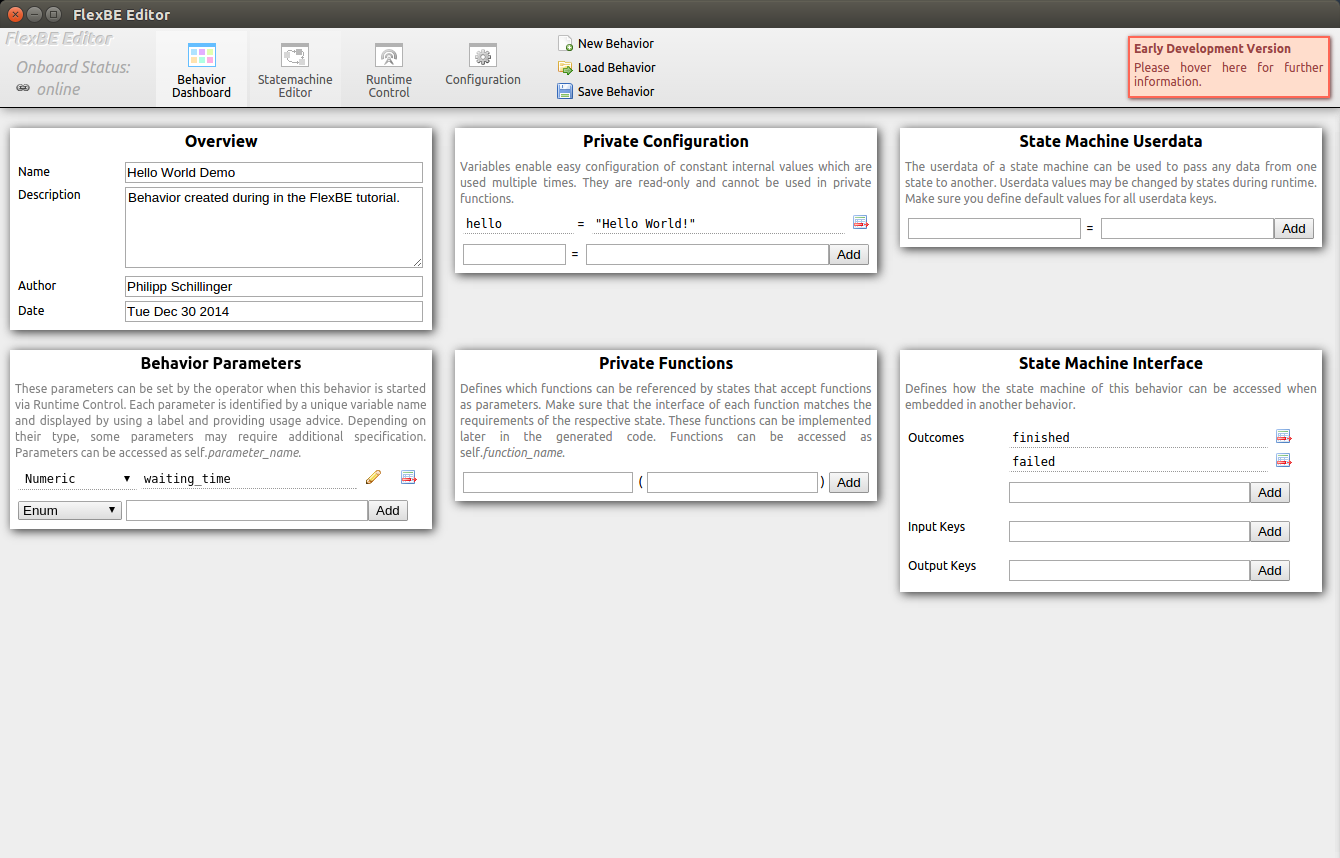
We started creating our new behavior by defining some values (one constant, one variable) and can now proceed to define the state machine of the behavior. Your Behavior Dashboard should now look like shown below. Click Statemachine Editor at the top to switch to the editor and continue with the next tutorial.
That's it! Proceed to the next tutorial and learn about using the Statemachine Editor.


