| |
Build a map with multiple robots simultaneously
Description: This will show how to setup multiple robots in Stage, virtually connect them via ROS-topics and setup multiple mapper instances to generate a distributed map.Keywords: multi-robot, mapping, karto
Tutorial Level: INTERMEDIATE
Next Tutorial: Create your own exploration strategy: Start!
Goal description
In the previous tutorial we used a single robot to autonomously explore its environment. One of the key features of the MultiMapper is its ability to incorporate sensor readings coming from other robots. Thus it is possible to build a consistent map with a team of robots. This is done using the topics karto_in and karto_out of the mapper node. The mapper will include all readings it receives via karto_in and will publish his own scans that have been integrated in its own map, to karto_out.
In a setup with a team of real robots, every robot will have its own ROS-core and set of nodes as seen in the previous tutorials. So it is up to the system designer to implement a way to transfer the karto_in/out topic between robots. A possible solution for Wi-Fi connected robots can be found here: http://wiki.ros.org/ros-rt-wmp
In this tutorial, all robots are within Stage, so we will have a single ROS-core with every robot existing within a ROS namespace. To keep things simple, we will skip the navigation with Operator and Navigator and will start with only the Mapper running on each robot.
Adding multiple robots
First we load Stage with another world file, which includes two robots in the same environment.
<!-- Some general parameters -->
<param name="use_sim_time" value="true" />

<!-- Start Stage simulator with a given environment -->
<node name="Stage" pkg="stage_ros" type="stageros" args="$(find nav2d_tutorials)/world/tutorial4.world">
    <param name="base_watchdog_timeout" value="0" />
</node>
Then we add a joystick and a specialized sim_joy, which allows to send motion commands to different robots with one joystick. These commands will go directly to the simulated robots, so no obstacle avoidance will be present. The two static_transform_publisher nodes are only for visualization, so we can see the map of both robots in RVIZ next to each other. Again the p2os part is only for the 3D model in RVIZ and can be omitted.
<!-- Start the joystick-driver and remote-controller for operation-->
<node name="Joystick" pkg="joy" type="joy_node" />
<node name="SimController" pkg="nav2d_remote" type="sim_joy" args="2"/>

<node name="R0_MapAlign" pkg="tf" type="static_transform_publisher" args="0 0 0 0 0 0 /map /robot_0/map 100"/>
<node name="R1_MapAlign" pkg="tf" type="static_transform_publisher" args="40 0 0 0 0 0 /map /robot_1/map 100"/>

<!-- Pioneer model for fancy visualization -->
<include file="$(find p2os_urdf)/launch/upload_pioneer3at.xml"/>
Now we add the software stack for every robot within a namespace. The namespaces are required to be robot_0 .. robot_n, because these names are given to the robots by Stage. For our setup with two robot it should look like this:
<group ns="robot_0">
    <param name="robot_id" value="1" />
    <param name="tf_prefix" type="string" value="robot_0"/>
    <rosparam file="$(find nav2d_tutorials)/param/ros.yaml"/>

    <node name="Mapper" pkg="nav2d_karto" type="mapper">
        <remap from="scan" to="base_scan"/>
        <remap from="karto_in" to="/shared_scans_r2"/>
        <remap from="karto_out" to="/shared_scans_r1"/>
        <rosparam file="$(find nav2d_tutorials)/param/mapper.yaml"/>
    </node>

    <node pkg="robot_state_publisher" type="state_publisher" name="robot_state_publisher">
        <param name="publish_frequency" type="double" value="30.0"/>
    </node>

    <node pkg="p2os_urdf" type="publisher" name="publisher"/>
</group>

<group ns="robot_1">
    <param name="robot_id" value="2" />
    <param name="tf_prefix" type="string" value="robot_1"/>
    <rosparam file="$(find nav2d_tutorials)/param/ros.yaml"/>

    <node name="Mapper" pkg="nav2d_karto" type="mapper">
        <remap from="scan" to="base_scan"/>
        <remap from="karto_in" to="/shared_scans_r1"/>
        <remap from="karto_out" to="/shared_scans_r2"/>
        <rosparam file="$(find nav2d_tutorials)/param/mapper.yaml"/>
    </node>

    <node pkg="robot_state_publisher" type="state_publisher" name="robot_state_publisher">
        <param name="publish_frequency" type="double" value="30.0"/>
    </node>

        <node pkg="p2os_urdf" type="publisher" name="publisher"/>
    </group>
Important is the parameter robot_id. Every robot needs an unique ID, and one robot MUST have ID = 1. This robot will define the coordinate frame for the shared map and will start the mapping process. We simply cross-link the two karto_in/out topics to exchange map updates. (This will only work with two robots!)
Building a shared map
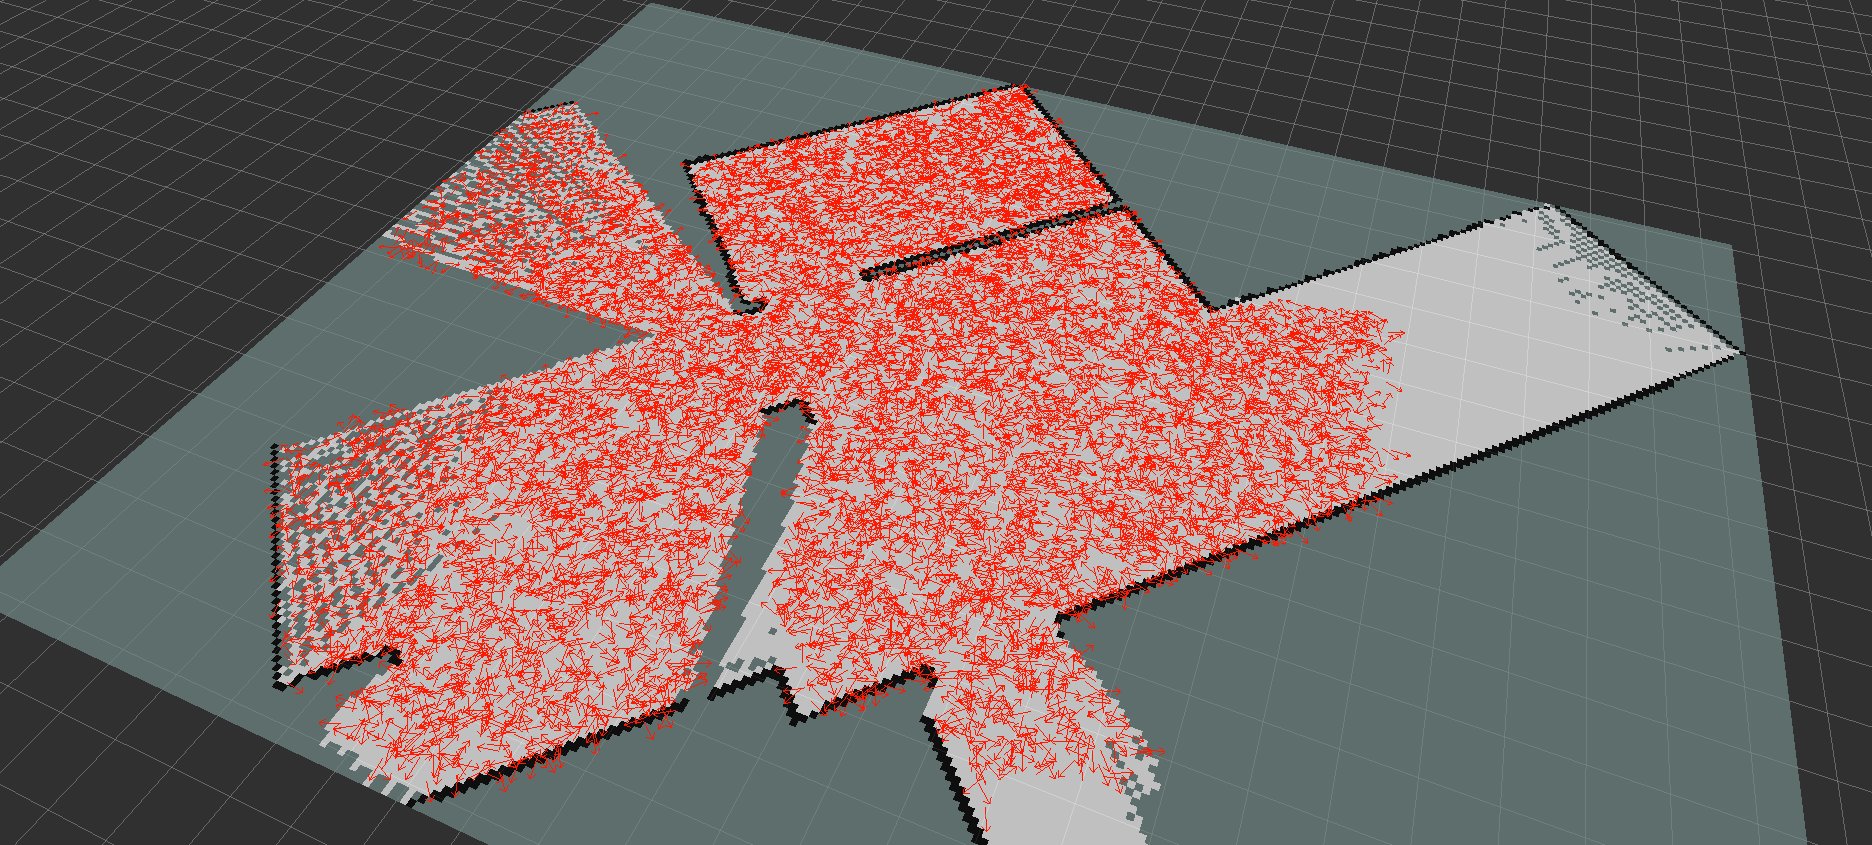
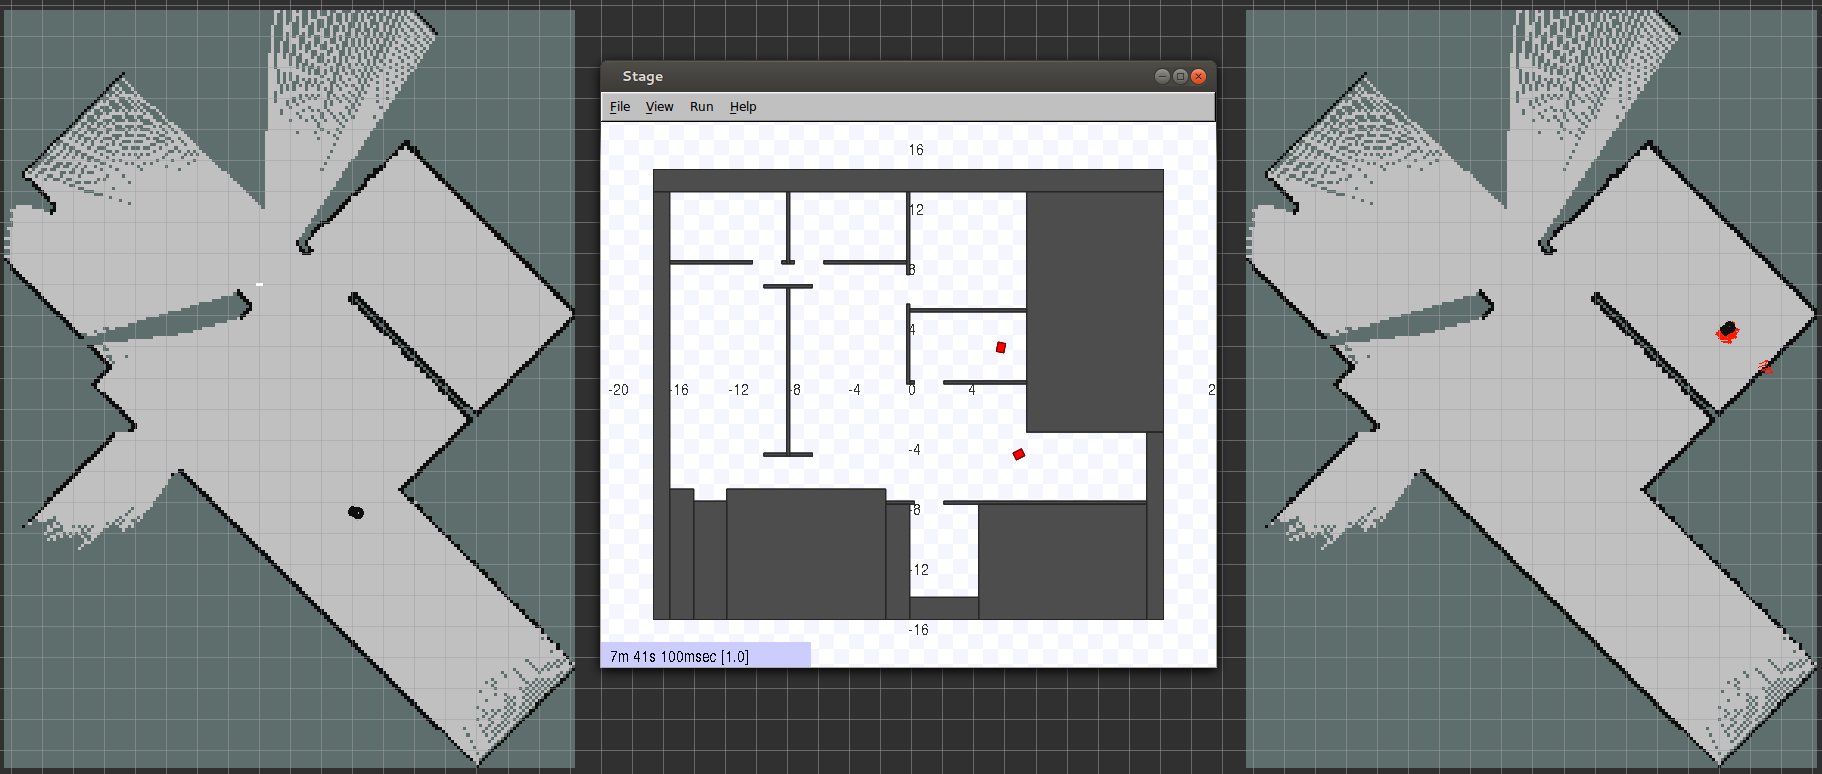
Start the launch file to see Stage with two robots standing next to each other and RVIZ with two maps. Only the left robot (id=1) is localized. The second one only knows about the map that it received from the first. Hold button 1 to move the first robot around, until it has covered a reasonable area around its starting point. After a fixed amount of received measurements (parameter min_map_size of mapper node), the second robot will initialize a particle filter to localize itself within the map. (See http://wiki.ros.org/amcl for a description of the localization approach)

Hold down button 2 and use the joystick to move the second robot, until the particle filter converges. Once the position of the second robot is determined, the particle filter will be destroyed and the current position will be used to initialize the mapper on robot 2. (Also announced by a ROS_INFO message)

Now you can move both robots around the map and both will add their information to the shared map.


