| |
Getting started with NXT-ROS
Description: This tutorial describes how to start using ROS on your NXT robot.Tutorial Level:
Next Tutorial: Creating a full robot in NXT-ROS
Contents
Installation
Before you can get started with NXT-ROS, you need to install both ROS and NXT-ROS. Follow the instructions on this page to complete the installation.
Testing a first sensor
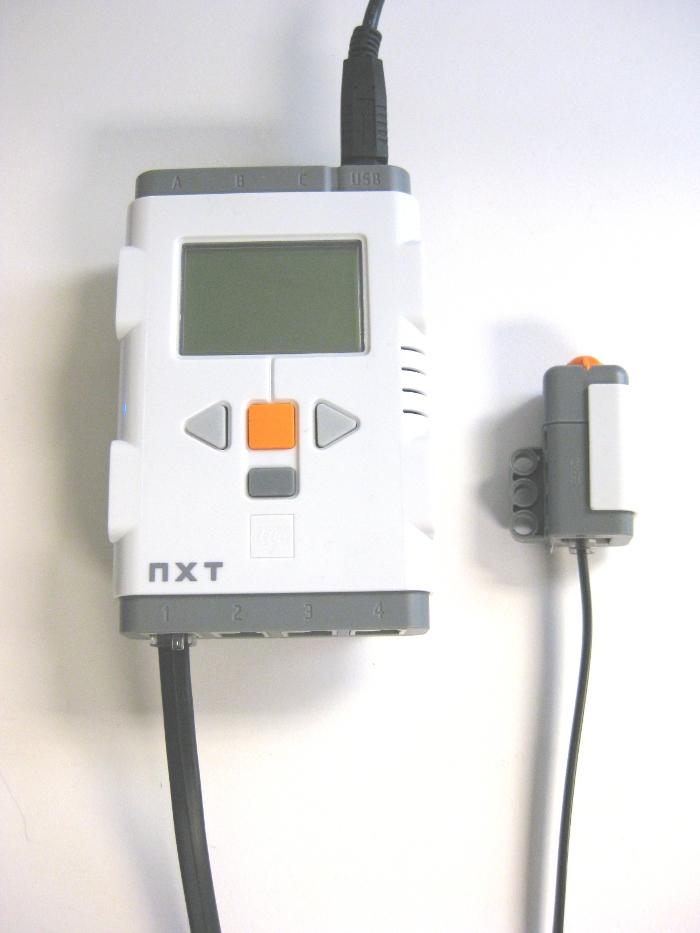
Before we start running a whole robot, let's take a first small step. Take your brick and attach a touch sensor to PORT 1. Now connect the brick to your computer using the USB cable.

Create a Scratch Package
Before starting this tutorial, take the time to create a scratch package to work in and manipulate the example code. See creating a ROS package to learn more about creating a package. In the nxt folder, create a package called learning_nxt, with dependencies on rospy and nxt_ros:
roscd nxt
roscreate-pkg learning_nxt rospy nxt_ros
rosmake
cd learning_nxt
Note: This instruction refers to a source-based installation. If you installed nxt system-wide (i.e. under /opt/ros/), you should create a local overlay for your packages.
Configuration file
The NXT-ROS bindings need to know which sensor are connected to your brick, and which port they are connected to. This is described in a configuration file. For our example with only one sensor, let's create a configuration file called robot.yaml that looks like this:
nxt_robot:
  - type: touch
    frame_id: touch_frame
    name: my_touch_sensor
    port: PORT_1
    desired_frequency: 20.0
This configuration tells NXT-ROS we have on sensor which is a touch sensor. We give the sensor a name my_touch_sensor, and connect this sensor to PORT_1 on the brick. The desired frequency specifies how many times per second (Hz) we want to read the status of the touch sensor. Note that you can't set this frequency to some really big number, because the brick can't handle really high frequencies. 5-20 Hz is typically a good value.
Launch file
Now all we need to do is create a ROS launch file that will start up NXT-ROS. Let's create a launch file called robot.launch:
<launch>

  <node pkg="nxt_ros" type="nxt_ros.py" name="nxt_ros" output="screen" respawn="true">
    <rosparam command="load" file="$(find learning_nxt)/robot.yaml" />
  </node>

</launch>
Running the test
Now we are ready to run the test. First, turn on your brick, and the run:
roslaunch robot.launch
You should see some output like this:
SUMMARY
========

PARAMETERS
 * /nxt_ros/nxt_robot

NODES
  /
    nxt_ros (nxt_ros/nxt_ros.py)

starting new master (master configured for auto start)
process[master]: started with pid [11699]
ROS_MASTER_URI=http://bvo:11311/

setting /run_id to bdc4194a-acb9-11df-8081-00251148e8cf
process[rosout-1]: started with pid [11712]
started core service [/rosout]
process[nxt_ros-2]: started with pid [11724]
[INFO] 1282349960.808368: Creating touch with name my_touch_sensor on PORT_1
Now, you can see that the sensor is visible in ROS. Type in a new terminal
rostopic list
You can see that my_touch_sensor is in the list!
To get the output of the touch sensor, run:
rostopic echo my_touch_sensor
Now press the button of the sensor, and see how the output changes on your screen.
Creating a full robot in NXT-ROS
See the next tutorial


