| Note: This tutorial assumes that you have completed the previous tutorials: Writing a realtime joint controller. |
| |
Running a realtime joint controller
Description: This tutorial teaches you how to configure and run an existing joint space controllerTutorial Level: BEGINNER
Next Tutorial: Communicating with a realtime joint controller
Contents
Introduction
In this tutorial we will run the controller created in the previous tutorial. This tutorial uses
the gazebo simulator environment to run the controller. If you have never heard about gazebo, check out this tutorial first.
the ROS Parameter Server to store the parameters used during initialization/configuration of the controller. The rosparam command line interface sets/administers the parameters on the server.
the pr2_controller_manager to control the execution of the controller.
Starting the pr2 in Gazebo
So, let's get gazebo running first:
$ rosmake pr2_gazebo
$ roslaunch gazebo_worlds empty_world.launch
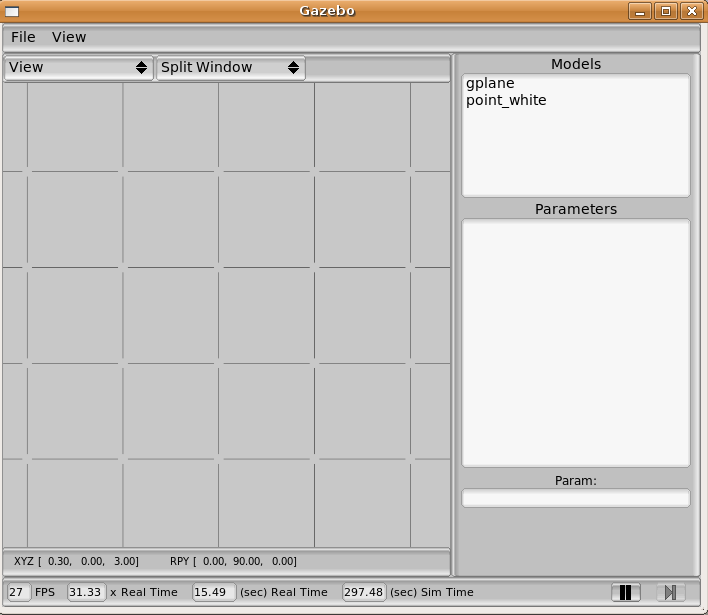
You should see an empty gazebo world. 
Now let's create a pr2 robot inside this world:
$ roslaunch pr2_gazebo pr2.launch
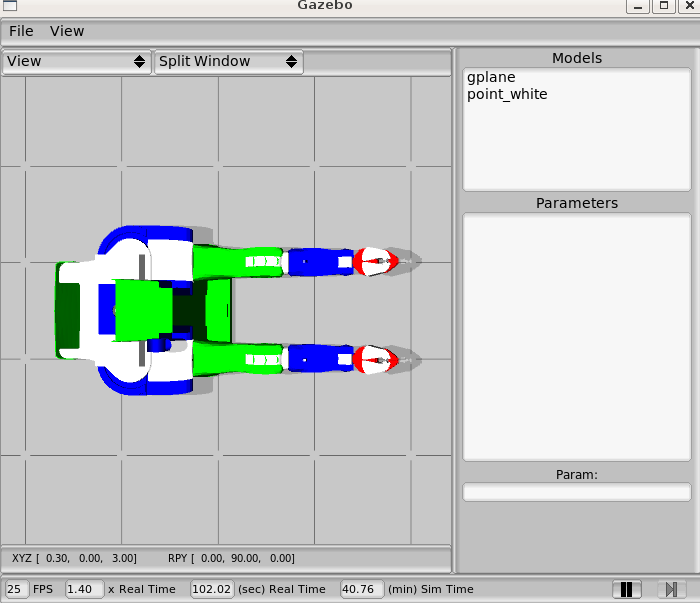
And your simulation world should look like this. 
Running the Controller

Now you should start the rxconsole to get feedback about the system. This is useful to see why your controller might fail to load. As a good practice, you should ALWAYS run rxconsole or pr2_dashboard when you are working with the robot:
$ rxconsole
Configuring the Controller
The first step to running a controller is laying out its configuration on the parameter server.
There is one parameter that all controllers need: the controller type; this is the name we used to register the controller, typically the same as the classname. So if we call our controller my_tutorial_controller, the parameter we need to set is: my_tutorial_controller/type:
$ rosparam set my_controller_name/type my_controller_pkg/MyControllerPlugin
Our controller has one internal parameter that we need to specify, called joint_name. To get a list of the available joints, type:
$ rosrun pr2_controller_manager pr2_controller_manager list-joints
For this tutorial, we will use the right shoulder pan joint:$ rosparam set my_controller_name/joint_name r_shoulder_pan_joint
To list all the parameters we just set, type:
$ rosparam get -p my_controller_name
Checking status of other controllers
Before starting our controller, it is probably a good idea to see what else is running in the system. Some controllers can be started automatically when the system comes up. Running two controllers that use the same resources, i.e. try to control the same joint, can lead to bad results. To see what's happening type:
$ rosrun pr2_controller_manager pr2_controller_manager list
If you are worried about a conflict, you may decide to use a different joint or you can stop the other controller. To stop a controller type:
$ rosrun pr2_controller_manager pr2_controller_manager stop CONTROLLER_NAME
Loading and Starting the Controller
Finally, we need to check if our controller got registered to the controller manager. To get the list of registered controllers, type:
$ rosrun pr2_controller_manager pr2_controller_manager list-types
Look in the output for our controller MyControllerPlugin. If it's there you're ready to load and start it.
Load
If everything looks good, let's try to load our controller:
$ rosrun pr2_controller_manager pr2_controller_manager load my_controller_name
You should see: "Loaded my_controller_name". We can confirm that the controller is loaded with :
$ rosrun pr2_controller_manager pr2_controller_manager list
Start
You'll notice that our controller is loaded, but it is still stopped and the robot is not moving yet. All we need to do now it start our controller:
$ rosrun pr2_controller_manager pr2_controller_manager start my_controller_name
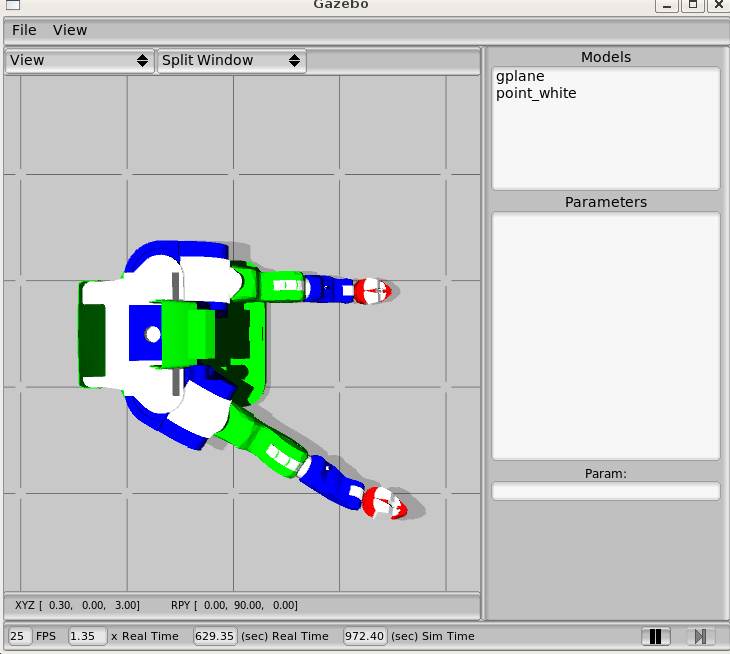
The right arm of the pr2 should start moving

We can confirm that the controller is running with :
$ rosrun pr2_controller_manager pr2_controller_manager list
Stop
The command to stop the controller is quite obvious:
$ rosrun pr2_controller_manager pr2_controller_manager stop my_controller_name
After you stop it, you could start it again, stop it again, etc.
Unload
To totally remove our controller from the controller manager type:
$ rosrun pr2_controller_manager pr2_controller_manager unload my_controller_name
Note that unload only works when the controller is stopped. To make sure the controller is gone, type:
$ rosrun pr2_controller_manager pr2_controller_manager list
Making things easier
Yaml configuration
The above method to run a controller involved a lot of typing. Well, you can make things a lot easier by storing all the configuration into a yaml file. Simply create a file called my_controller.yaml and copy the parameters:
  my_controller_name:
    type: my_controller_pkg/MyControllerPlugin
    joint_name: r_shoulder_pan_joint
Now you can load the parameters by:
$ rosparam load my_controller.yaml
To load and start the controller at once, you can use the spawn option:
$ rosrun pr2_controller_manager pr2_controller_manager spawn my_controller_name
To unload and stop the controller in one call, use the kill option:
$ rosrun pr2_controller_manager pr2_controller_manager kill my_controller_name
Launch file
To make things even easier, you have run your controller from a '''launch''' file, using the spawner tool. using a launch file and the spawner tool (see the controller manager for more details on tools to interact with controllers). Simply create a file called my_controller.launch:
<launch>
   <rosparam file="$(find my_controller_pkg)/my_controller.yaml" command="load" />

   <node pkg="pr2_controller_manager" type="spawner" args="my_controller_name" name="my_controller_spawner" />
</launch>
and run it:
$ roslaunch my_controller.launch
and to stop, simply press ctrl-c.
Now you're ready for the next controller, and learn how to communicate with a realtime joint controller


