| |
Create a point cloud object model
Description: Create a point cloud model from an object using a Kinect camera and a marker patternTutorial Level: ADVANCED
Contents
Setup
Print out the marker template found either on the re_object_recorder site (direct link) or in roboearth/object_scanning/marker_template.pdf and glue the two pages to each other.
Make sure that the black marker boxes are squares with an edge length of 80mm and the RoboEarth logo in the center forms a perfect circle.
- Put the object to record in the middle of the marker template. Make sure that it does not occlude any black marker boxes.
- Move the Kinect camera approximately 60cm away from the marker template and fix it slightly higher of the object such that it is slightly tilted downwards.
If you encounter any problems, please take a look at the hints at re_object_recorder#Common_Problems_and_Solutions
How to start the software
You have to start the Kinect sensor driver first
roslaunch openni_launch openni.launch
Also, make sure that depth registration is enabled, see openni_launch#Quick_start for instructions on how to do that. Automatic depth registration can be enabled by adding <param name="depth_registration" value="true" /> in /openni_launch/launch/includes/device.launch to your driver nodelet.
Next you launch the ar bounding box operator
roslaunch ar_bounding_box ar_kinect.launch
This operator will segment the object from its environment, by creating a virtual box around the middle center of the marker template and throwing away anything around it.
If you plan to upload the objects to RoboEarth database, you need to start re_comm
rosrun re_comm run
The last thing is the graphical user interface for controlling the recording process.
rosrun re_object_recorder record_gui
After recording an object, follow the instructions on re_object_detector_gui in order to use them for detection.
Using RVIZ for visualization
You can use RVIZ to see what the Kinect is seeing and which markers it has detected.
rosrun rviz rviz
A configuration file can be found at ar_bounding_box/ar_bounding_box.vcg.
How to operate the recording process
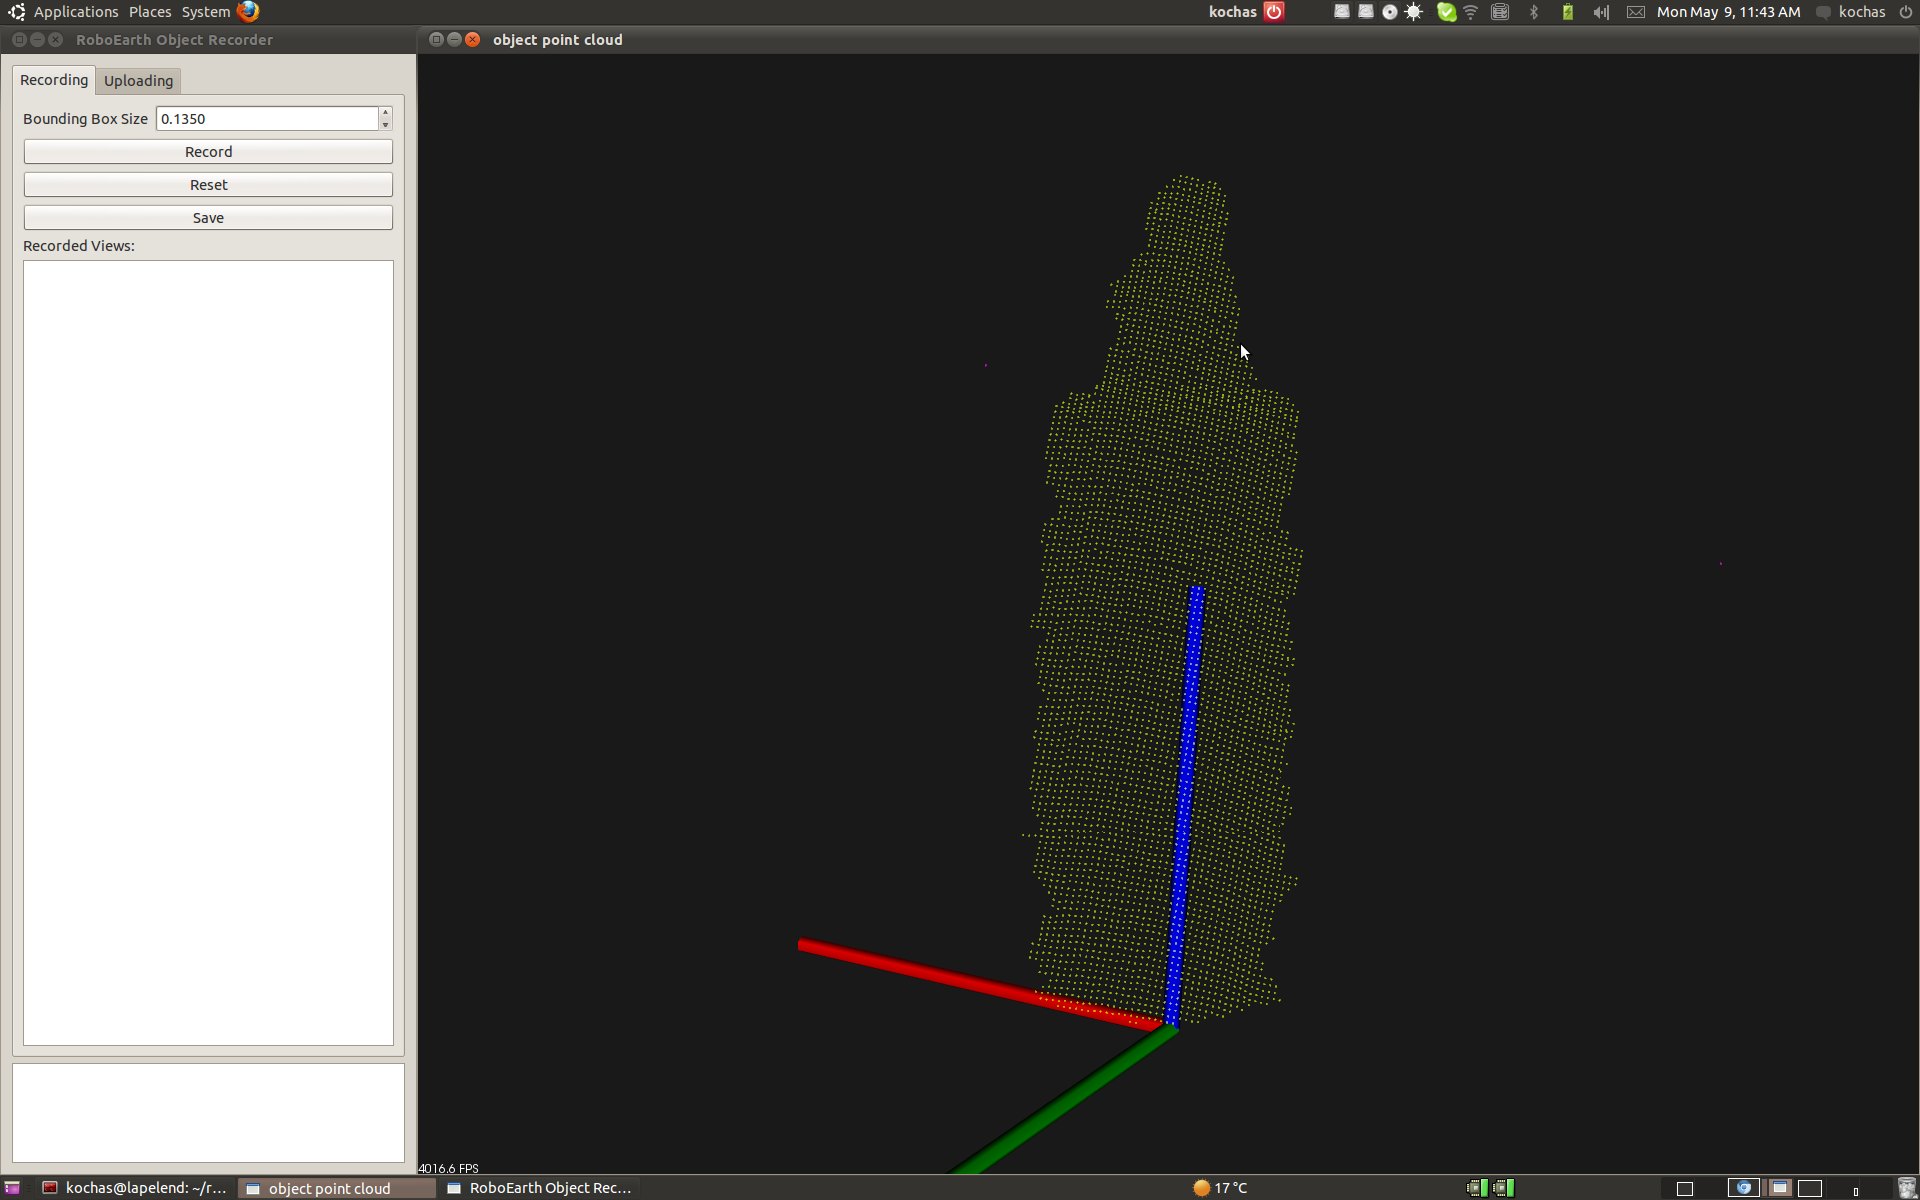
Once the graphical user interface is started, you might see a greenish point cloud, moving in the point cloud view window, that accompanies the record_gui. This point cloud is what will be added in case you press the record button.
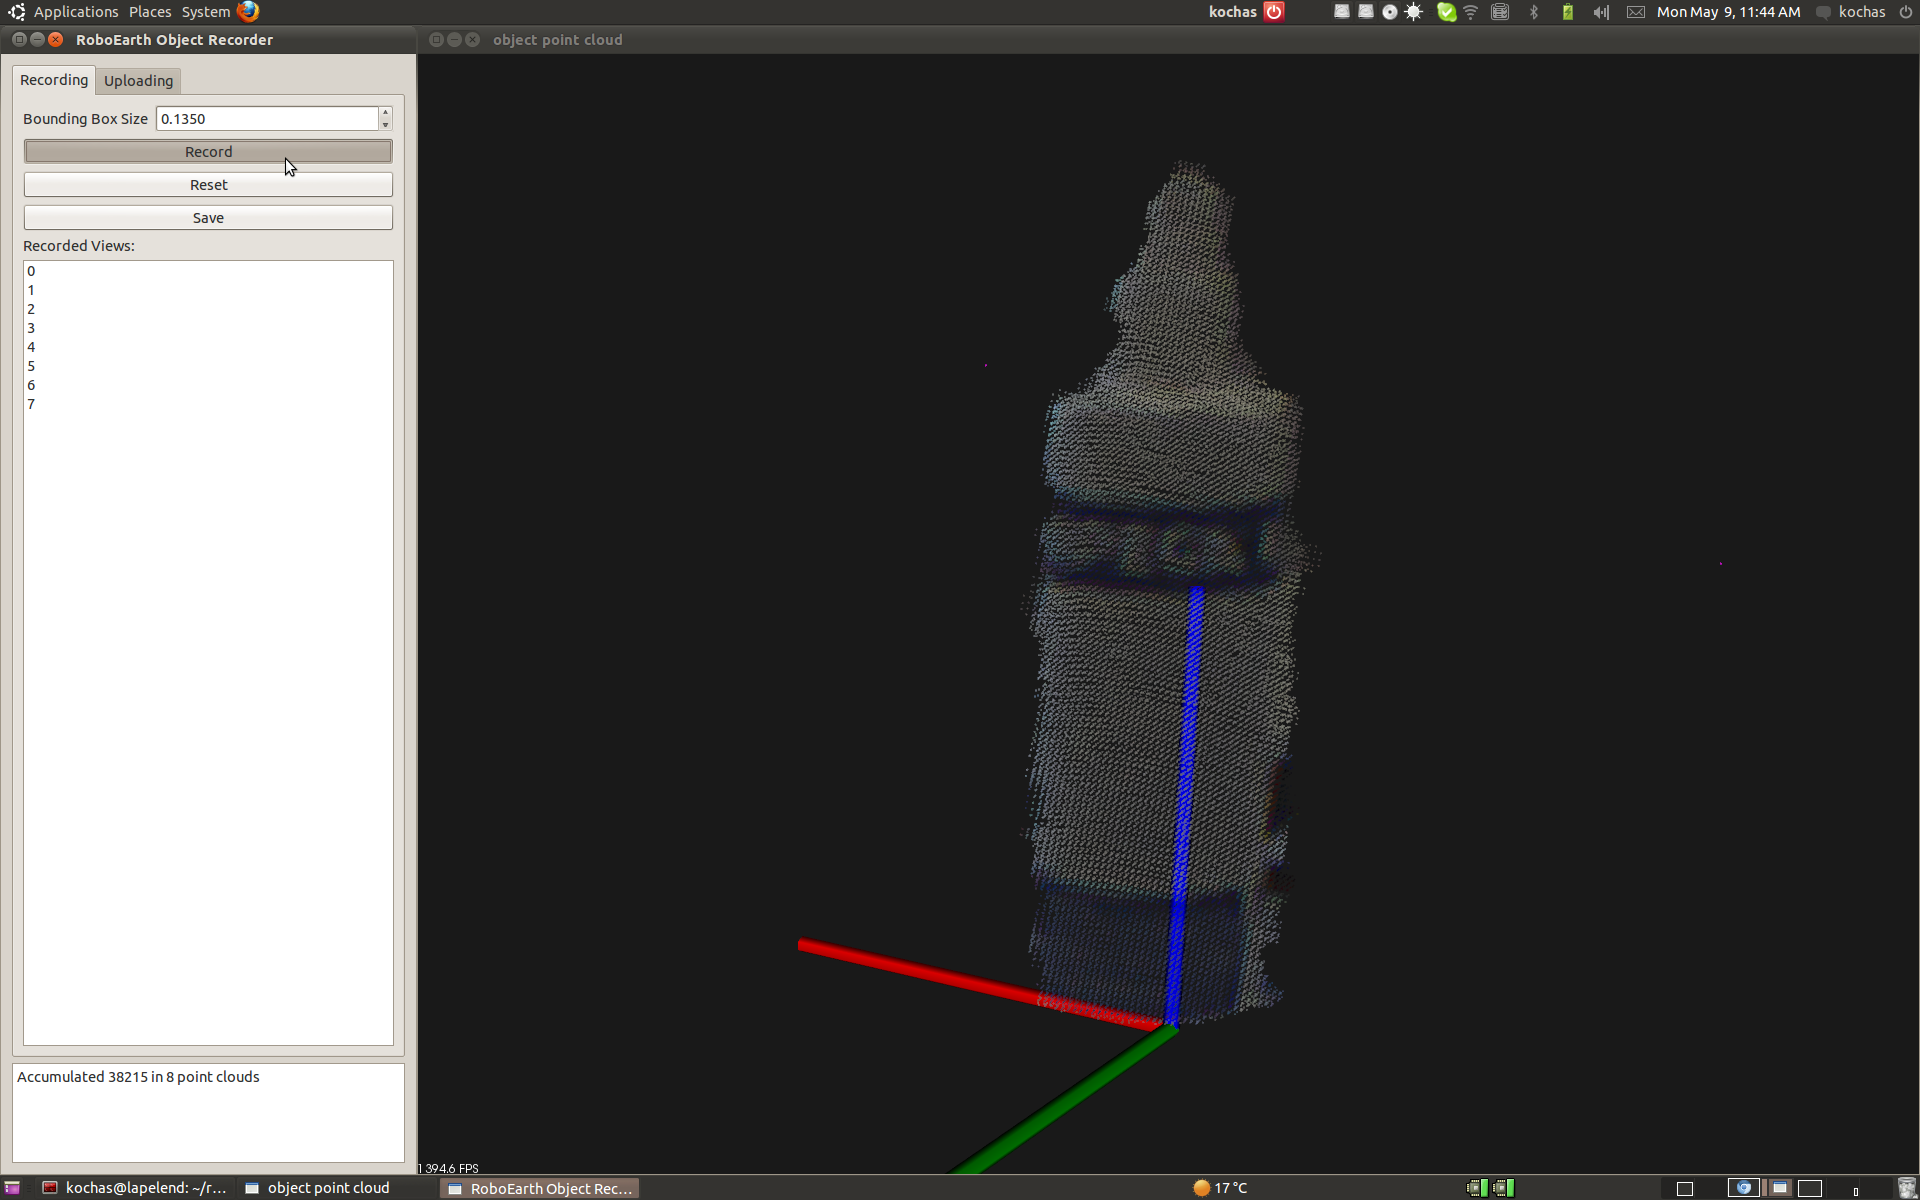
If you press the record button the color of the point cloud is switching to the RGB values again, showing all recorded point clouds in the object reference frame.
Note: If the cloud view window does not show any point cloud and you only encounter "Distance too large" errors instead, take a look at the hints given at re_object_recorder#A.27distance_X.2BAC8-X_too_large:_XXXX.27.
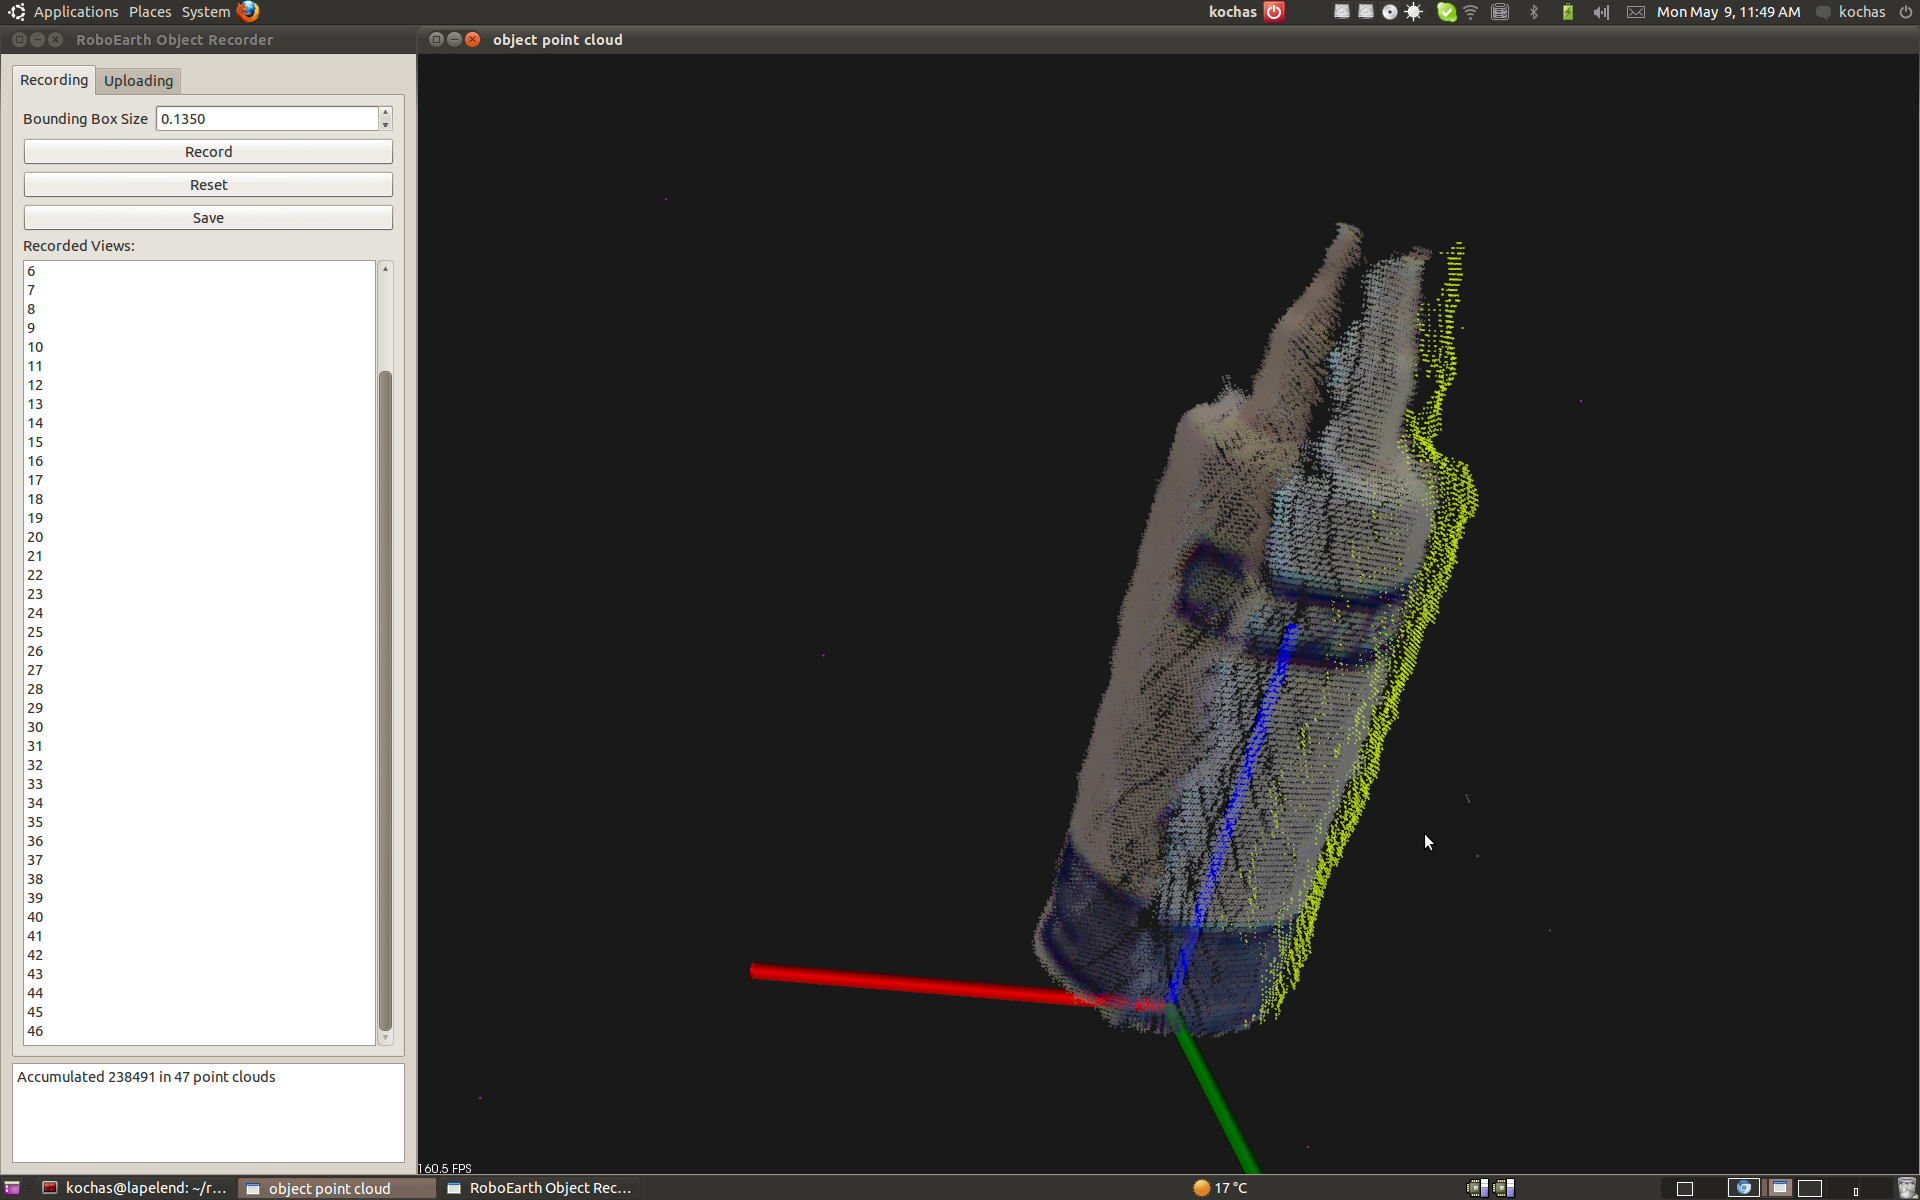
You can decide now, if you want to move either the camera or both pattern and object. The suggestion is to move the object, because otherwise you might not have a constant illumination and therefore get color effects like depicted in the following screenshot.
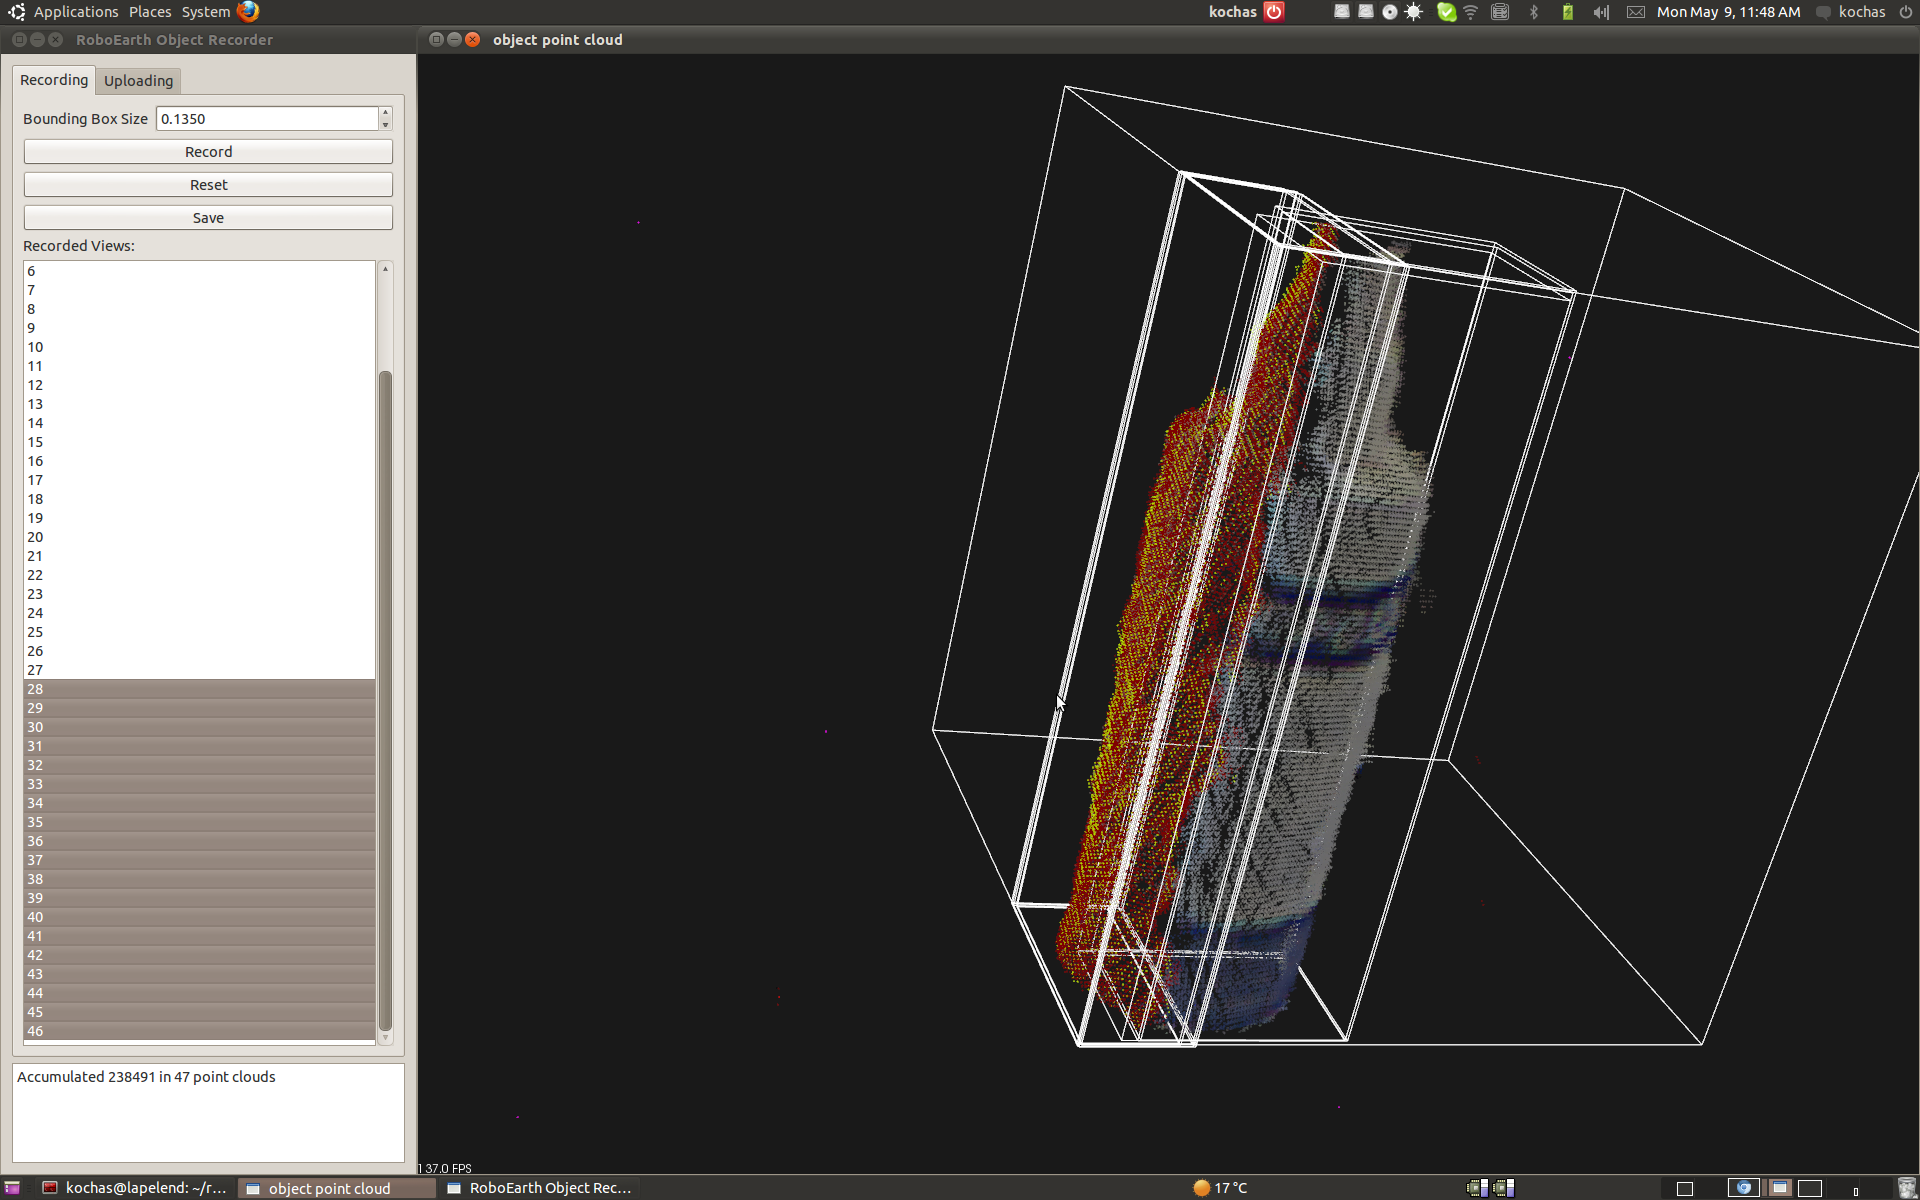
If by any chance you receive a point cloud in a base system that has a large position error, you can mark them in the scan list and press Del on the keyboard (The marked part will become red as in the following screenshot).
The reset button removes all point clouds that have been merged by now. The save button allows the point clouds merged so far to store into one zip file.
The point clouds for the different aspects carry the view port information in the object coordinate frame. It is also possible to use a viewing angle/surface normal threshold technique to filter out boundary points of the object, because due to sensor characteristics the boundary points may have background color and the depth information is not as precise as on the surface that is nearly perpendicular to the camera optical axis. You can activate it in the source code, but be aware that the calculation time will rapidly increase.
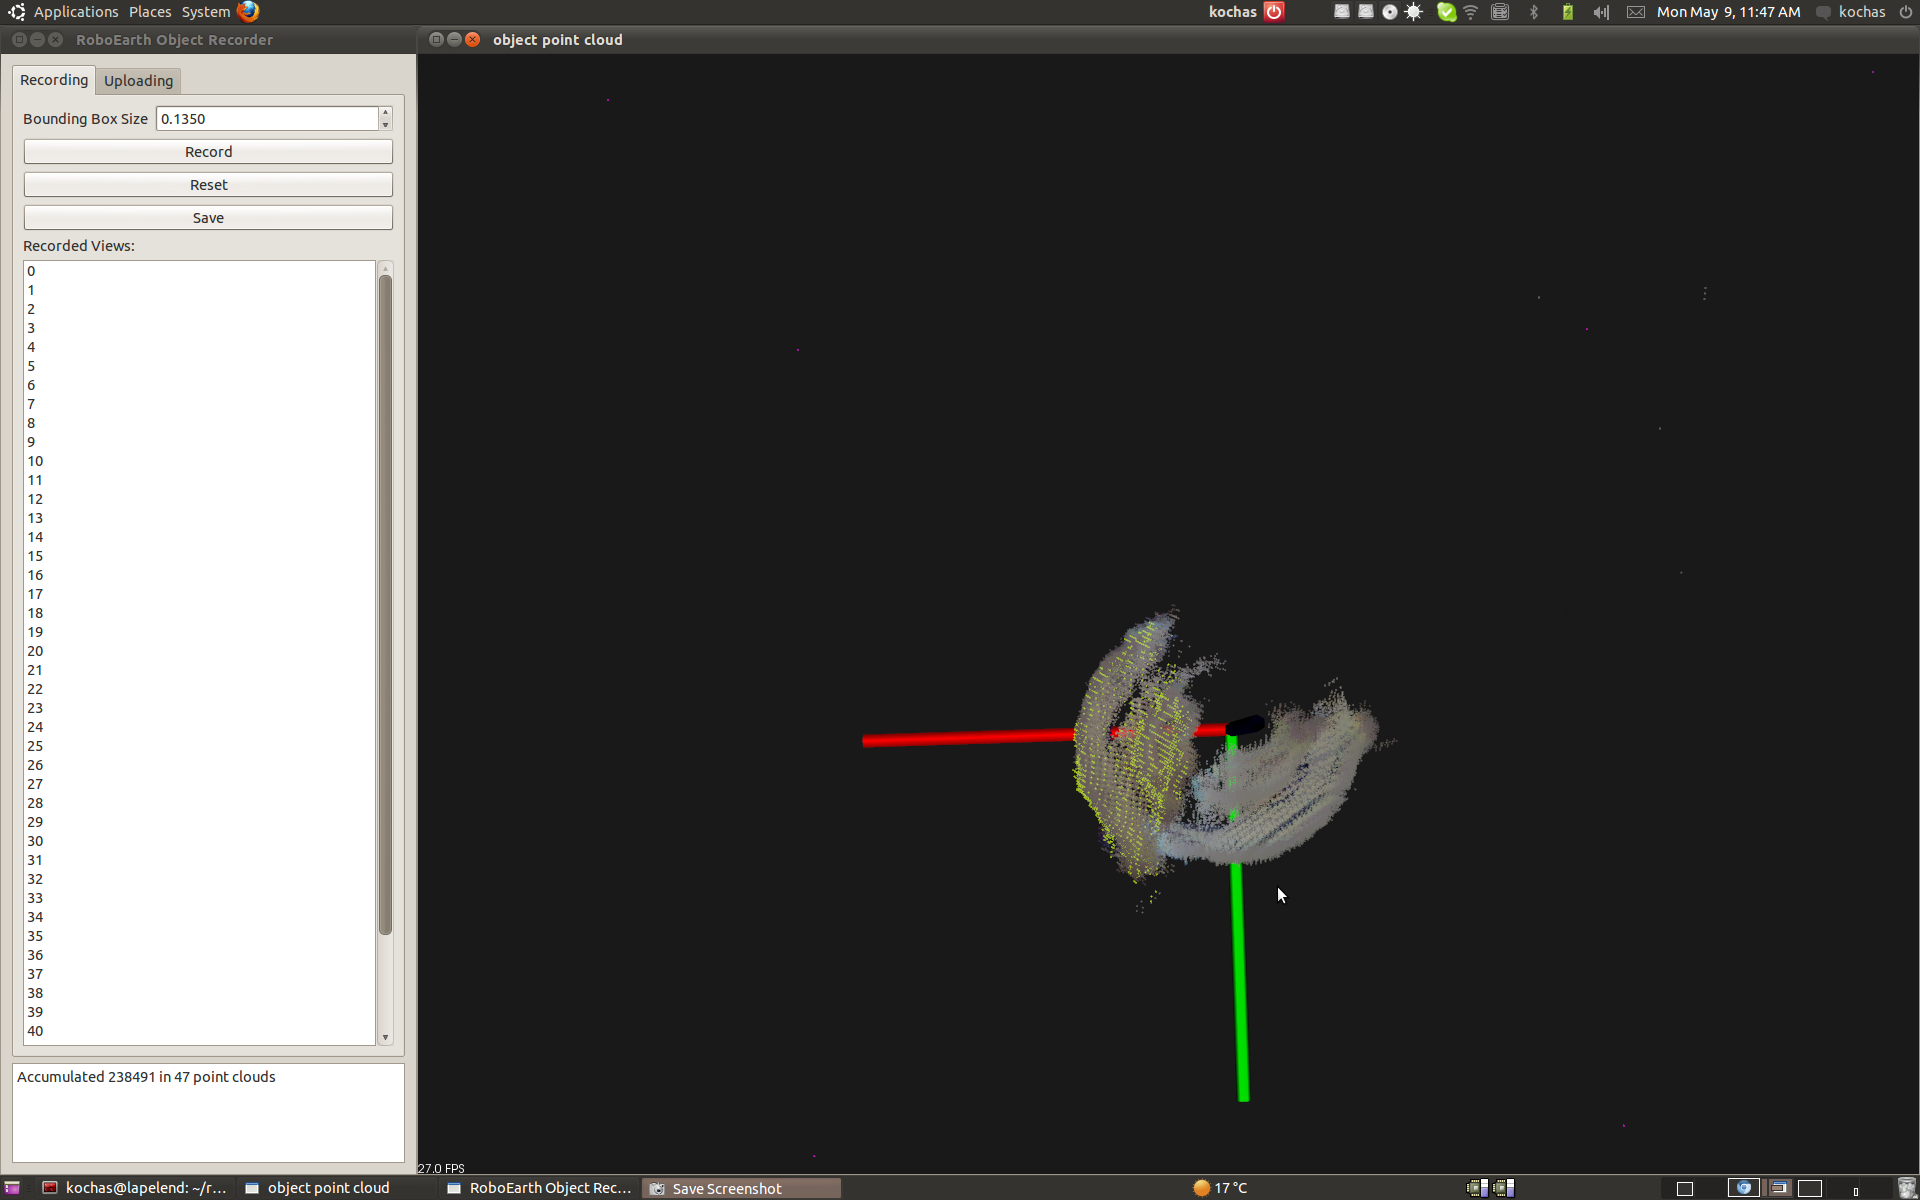
The following screenshot shows the error in depth estimation of the sensor.
Uploading the model to the RoboEarth Database
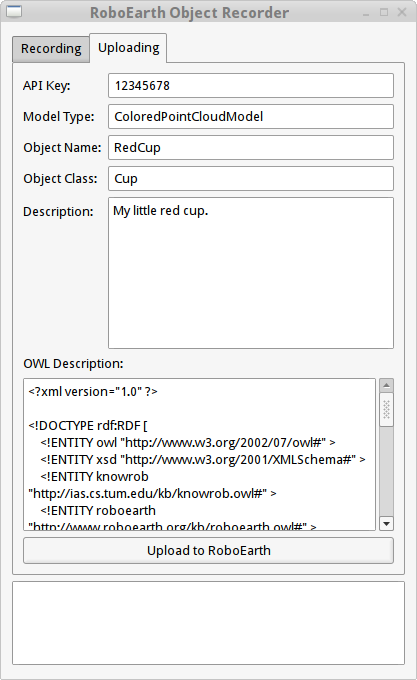
To share your recorded model with others, switch to the "Uploading" tab of the user interface. It should look similar to this:
Also, make sure that the re_comm node is running.
First of all you need to enter your RoboEarth API key in the corresponding input field. If you do not have one, you can get one after registering at the RoboEarth registration page.
Next, you need to enter some semantic information:
Object Class is the KnowRob class of the object, e.g. Cup. This should not include spaces.
Object Name should be the name of the object, e.g. RedCup. This should not include spaces.
In the Description field you may enter some free form descriptive text for others to read. This is not further processed by RoboEarth but serves only to add more information about your model to other humans.
In the field OWL description you can see the automatically created description for your model. You should not make any changes here.
If you are done, click the Upload to RoboEarth button. If it is not enabled (i.e. grayed out), there is either the API key, Object class or name missing.
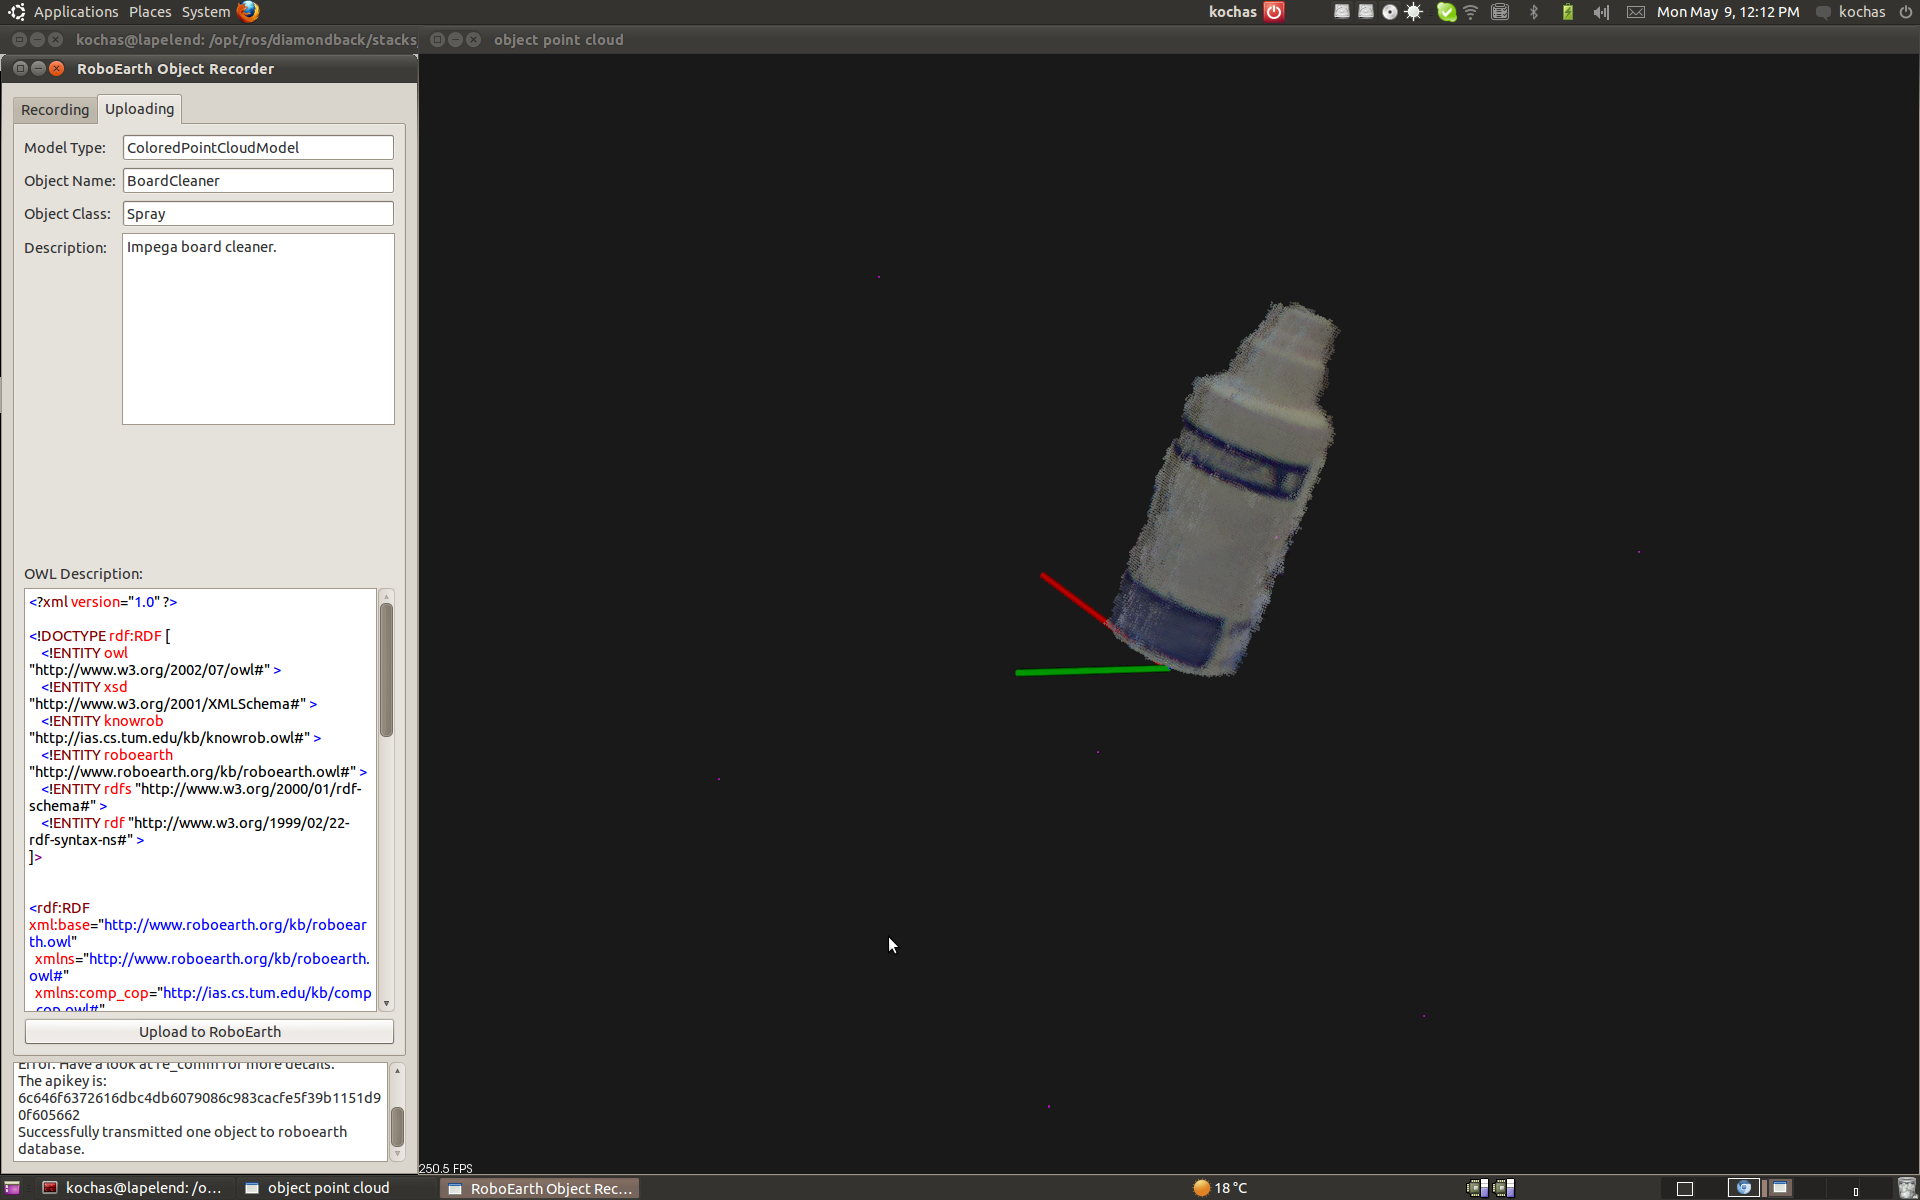
The uploading status will be displayed in the logging textfield, as pictured below. If there is an error, check the output in the terminal window where re_comm is running for more information.
Depending on the size of the recorded model the upload might take a while. Just be patient.
NOTE: Please be aware that at the moment it is not possible to upload a model of an object that is already in the database. Please upload it with another object name. If you want to re-upload it with the same object aname, please delete it manually using the database's web front end before the re-upload.
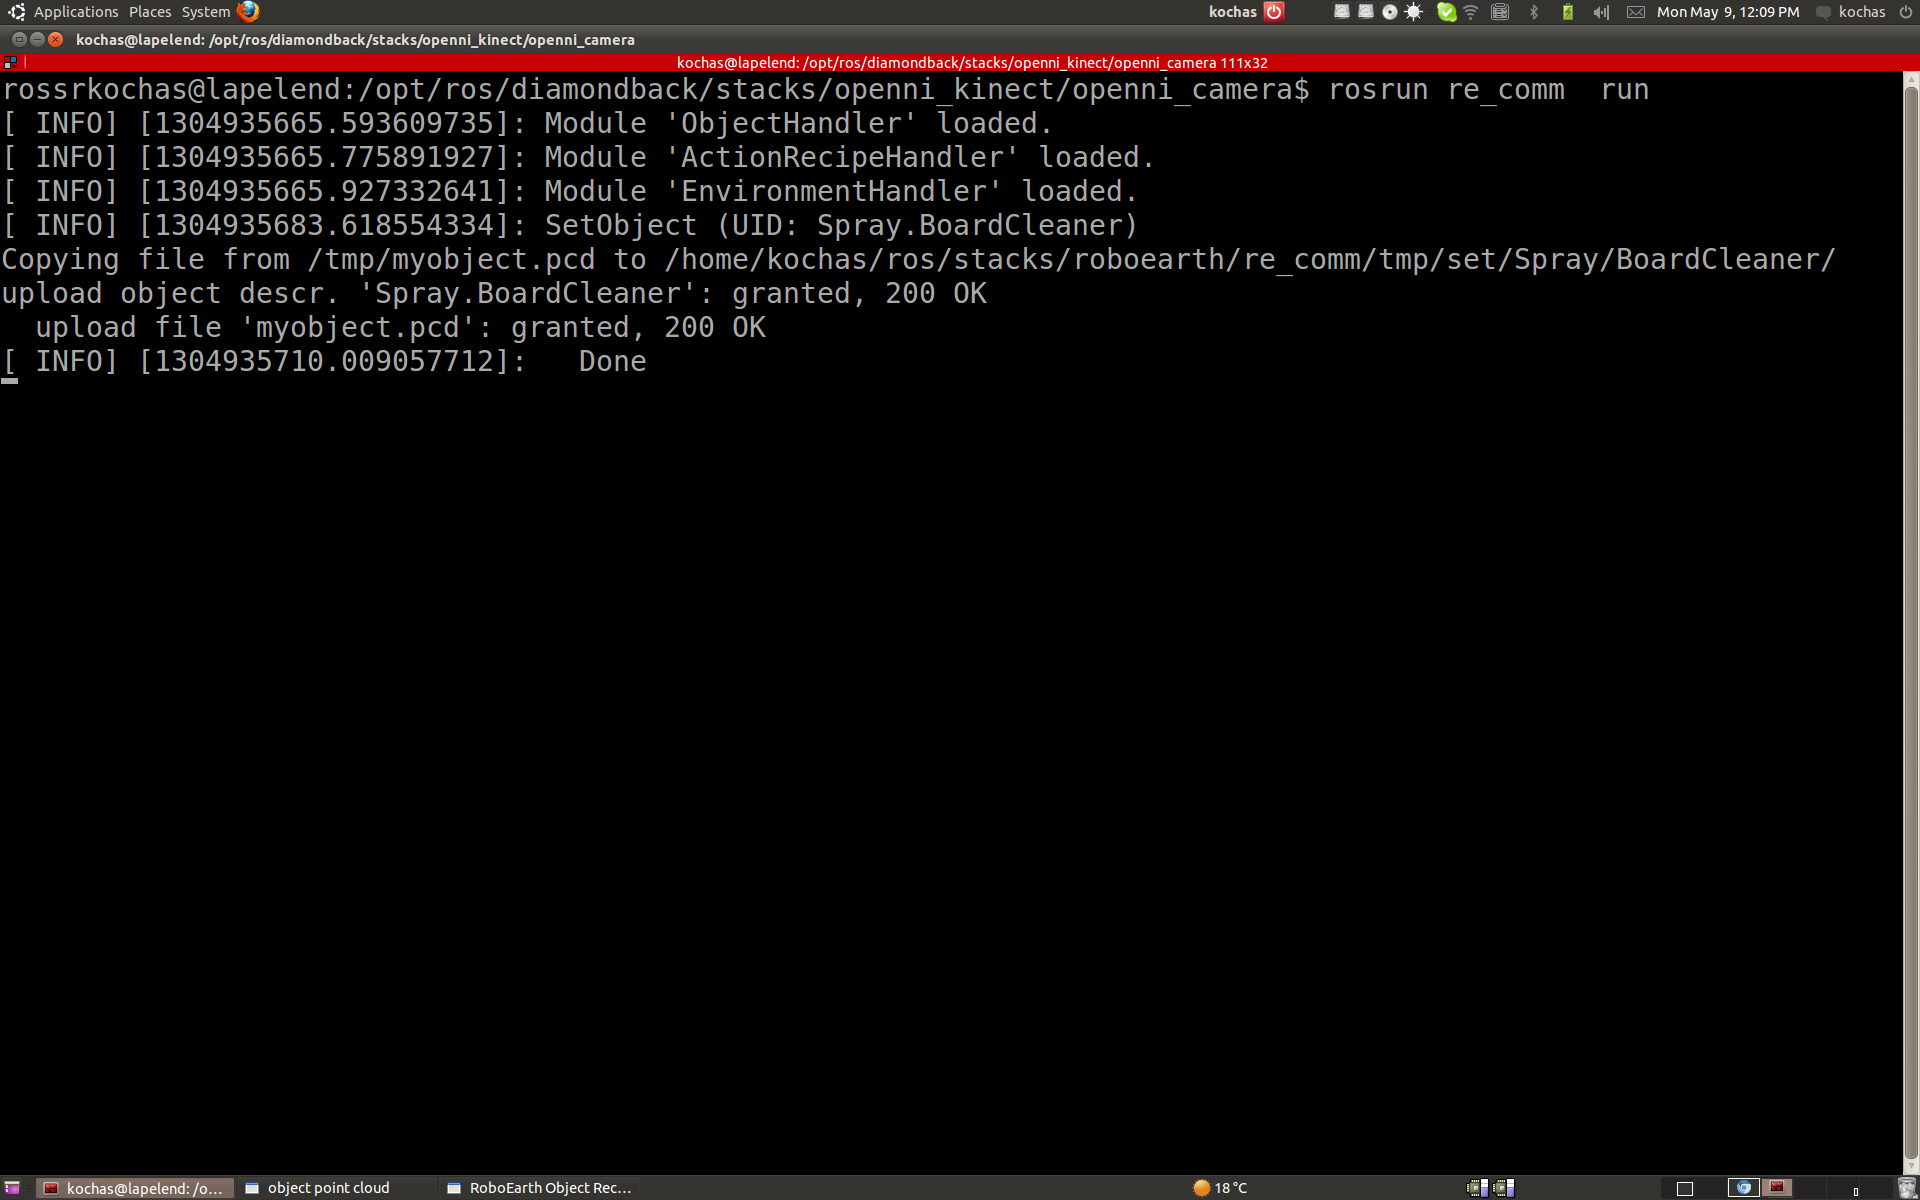
The resulting output in re_comm will look like this for a successful upload.
After a successful upload, you can find your object model on the database's web front end.


