PR2 Hardware Modifications and Add-ons
The PR2 has been designed for expansion by users, with additional mounting points for hardware, and connectors for data and power.
Below are modifications and add-ons submitted by PR2 users both within and outside of Willow Garage. Feel free to provide a link to your own hardware repository or web page, and further describe those you see here.
Willow Garage does not endorse any particular hardware modification, and reminds users that modifications are performed at their own risk. We highly encourage following the PR2 Modularity Specification.
Contents
Kinect
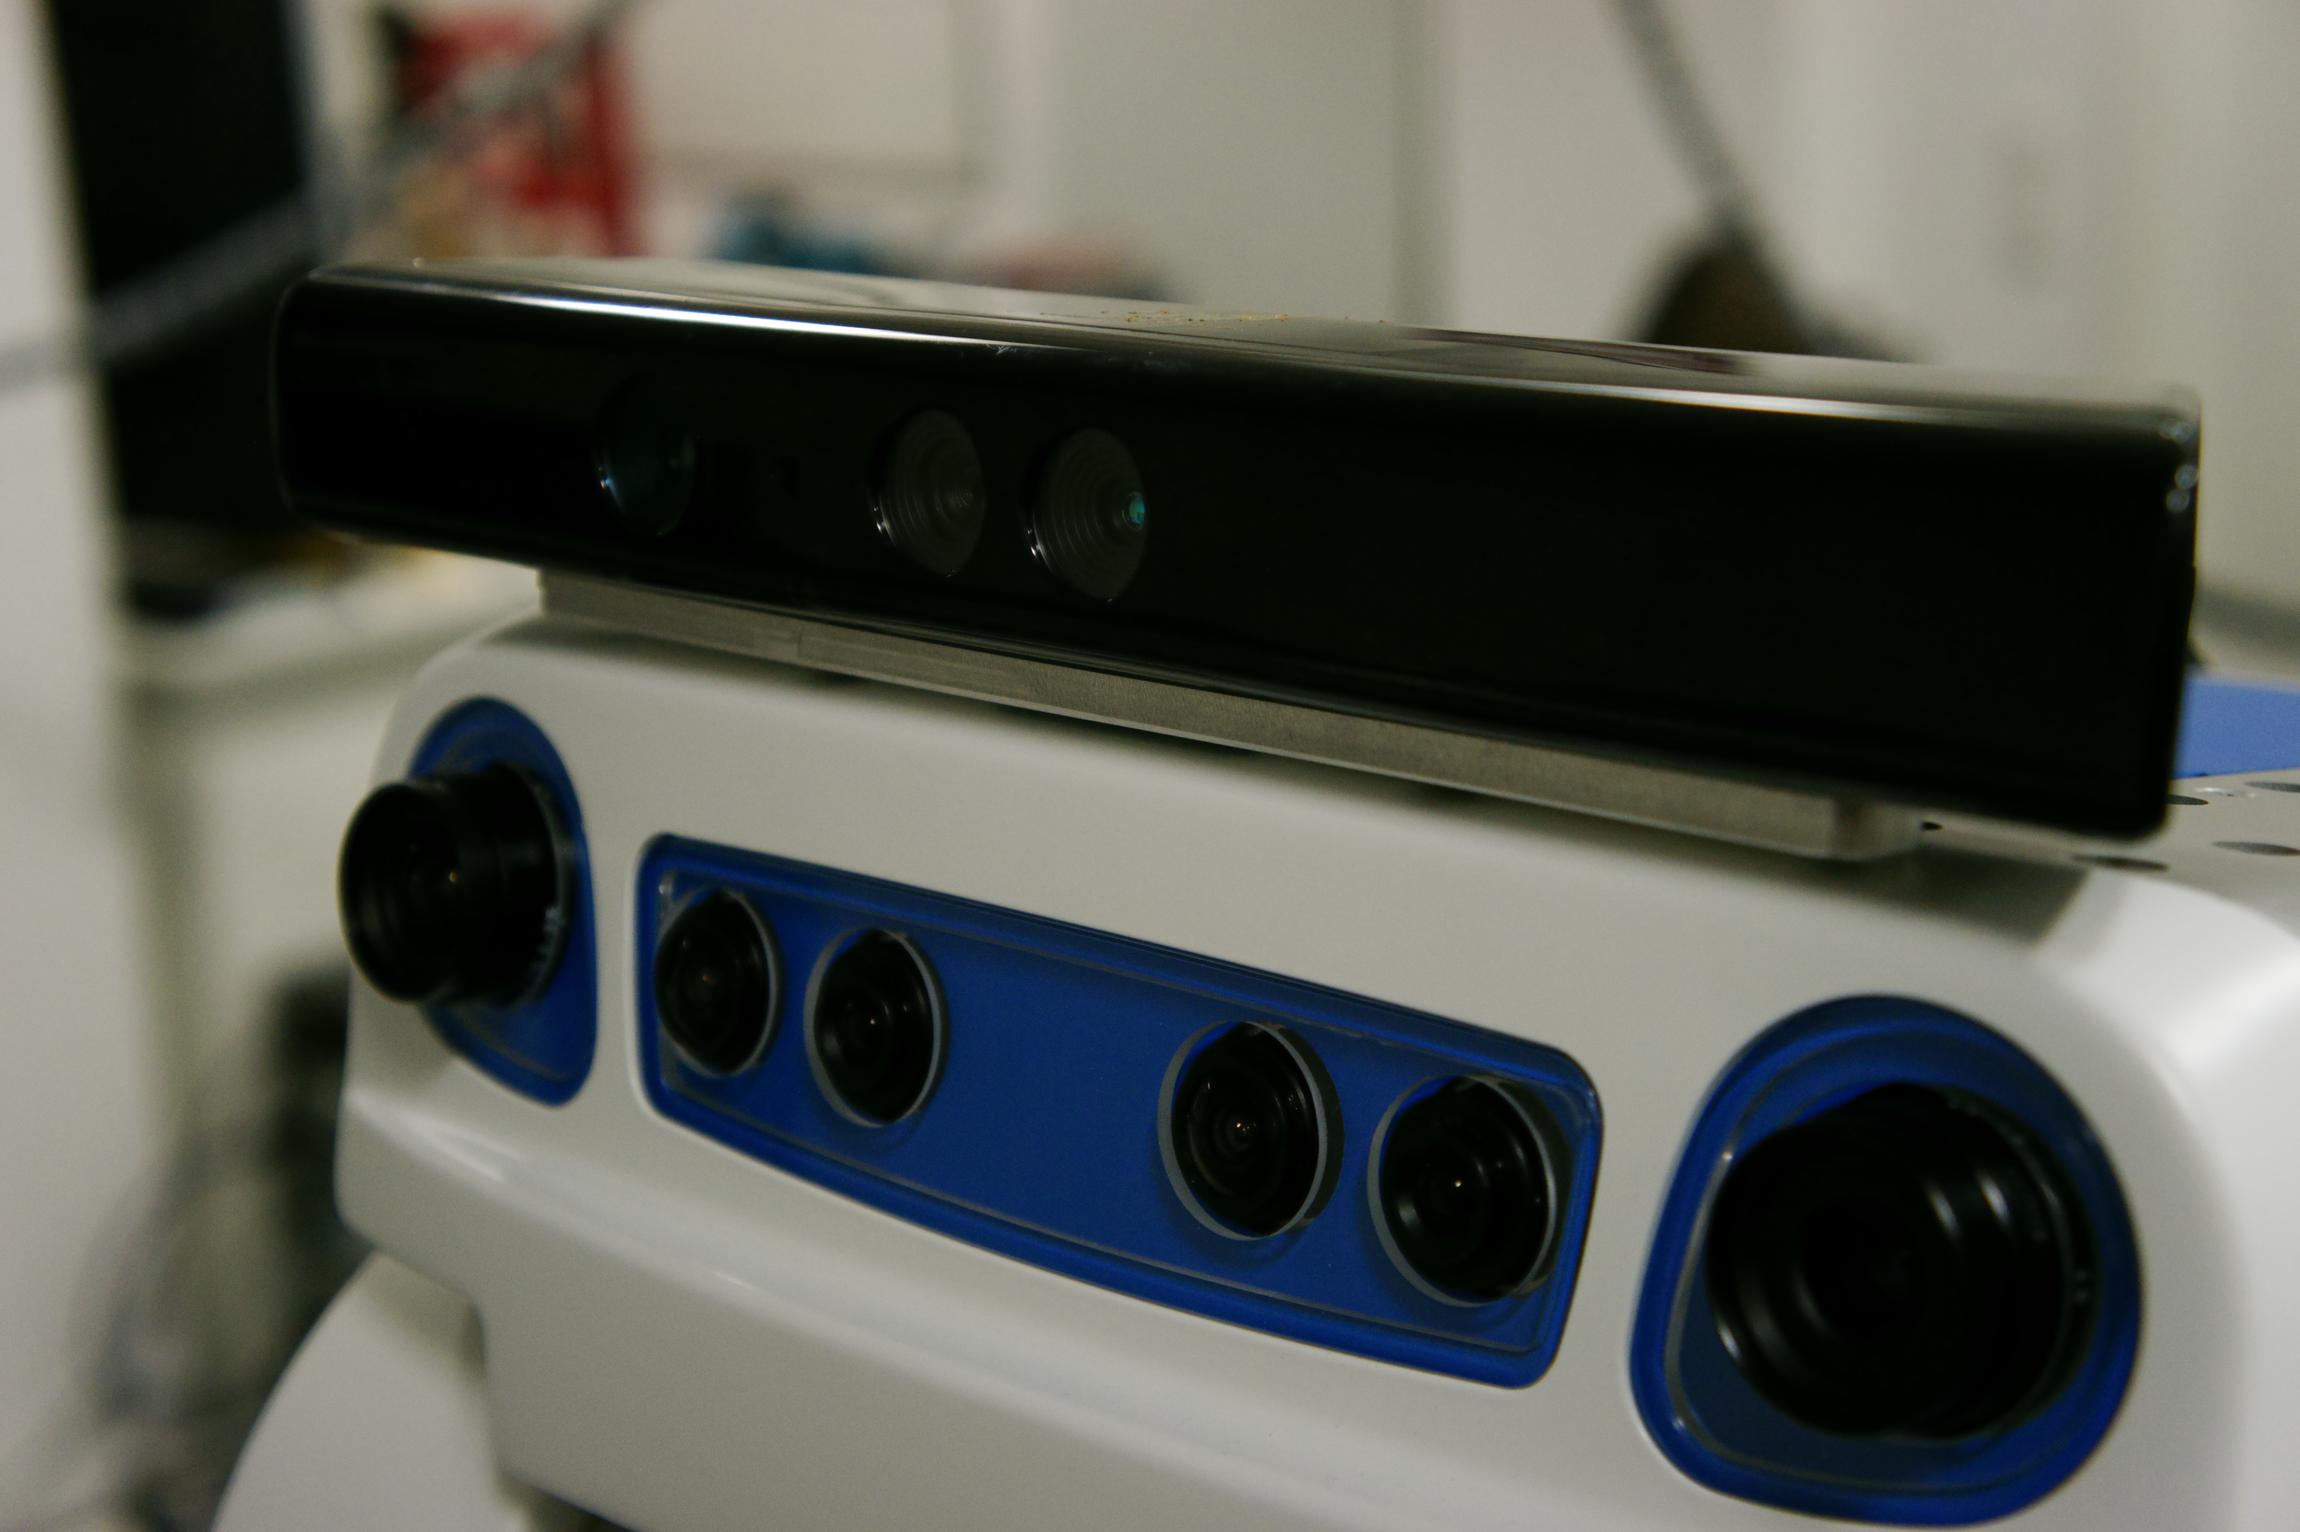
The Kinect sensor suite has proven to be a very popular add-on to the PR2.
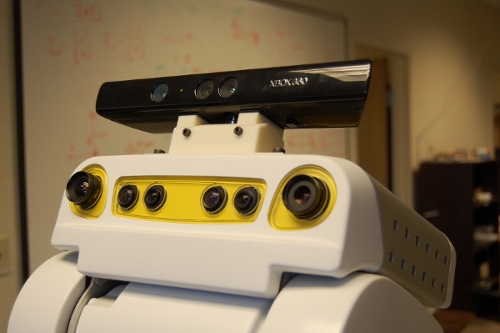
Willow Garage: This prototype places the sensors about 125 mm above the head. While this may introduce vibration while moving, it allows the sensors to view more of the ground directly around the robot (the body and shoulders partially block the view of the built-in cameras).
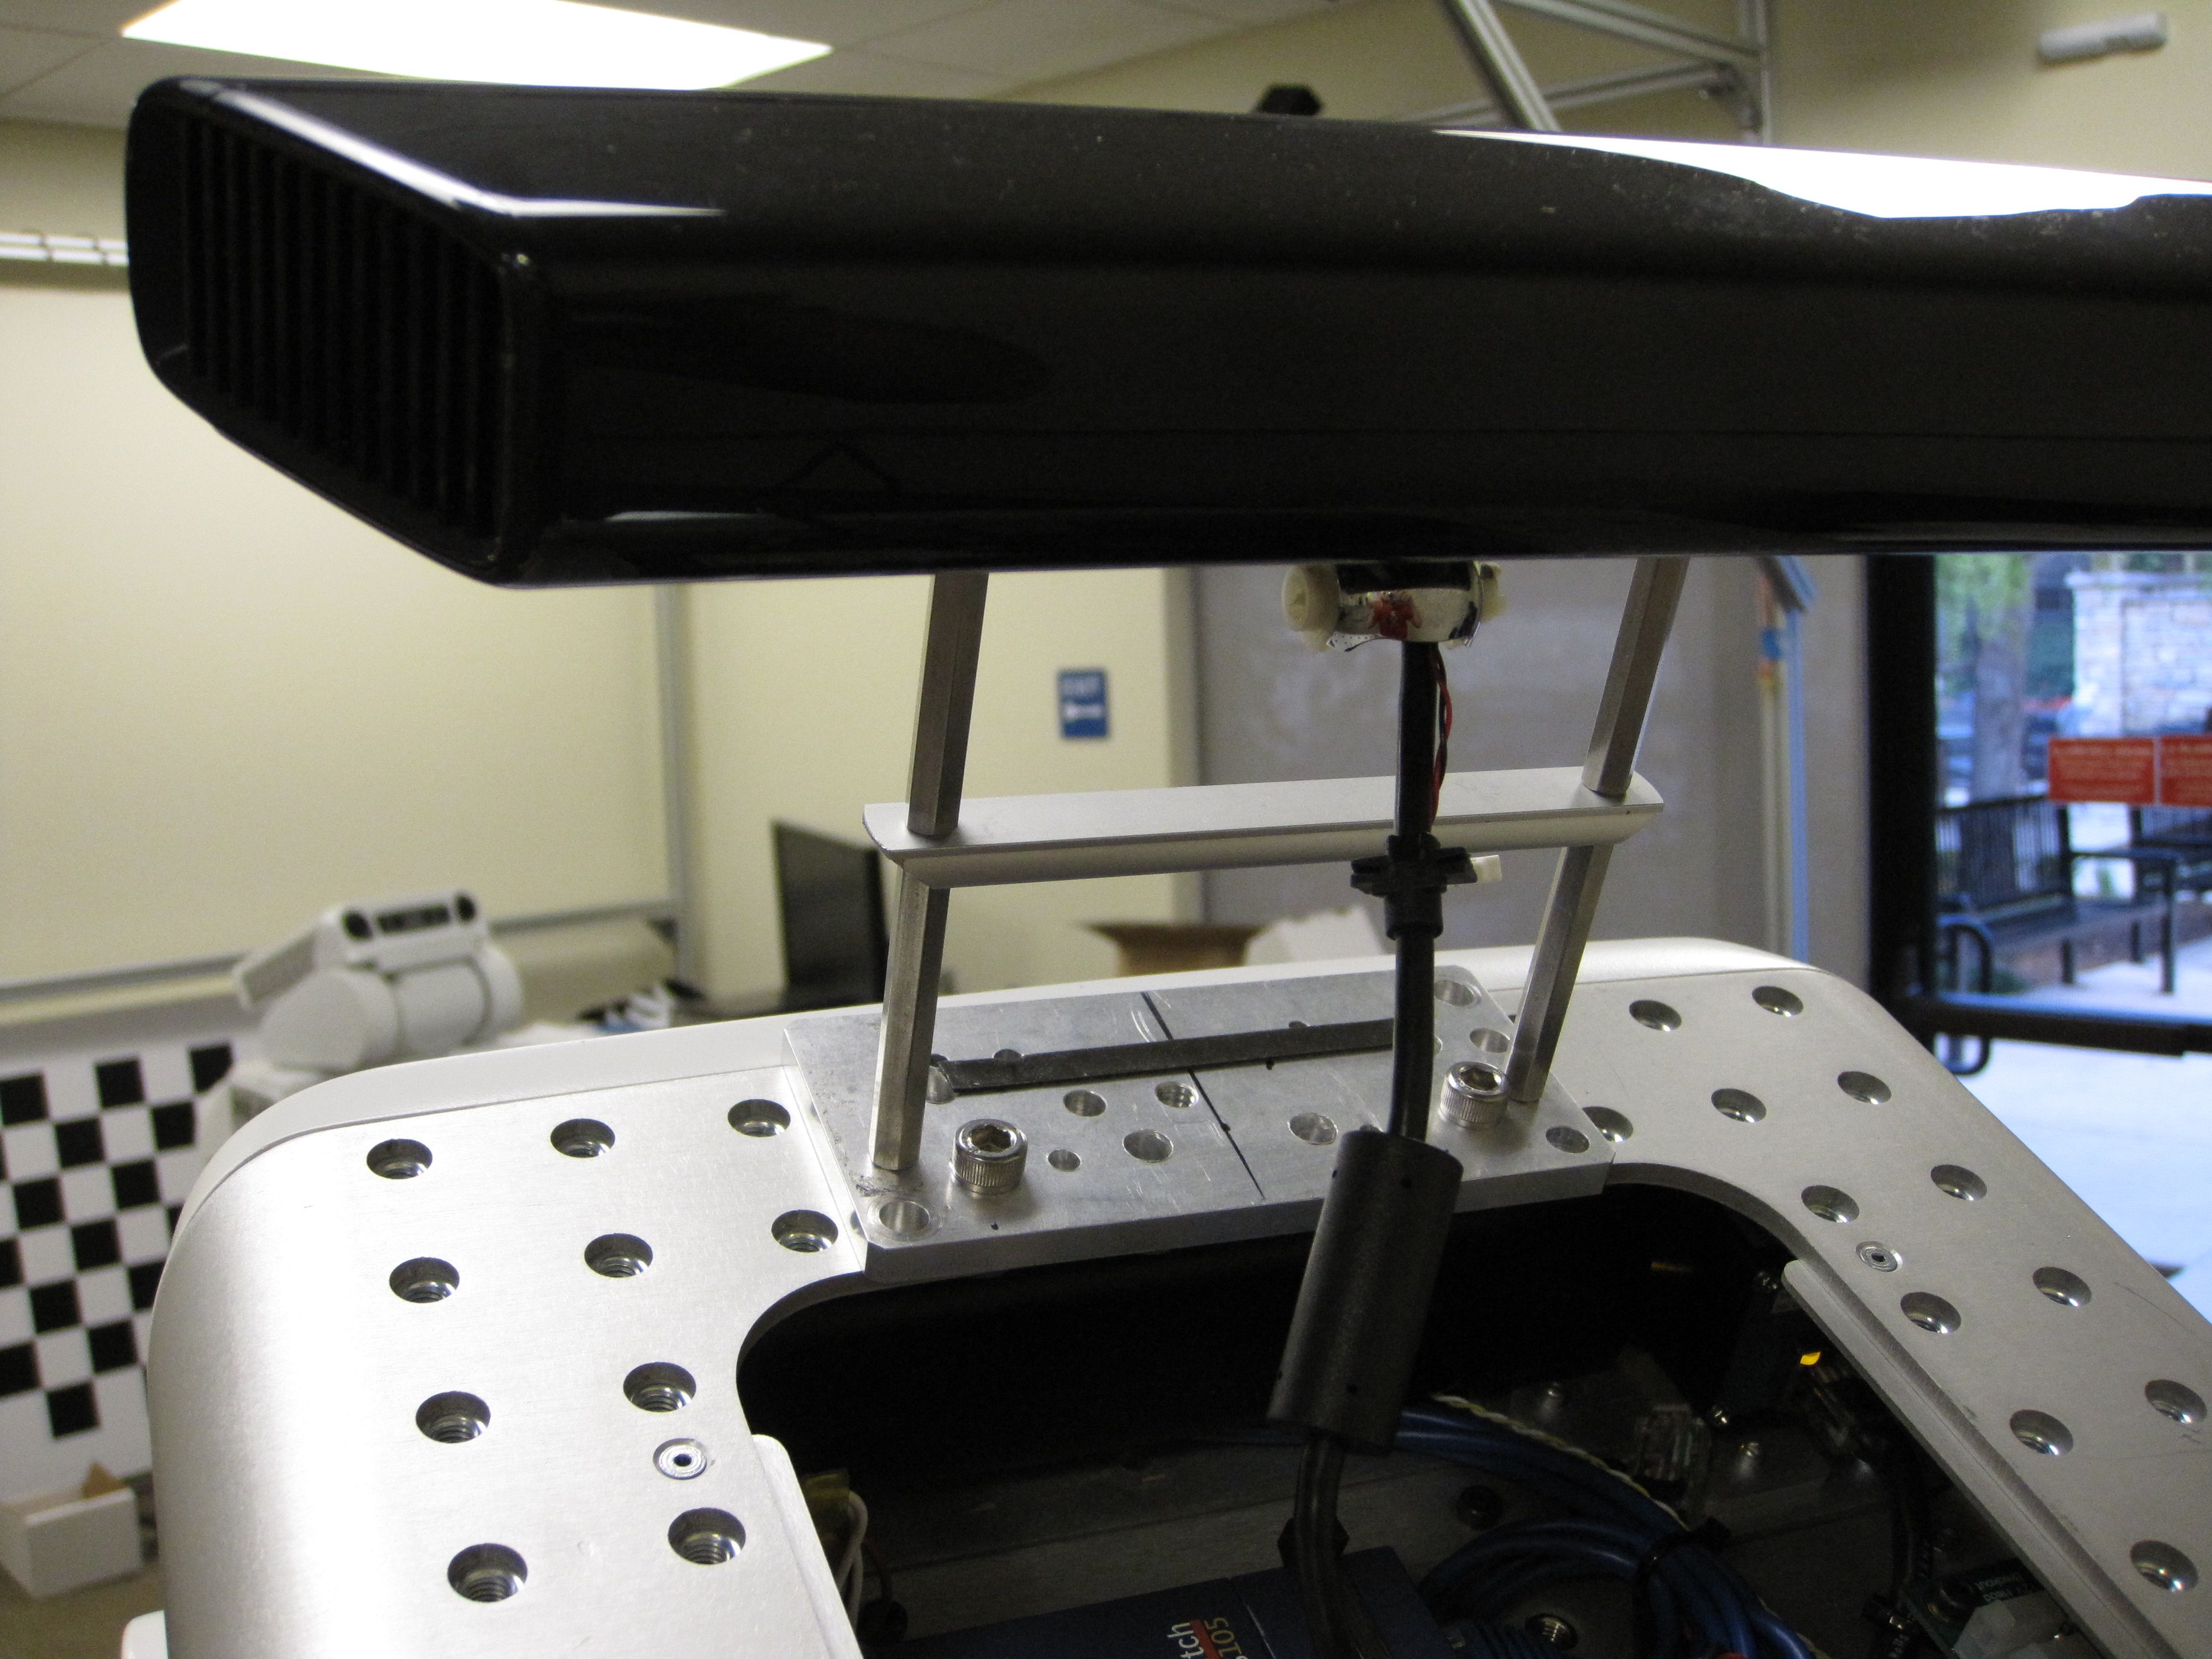
TUM: The sensor is mounted directly to the head via a mounting plate. An STL file for this mounting plate is available. Here KINECTMOUNT_jromano.dwg is a DWG autocad recreation of this mounting plate, useful for laser-cutting.
Connection A - Over USB: Very similar to JSK below with an exception that the sensor is powered from the power hub in the head.
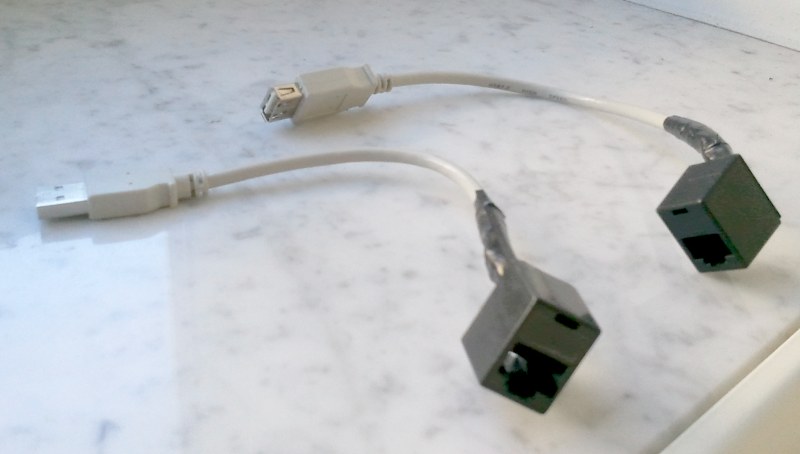
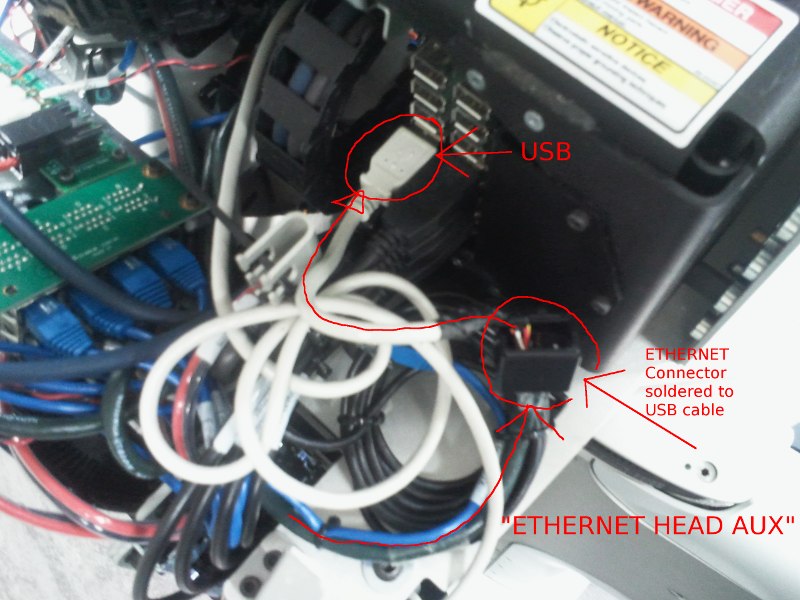
Connection B - Over Ethernet: The power was taken from the head, a miniconnect JR was found on a motherboard, usually providing 12V to a graphics card. The USB signal was routed through the Head Ethernet AUX cable, using a self-made passive connector from USB to ethernet, as seen in the pictures
JSK: The University of Tokyo's cover is made with a 3D printer. PAR and STL files are available.
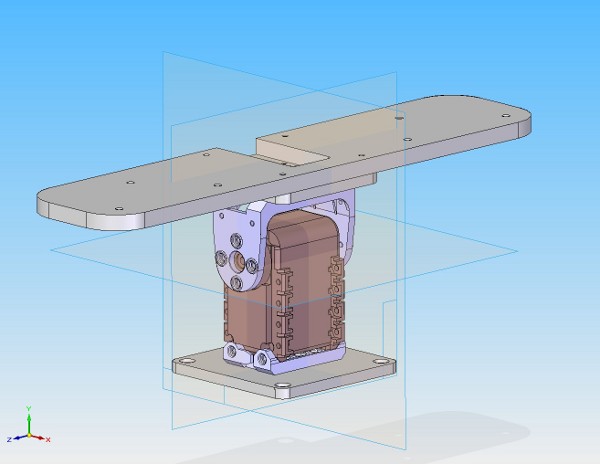
Leuven: The Kinect is mounted via an AX12, so it can be tilted independently from the rest of the head. Multiple CAD files available upon request.
GT-Healthcare Robotics Lab: Yet another version of a mount for the Kinect sensor. We have a 3D printed part that can be easily modified for other robots or general use. It also doesn't require opening the actual Kinect sensor casing, only the base. The assembly procedure, parts (for Solid Works) and other examples are fairly well documented and available here.
Kinect 2
This guide is for Indigo distributions only.
With the new Kinect for Xbox One (or Kinect 2), some modifications must be made to integrate it within the PR2.
Calibration of Kinect 2
Please read the Github page at https://github.com/code-iai/iai_kinect2 for calibration information.
Hardware installation
Software configuration
Software is available at http://www.clearpathrobotics.com/pr2-packages/ubuntu.
It can be added to your sources list under /etc/apt/sources.list.d/
deb http://www.clearpathrobotics.com/pr2-packages/ubuntu trusty main pr2 basestation
NUC set-up
"pr2-kinect2-packages":
This Debian package installs Kinect 2 drivers (libfreenect2) and ROS drivers (iai_kinect2) on the NUC (do not run on c1). It should already be pre-installed but if the package on your NUC is called pr2-kinect2, it needs to be removed and updated to pr2-kinect2-packages. Removal can be done with:
sudo apt-get remove pr2-kinect2
- then installed by running the following command:
sudo apt-get install pr2-kinect2-packages
Updating hosts on the NUC:
Update the /etc/hosts file on your computer to include the NUC (default hostname is pr2-head). Also, include your own computer's hostname on the NUC's /etc/hosts file by SSHing into pr2-head through c1. Network setup between the NUC and c1 should automatically be done for you.
c1 set-up
"pr2-nuc-ssh":
This Debian package is installed on c1 and configures SSH keys between c1 and the NUC for password-less SSHing:
sudo apt-get install pr2-nuc-ssh
"pr2_description":
Update this ROS package on c1 and on your own computer to obtain the models for the new Kinect 2. It includes the models and transforms for the Kinect 2 while preserving backwards compatibility with the original Kinect and the ability to not use a Kinect at all. Install it like all other ROS packages:
sudo apt-get install ros-indigo-pr2-description
"pr2_bringup":
This ROS package has been updated to include the new launch file for the Kinect 2, activated with the environment variable KINECT2. Install it with:
sudo apt-get install ros-indigo-pr2-bringup
"pr2-core":
An update to this Debian package on c1 provides a command to update the robot.xml files. Make sure the correct environment variable is set depending on which URDF you want to use. Simply update the Debian package and then run:
export KINECT2=true
robot update_model -d <DISTRO>
Testing
SSH into c1 then run the following commands:
source ~/catkin_ws/devel/setup.bash
export KINECT2=true
roslaunch /etc/ros/indigo/robot.launch c2:=false
On your own computer, run the following commands:
export ROS_MASTER_URI=http://c1:11311
export ROS_IP=<YOUR IP>
rviz
If the above doesn't work, check if your /etc/hosts file includes c1.
If a warning pops up while running rviz about missing meshes, ensure that you have the latest version of pr2_description on your own computer.
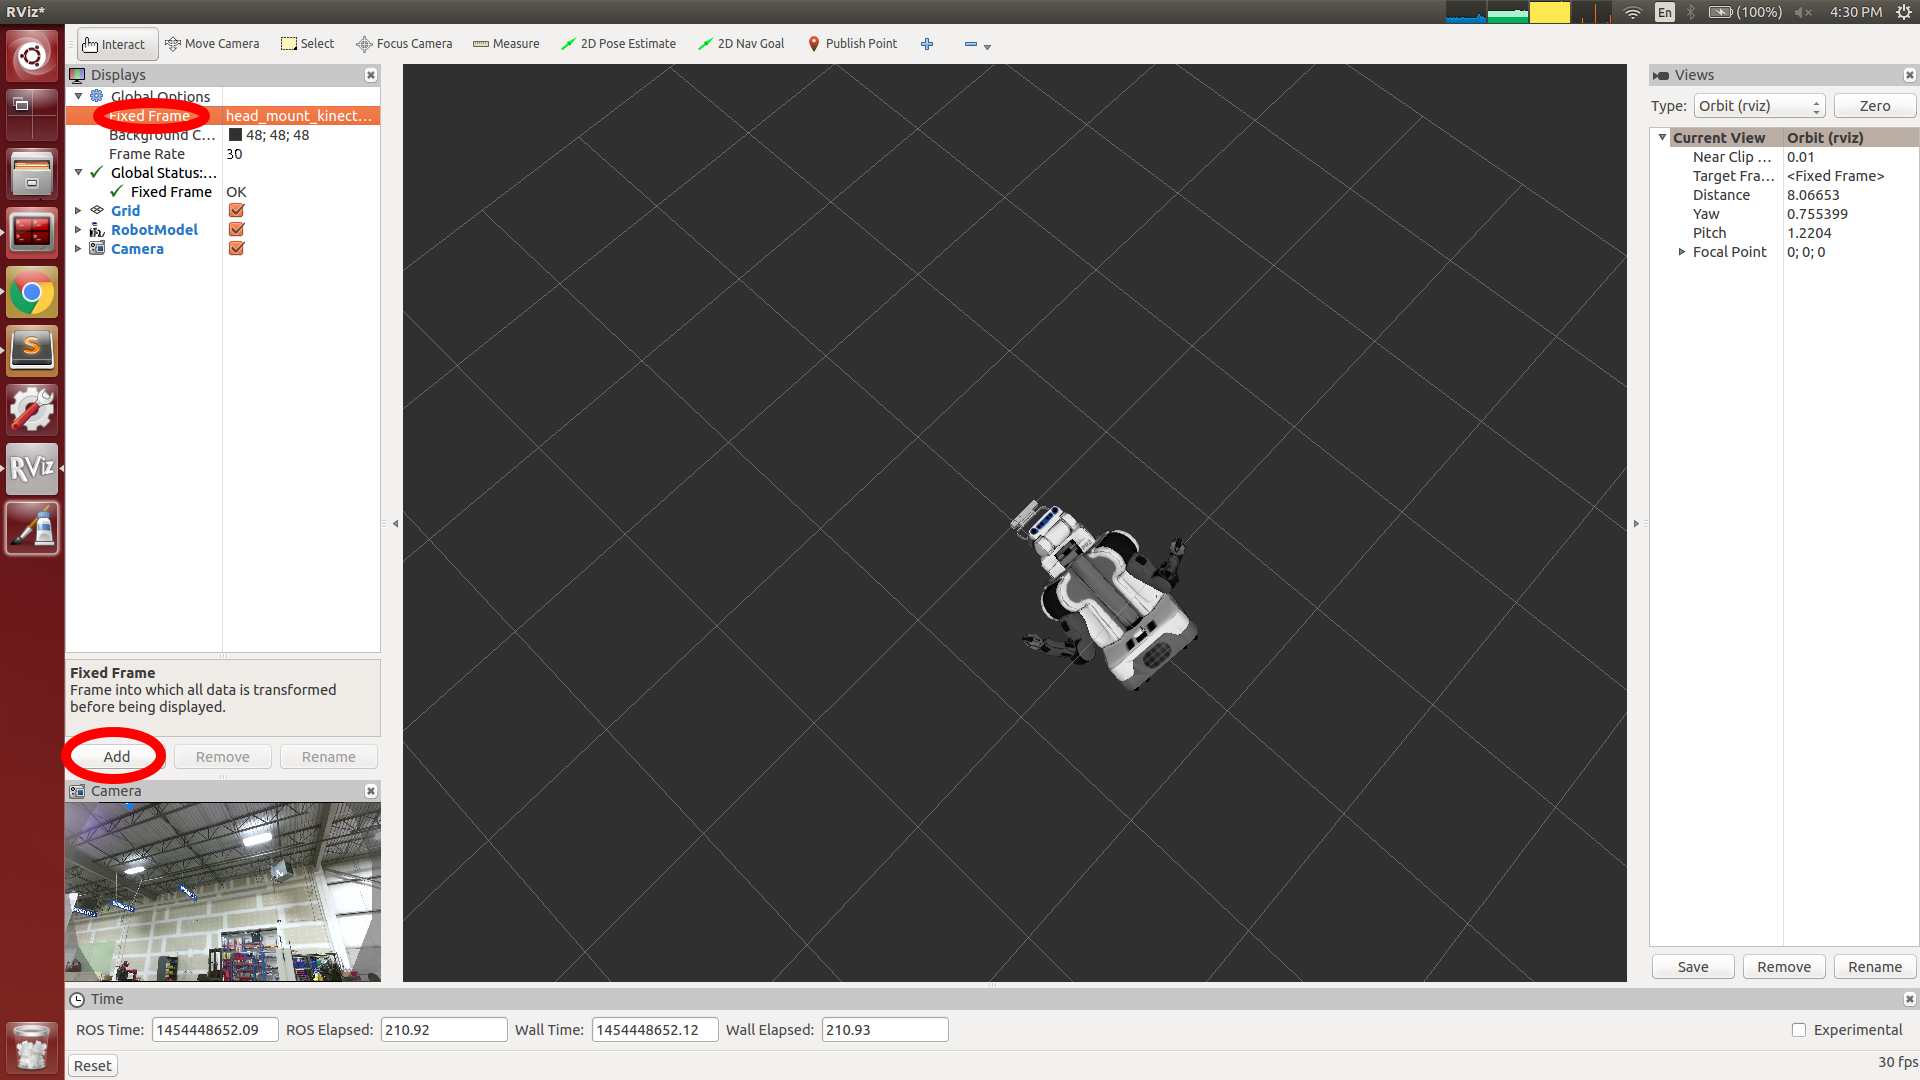
Once in rviz, change the fixed frame setting from the default map to kinect2_rgb_optical_frame or kinect2_link. Then, add one of the topics published by kinect2_bridge (/kinect2/hd/image_color is recommended). You should see a window pop up in the bottom left corner of rviz showing the Kinect 2's camera feed.
Known Issues
If images cannot be viewed over rviz and everything else has been set up correctly, there may be a time synchronization issue. Install chrony on the NUC and add the following to the /etc/chrony/chrony.conf file:
server c1 offline minpoll 8
Then run:
/etc/init.d/chrony stop
ntpdate c1
/etc/init.d/chrony start
Although chrony will run automatically in the background, you may have to manually sync it once in a while to keep the time updated.
Make sure that the KINECT2 environment variable is set.
export KINECT2=true # if new Kinect is being used
export KINECT=true # if the original Kinect is being used (make sure to set KINECT2 to false)
export KINECT=false # if no Kinect is being used
If roslaunch gives an error upon launching saying that pr2-head is not in the known_hosts file, run the following command on c1:
ssh-keyscan -t rsa pr2-head
Copy the output and paste it to the bottom of the ~/.ssh/known_hosts file and try launching again.
Sternum-Mounted Kinect
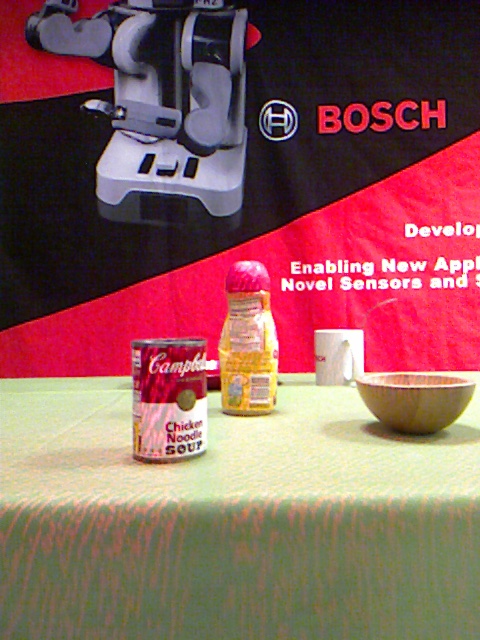
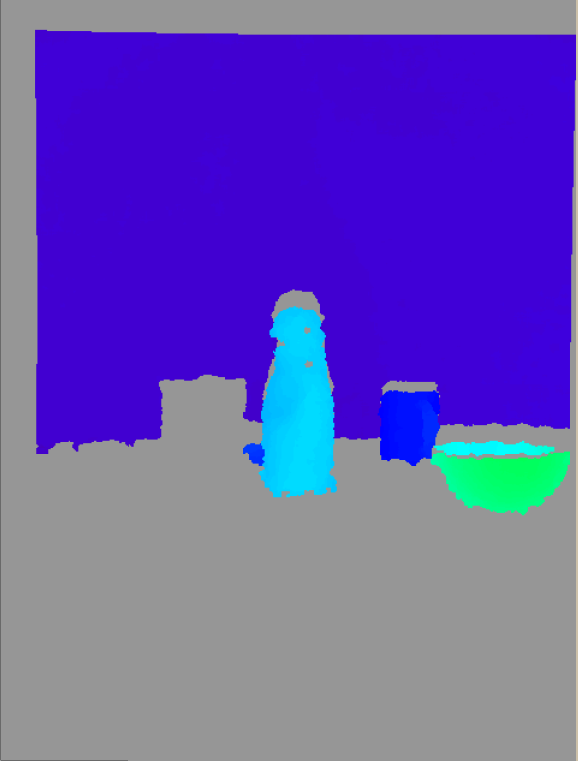
Bosch has mounted a second Kinect sensor between the arms of the PR2.
- Pictures of the Kinect mounted:
- A frame from the RGB and depth cameras
- Drawing of mounting bracket:
(in PDF Inter-arm Kinect mounting bracket.)
- Isometric view of folded bracket
- DXF of bracket, dimensions in mm
- Bosch is now running two Kinects simultaneously. In order to do this one Kinect must be plugged into C1 and the other one into C2. The USB ports are all used in the default configuration for C2, so the Bluetooth dongle for the joystick was moved from C2 to C1.
- Further dual-Kinect information can be found on the Pr2-users mailing list.
Gripper Stereo
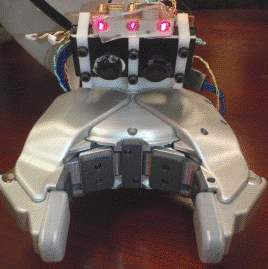
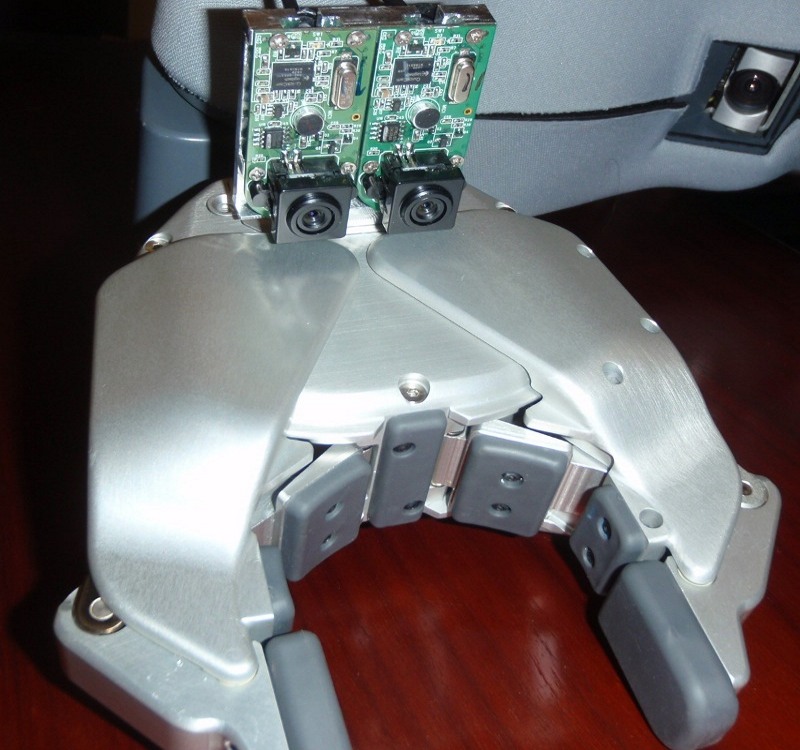
Adam Leeper of Stanford University added a stereo camera to a gripper to make it grasp more reliably.
ATI Mini40 Force-Torque Sensor
Note: A newer version of this sensor, the ATI Mini45, is available as an option from WG. Cable-routing is integrated in that version. Find more information for using it http://wiki.ros.org/ethercat_hardware/Tutorials/UsingForceTorqueSensorWithWG035
Willow Garage earlier produced a prototype for installing an ATI Mini40 force/torque sensor at the wrist. Download this tarball for all of the relevant CAD documents.
Currently, the sensor cable is routed externally between the wrist and NetFT box mounted on the shoulder, although there are plans for routing the cable into the gripper to a custom PCB and through the slip ring to avoid wrapping up the cable. However, while the ATI Mini40 is very similar in O.D. to the gripper/forearm interface, the I.D. is too small to allow the JST connector to pass from the forearm to the gripper. As a result, anytime the sensor needs to be replaced, the connector would have to be removed and reconnected, resulting in a potential point of failure. We are investigating alternate sensors with larger I.D.s.
To use the sensor with ROS, see the netft stack.
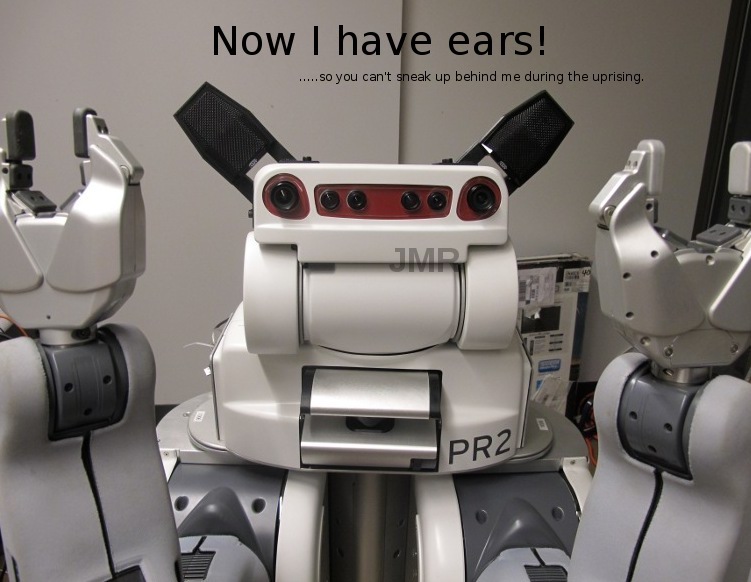
Microphones (ears) for the PR2 head
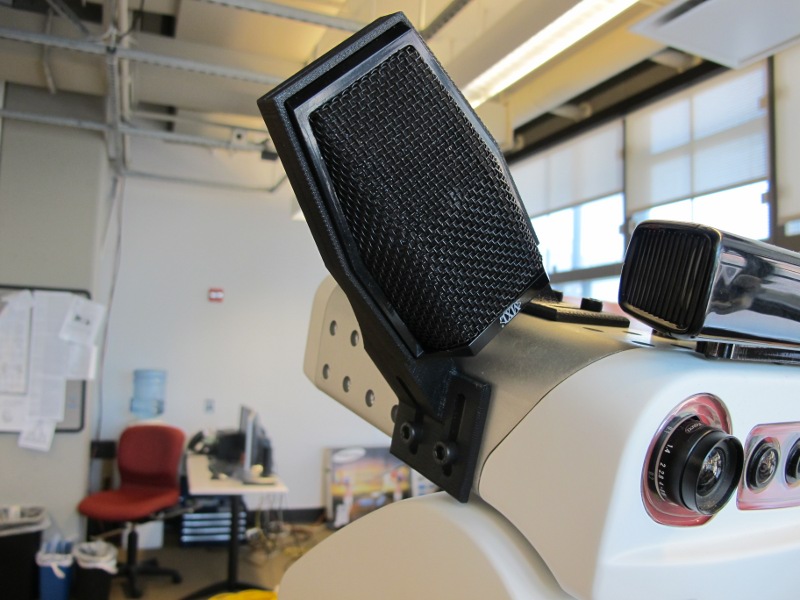
The PR2 robot head makes a nice place for mounting microphones to do audio detection and speech detection with the robot. At UPenn we have tested the performance of a variety of microphones, and found a nice mid-range price/high-range performance USB microphone, and designed a convenient mount for it on the PR2 head. The microphone used is a MXL AC-404 produced by Marshall Electronics. We recommend the AC-404 as a good starter microphone, since it has a nice crisp response for almost 180 degrees in front of the mic.
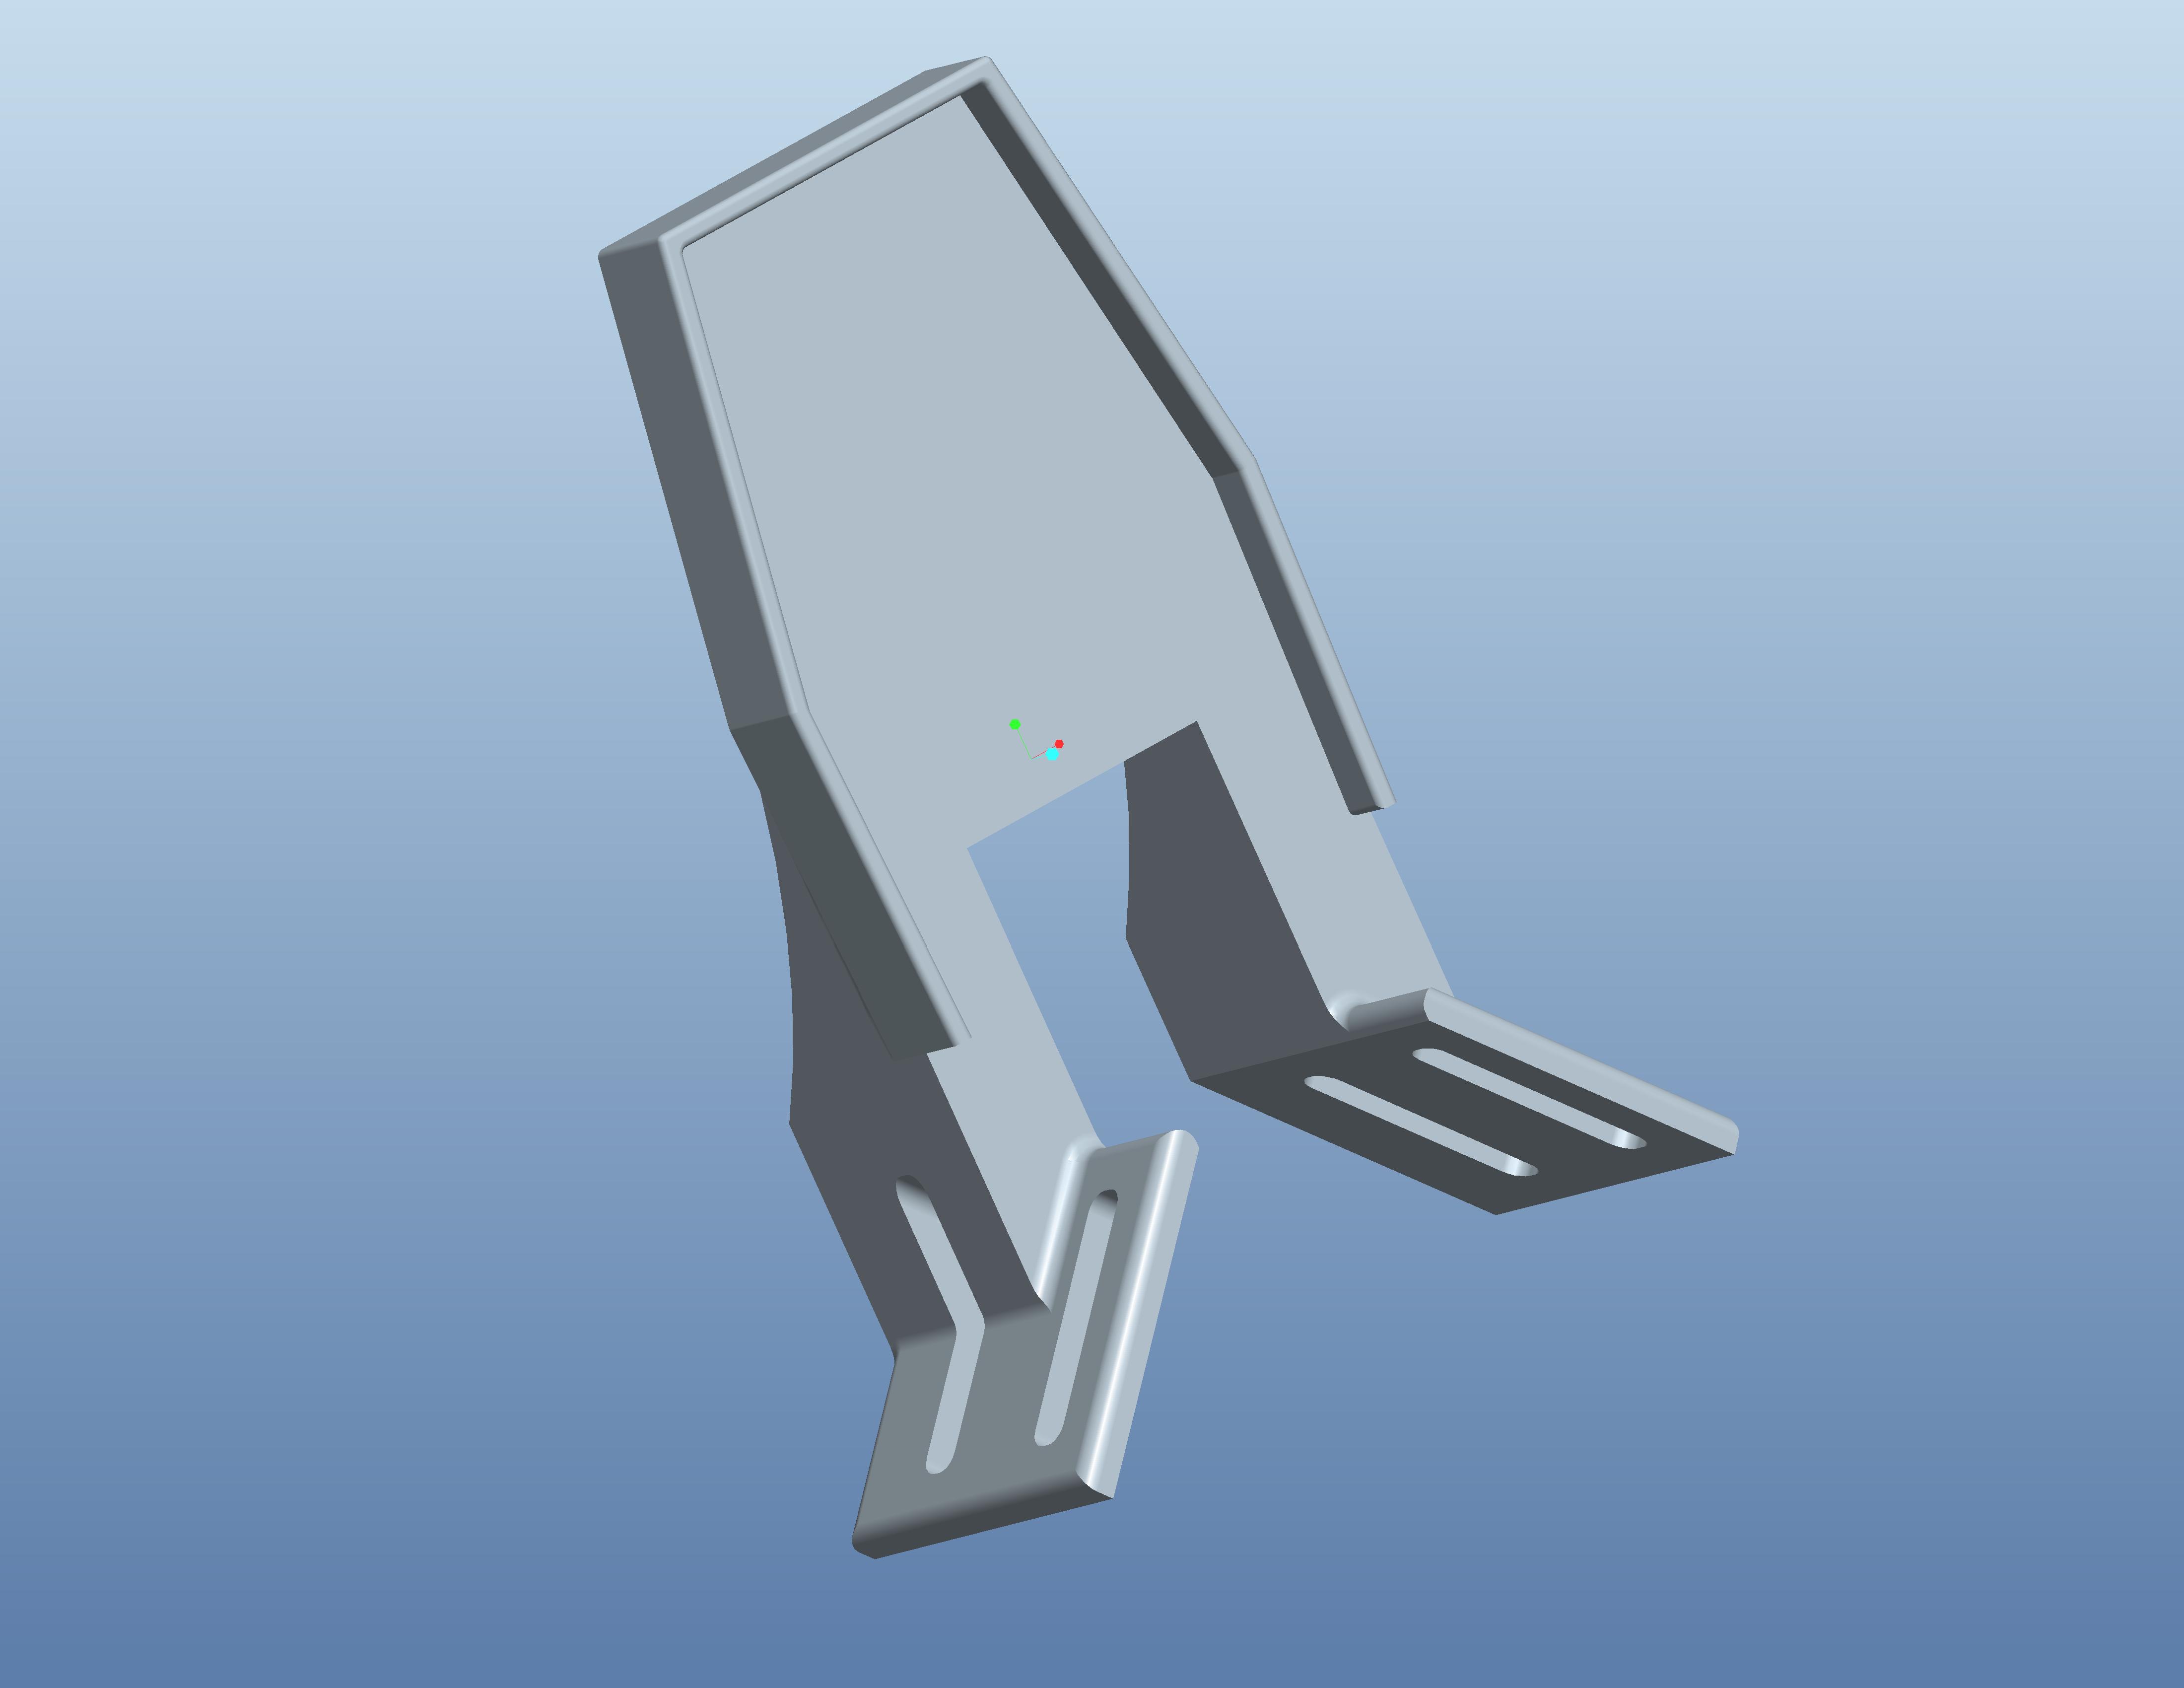
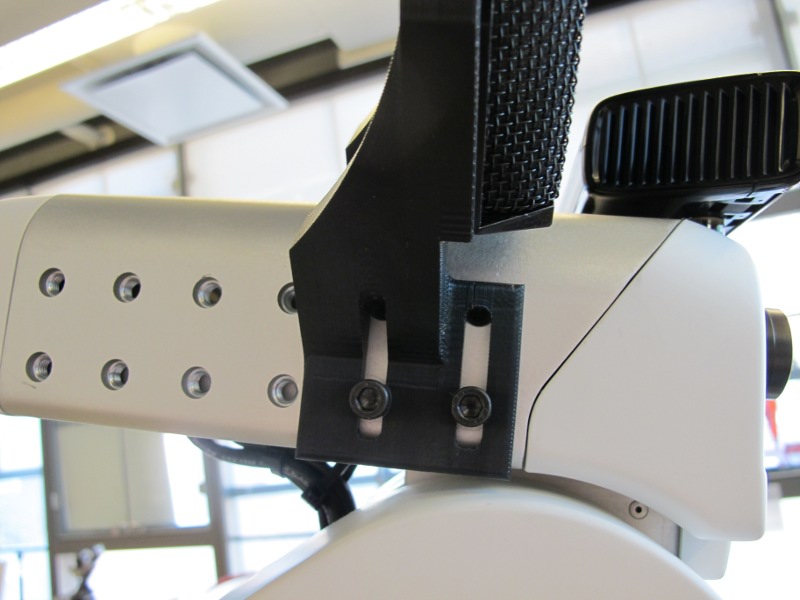
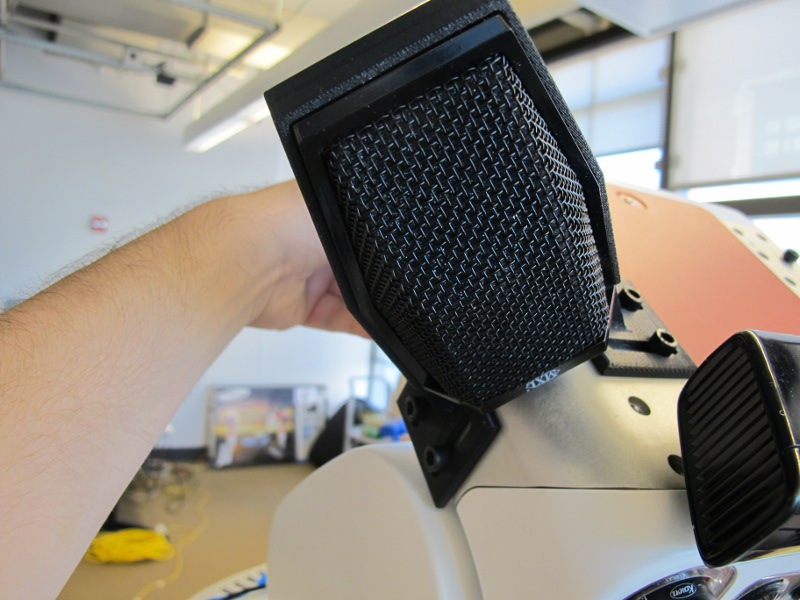
We have designed a mount than can easily be bolted onto the bolt-pattern of the PR2 head, and which holds the microphone securely with a loose press-fit. Attached below is an STL file for 3D printing (dimensions are in millimeters). Alternative formats can be made available upon request.
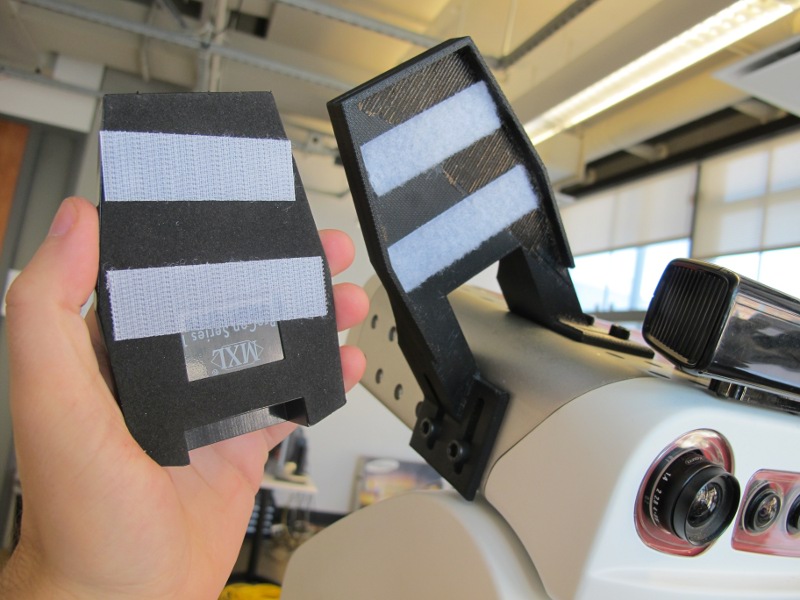
You will need a total of four M6 screws per mount to attach it to the head. In addition to the press-fit, we use velcro on the underside of the microphone and mount to ensure a solid grip and allow for easy removal. Below are some photos to aid in your assembly.
To reliably access the microphones you should copy this .asoundrc file to each users home directory. This will setup an alsa pcm object called "left_ear". You can try testing it by running:
arecord -f dat -d 10 -D plug:left_ear test.wav
You might have to use alsamixer to turn up the microphone recording volume and the PR2 speaker playback volume.


