| |
Radar and camera sensor fusion
Description: Guide for fusing outputs from radar target tracking and a YOLO object detectorTutorial Level: INTERMEDIATE
Overview
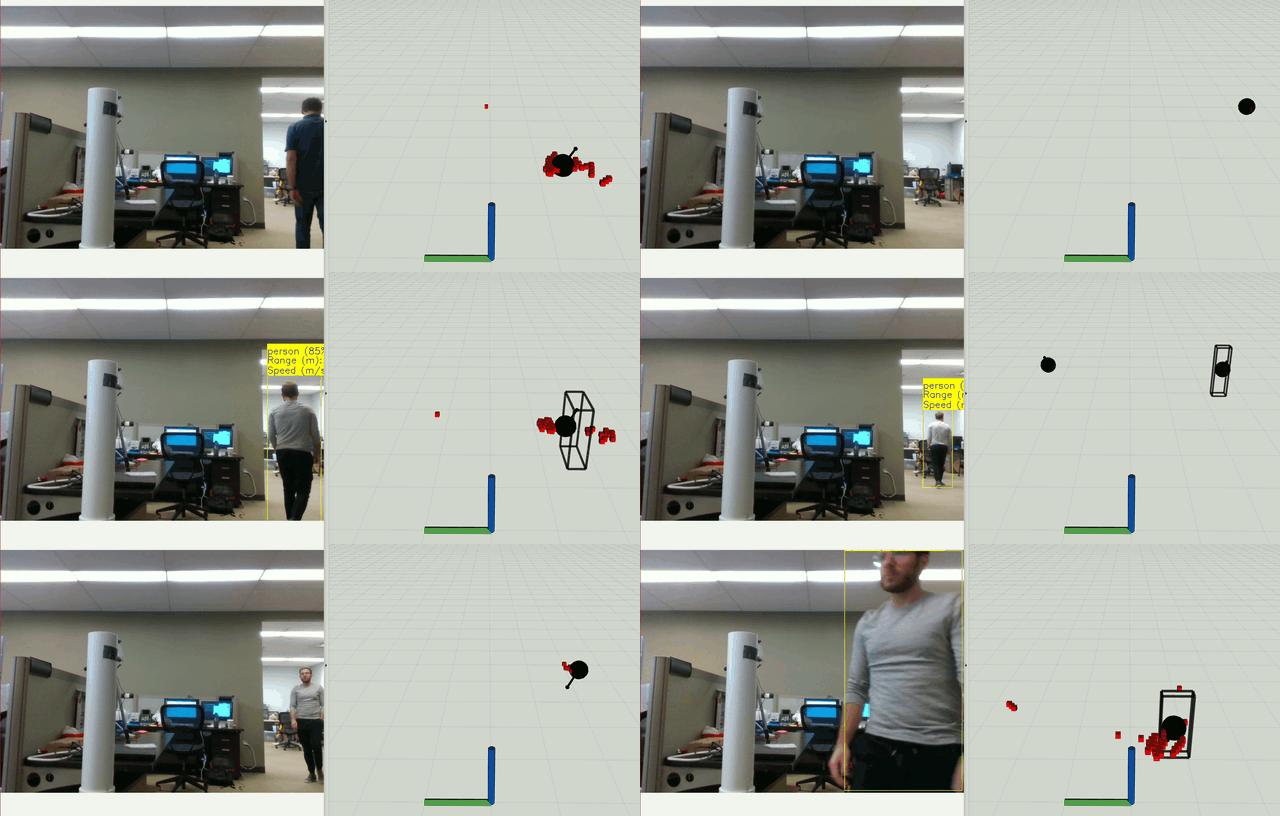
This tutorial describes how to use a basic radar and camera sensor fusion implementation to combine the outputs of radar target tracking with those of a pre-trained TensorFlow YOLO object detector. The result is tracked 3d objects with class labels and estimated bounding boxes.


Setup
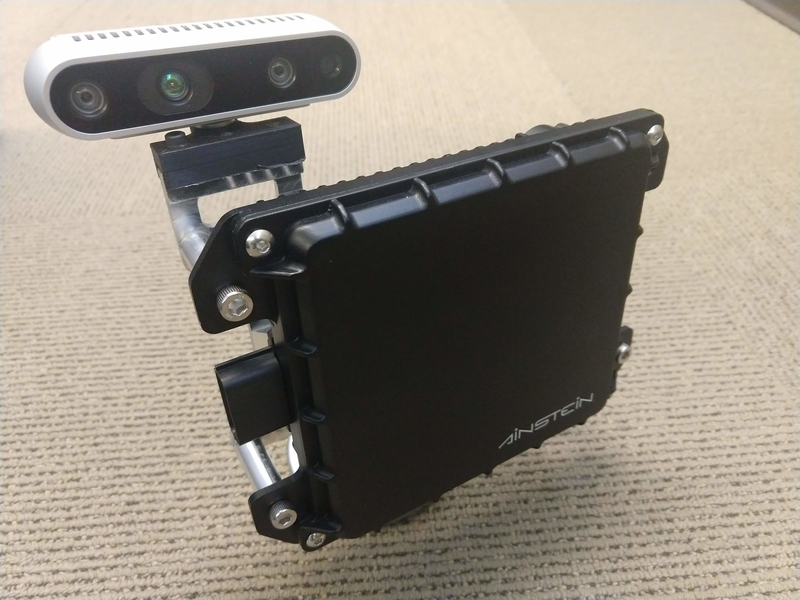
The hardware setup is identical to that of the previous tutorial: it's assumed that you have a calibrated RGB camera (we use the color camera in the Intel RealSense d435) and a radar (such as the K79 imaging radar) co-located on a mount with a known transformation between the two sensors.

Software Prerequisites
TensorFlow
This functionality makes use of a ROS interface to the TensorFlow object detection API.
There are a few ways to install TensorFlow for Python but the most portable is to use a python virtual environment. By isolating different python projects into different virtual environments and installing packages within the environment itself, systemwide dependency conflicts are avoided.
To set up and activate a new virtual environment (assuming python 2.7):
sudo apt install python-pip python-dev python-virtualenv
mkdir ~/tensorflow_venv
virtualenv --system-site-packages ~/tensorflow_venv
source ~/tensorflow_venv/bin/activate
This will add (tensorflow_venv) to the beginning of your bash prompt, indicating that python scripts will be run in this virtual environment. Run deactivate in the same terminal to exit the virtual environment.
To install TensorFlow within this venv, in the same terminal run
pip install tensorflow==1.15 # use tensorflow-gpu instead for GPU support
Note that since TensorFlow 2.0 apparently has some syntax changes which make the object detection libraries fail with an error like module 'tensorflow' has no attribute 'GraphDef', the current workaround is to just use an older version of TensorFlow, eg 1.15.
tensorflow_object_detector
In your ROS workspace, clone the provided fork of the OSRF's tensorflow_object_detector package and rebuild. The reason for using a fork was both to fix issues with the output bounding boxes and to add a service for synchronizing fusion with radar data. See the commit log for details.
This package uses pre-trained network models; models can be downloaded from the TensorFlow detection model zoo. After downloading a new model, extract its contents to tensorflow_object_detector/data/models/. Then, modify the MODEL_NAME and LABEL_NAME to match the new model.
The default model must be installed following this process, and can be downloaded here. This is a version of the widely-used COCO (Common Objects in Context) dataset which contains a variety of common class labels.
Usage
Example launch files for different radars can be found in the launch directory, for example using the K79 imaging radar.
Let's break this launch file down section-by-section.
  <!-- Run the radar -->
  <node name="k79_node" pkg="ainstein_radar_drivers" type="k79_node" output="screen" required="true" >
    <param name="host_ip" value="10.0.0.75" />
    <param name="host_port" value="1024" />
    <param name="radar_ip" value="10.0.0.10" />
    <param name="radar_port" value="7" />
  </node>
First we run the radar driver itself, as described in a previous tutorial.
   <!-- Filter for min/max range -->
  <node name="range_filter" pkg="ainstein_radar_filters" type="radardata_range_filter_node" output="screen" >
    <param name="min_range" value="2.0" />
    <param name="max_range" value="20.0" />
    <remap from="radar_in" to="/k79_node/targets/raw" />
  </node>
Next we run a simple radar data range filter to remove noisy targets very close/very far from the sensor rig.
  <!-- Filter for tracking targets based on raw targets -->
  <node name="tracking_filter" pkg="ainstein_radar_filters" type="radardata_to_tracked_targets_node" output="screen" >
    <remap from="radar_in" to="/range_filter/radar_out" />
    <param name="filter/update_rate" value="20.0" />
  </node>

  <!-- Load the tracking filter parameters -->
  <node name="tracking_dynamic_reconfigure_load" pkg="dynamic_reconfigure" type="dynparam" args="load /tracking_filter $(find ainstein_radar_filters)/params/k79_people_tracking_filter.yaml" />
Next, we pipe the range-filtered radar data into a tracking filter as described in a previous tutorial. We also load parameters for K79 people tracking, which have been tuned for this type of indoor, low-speed application.
  <!-- Run the camera -->
  <include file="$(find realsense2_camera)/launch/rs_camera.launch" >
    <arg name="enable_infra1" value="false"/>
    <arg name="enable_infra2" value="false"/>
  </include>
Here we run the RealSense camera node and disable the IR streams since we only need RGB data. For a normal USB camera, you should use the usb_cam package instead.
  <!-- Run static TF broadcasters in place of URDF model -->
  <node name="radar_tf" pkg="tf" type="static_transform_publisher" args="0 0 0 0 0 0 map radar_frame 100" />
  <node name="radar_to_camera_tf" pkg="tf" type="static_transform_publisher" args="0 0 0 0 0 0 radar_frame camera_color_frame 100" />
Here we publish some static transforms to define the placement of the radar in the world frame, and the camera relative to the radar frame. We leave these as identity transforms but they would normally be populated based on the geometry of the setup.
Note that if you have these sensors mounted on a robot and defined in a URDF which is used to publish TFs via the robot_state_publisher package then these static transforms should not be used. We are basically faking a simple URDF description here.
  <!-- Run the TensorFlow object detector node -->
  <node pkg= "tensorflow_object_detector" name="detect_ros" type="detect_ros.py"  output="screen">
    <remap from='image' to='/camera/color/image_raw'/>
  </node>
Here, we run the TensorFlow detector node using the RealSense's RGB image topic as input.
  <!-- Run the radar camera fusion node -->
  <node name="radar_camera_fusion" pkg="ainstein_radar_tools" type="radar_camera_fusion_node" output="screen" >
    <remap from="radar_topic" to="/tracking_filter/tracked" />
    <remap from="radar_bbox_topic" to="/tracking_filter/boxes" />
    <remap from="objects_topic" to="/detect_ros/objects" />
    <remap from="camera_topic" to="/camera/color/image_raw" />
    <remap from="object_labels" to="/detect_ros/labels" />
    <remap from="object_detector_is_ready" to="tensorflow_object_detector/check_is_ready" />
    <param name="use_object_width_for_bbox" value="true" />
  </node>
We now run the fusion node, remapping tracked radar topics and object detector topics as needed. We also need to remap the service name which signals when the object detector is loaded, since it takes a short amount of time for it to start running. See the node description for more details.
  <!-- Open an image viewer for the processed image -->
  <node name="image_view" pkg="image_view" type="image_view" >
    <remap from="image" to="/radar_camera_fusion/image_out" />
  </node>

  <!-- Open an image viewer for the processed image -->
  <node name="image_view_tensorflow" pkg="image_view" type="image_view" >
    <remap from="image" to="/debug_image" />
  </node>
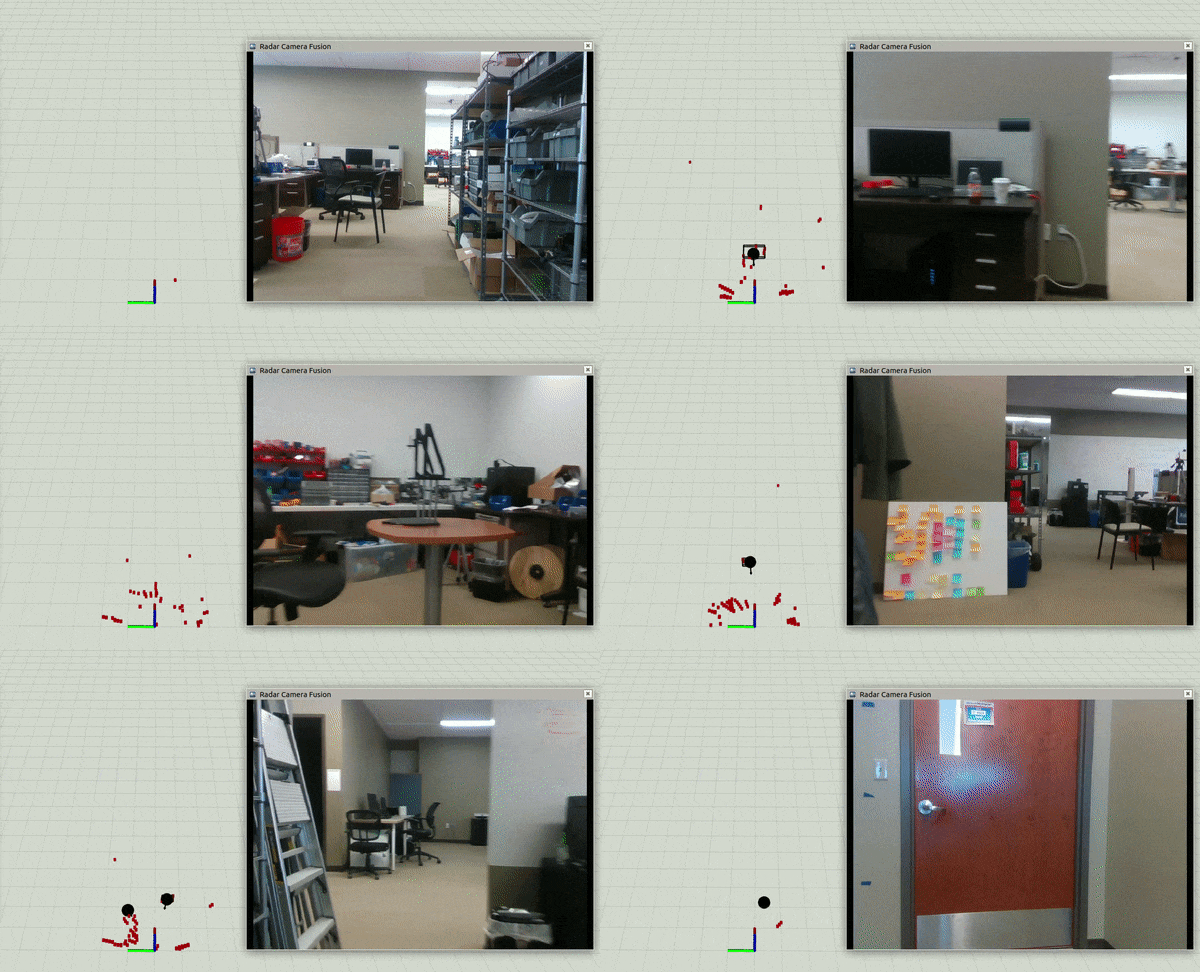
Finally, we open some image view windows for the TensorFlow detector output /debug_image and the radar-camera fusion output /radar_camera_fusion/image_out. These image topics can of course be visualized within RViz as well.


