| Note: This tutorial assumes that you have completed the previous tutorials: Android Studio & Tools Download. |
| |
Installation - ROS Development Environment
Description: Preparing a ros environment for development.Keywords: android installation
Tutorial Level: BEGINNER
Next Tutorial: Creating Android Packages
The following instructions show how to build android libraries and reference applications from the usual ros style environment for development. |
Contents
About
This tutorial will show how to deploy and build the core android libraries and reference applications using catkin and gradle from the command line. This approach is useful for those already familiar with ROS or when building chains of libraries and applictions across multiple repositories. Also for automated continuous integration builds.
Tip : If you wish to just build a single android application on top of the existing rosjava & android libraries, you may prefer to build directly from android studio using our maven repositories as a means of pulling in the required dependencies. |
PreRequisites
Download and install the new android studio+sdk.
Sources
Core Sources
The following provides the core android libraries built on top of an existing source installation of rosjava. This is not necessary for most people, only those who wish to develop/bugfix the core libraries.
> mkdir -p ~/android_core
> wstool init -j4 ~/android_core/src https://raw.github.com/rosjava/rosjava/indigo/android_core.rosinstall
> source /opt/ros/indigo/setup.bash
> source ~/rosjava/devel/setup.bash
> cd ~/android_core
> catkin_make
The source installation of rosjava is optional - you could instead let it get its dependencies from the maven repositories, but in most cases if you're developing/bugfixing the core libraries, you'd want them anyway. In this case, you will at least need a deb installation of rosjava_build_tools.
Note: if you are in a x64 system, you might get the following error when building android_core:
<$ANDROID_HOME>/build-tools/<version>/aapt: error while loading shared libraries: libz.so.1: cannot open shared object file: No such file or directory
To solve this, run the following command and try to rebuild the workspace:
sudo apt-get install lib32z1
Reference Interactions Suite
The following provides some reference applications and a remocon built around the rocon_interactions interactions framework used on the TurtleBot. It is built on top of an existing source installation of rosjava and android_core.
> mkdir -p ~/android_interactions
> wstool init -j4 ~/android_interactions/src https://raw.github.com/rosjava/rosjava/indigo/android_interactions.rosinstall
> source /opt/ros/indigo/setup.bash
> source ~/rosjava/devel/setup.bash
> source ~/android_core/devel/setup.bash
> cd ~/android_interactions
> catkin_make
Again, depending on a source installation of rosjava and android_core is not strictly necessary. These could be directly retrieved from the maven repository if you wish so long as you have a deb installation of rosjava_build_tools.
Your Own Sources
I split the workspaces here into two - one is a strictly java workspace and the other an android workspace so that the android workspace doesn't slow down your work in the java workspace. The java workspace is typically where you can build custom message artifacts from your own message sources as well as build java algorithms for use inside your android applications (building/testing in java, especially for your ros connections is far easier than doing it for android).
> sudo apt-get install ros-indigo-rosjava-build-tools ros-indigo-genjava
> mkdir -p ~/myjava
> wstool init -j4 ~/myjava/src my_java_sources.rosinstall
> mkdir -p ~/myandroid
> wstool init -j4 ~/myandroid/src my_android_sources.rosinstall
> source /opt/ros/indigo/setup.bash
> cd ~/myjava; catkin_make
> source ~/myjava/devel/setup.bash
> cd ~/myandroid; catkin_make
If you don't have any rosinstalls yet, just do a wstool init ~/myjava/src;wstool init ~/myandroid/src to init the workspaces instead.
Testing
Core Library Application
PC:
In a first shell:
> source /opt/ros/indigo/setup.bash
# Set ROS_IP with your pc's ip
> export ROS_IP=192.168.1.101
> roscore
In a second shell:
> sudo apt-get install ros-indigo-image-view ros-indigo-rqt-image-view ros-indigo-image-transport-plugins
> source /opt/ros/indigo/setup.bash
# Set ROS_IP with your pc's ip
> export ROS_IP=192.168.1.101
> rqt_image_view
# OR
> rosrun image_view image_view image:=/camera/image _image_transport:=compressed
See the Network Setup notes for more information about ROS_IP.
Android
This requires the android_core sources.
> source ~/android_core/devel/setup.bash
> /opt/android-studio/bin/studio.sh
Import the ~/android_core/src/android_core project.
- Plug in your phone to your pc by usb
- Connect the phone to your wireless network
In the toolbar configurations dropdown, select android_tutorial_camera
- Hit the right arrow next to this to build/deploy and launch the configuration.
- Enter your machine's ip when prompted
Interactions Application
|
PC:
> sudo apt-get install ros-indigo-rocon-interactions ros-indigo-rocon-master-info ros-indigo-roscpp-tutorials ros-indigo-zeroconf-avahi-suite
> source /opt/ros/indigo/setup.bash
# Set ROS_IP with your pc's ip
> export ROS_IP=192.168.1.101
> roslaunch rocon_interactions android_demo.launch --screen
Android
This requires the android_interactions sources.
> source ~/android_interactions/devel/setup.bash
> /opt/android-studio/bin/studio.sh
Import the ~/android_interactions/src/android_remocons project.
- Plug in your phone to your pc by usb
- Connect the phone to your wireless network
- In the toolbar configurations dropdown, select the 'edit configurations' option.
- Edit the 'talker' and 'listener' applications so they 'Do not launch Activity'
- In the toolback configurations dropdown, select the talker.
- Hit the right arrow next to this to build/deploy the talker.
- In the toolback configurations dropdown, select the listener.
- Hit the right arrow next to this to build/deploy the listener.
- In the toolback configurations dropdown, select the rocon_remocon.
- Hit the right arrow next to this to build/deploy and launch the rocon_remocon.
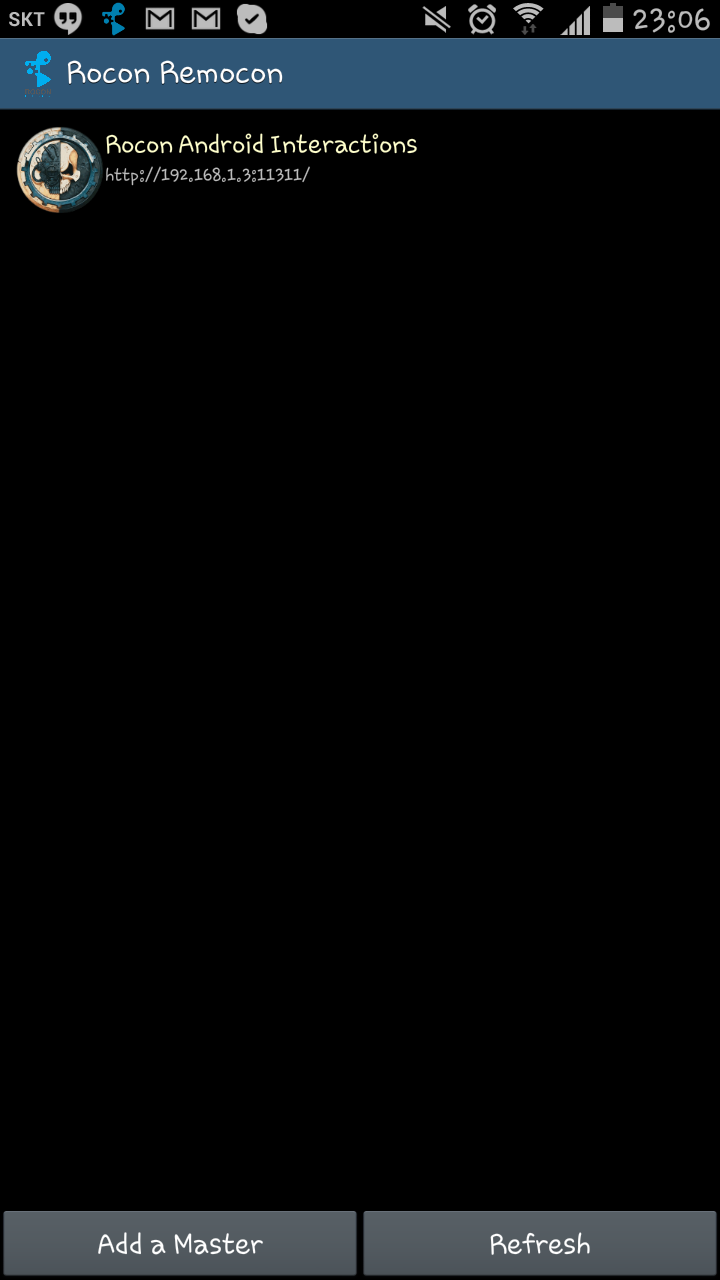
- When the remocon starts, add a master by scanning the local network for your pc
If scanning fails, you may need to edit the zeroconf avahi configuration as described here.
- Alternatively connect by IP manually.
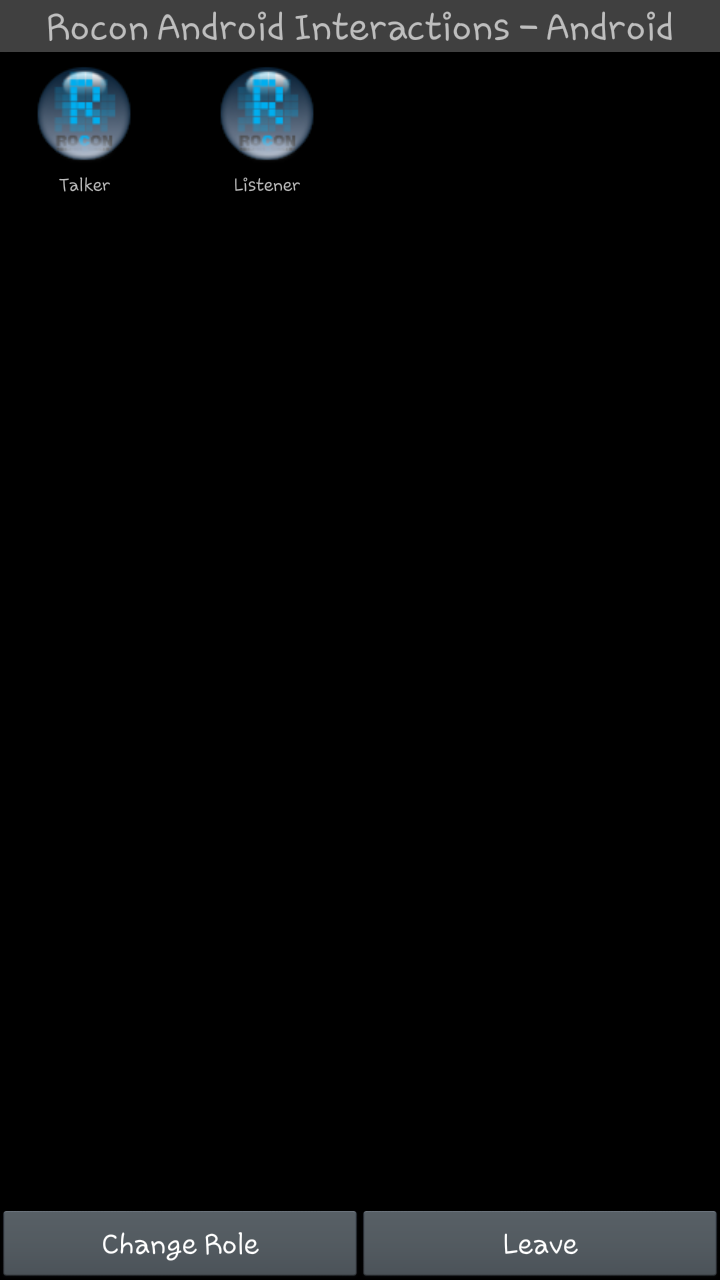
- Select the android role.
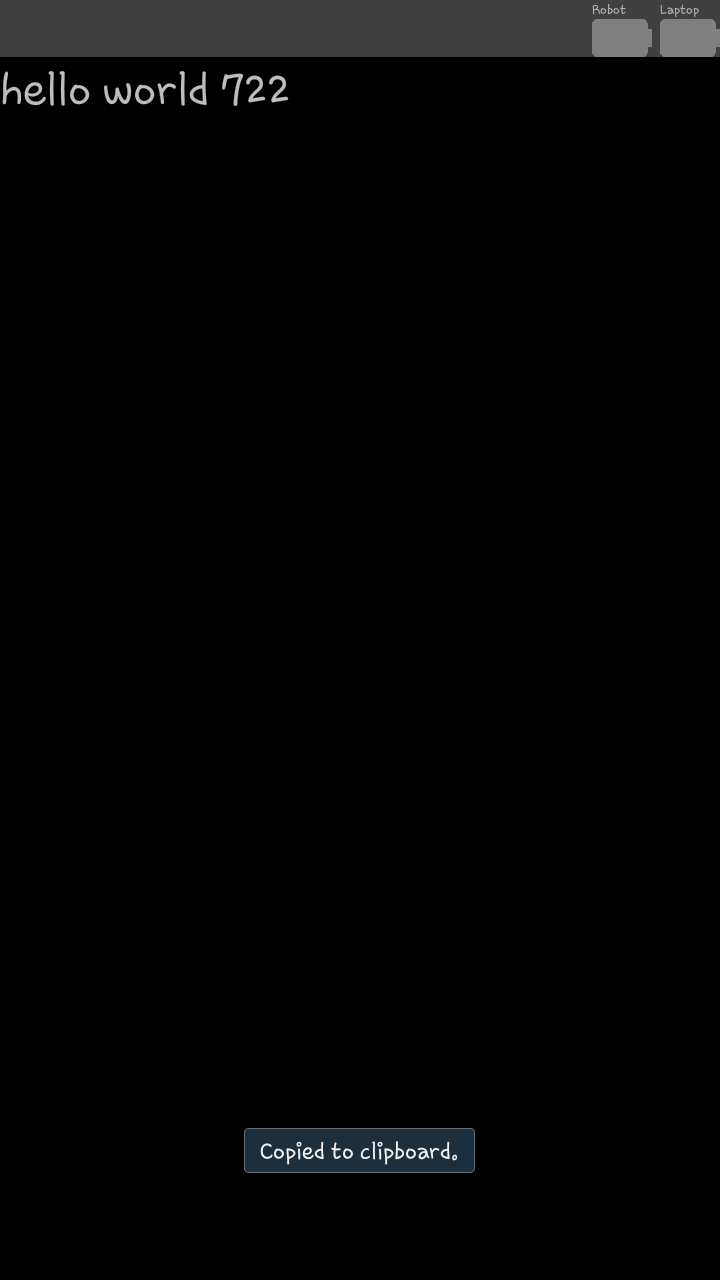
- Start either talker or listener.
Where to Now?
You're now ready to start developing shiny new android applications! Refer to the next tutorial on how to do that.


