| Note: This tutorial assumes that you have completed the previous tutorials: How to use Hokuyo laser scanners with the hokuyo_node. |
| |
hokuyo_nodeを動的に再設定する
Description: このチュートリアルは、hokuyo_nodeを異なるパラメータで実行できるように動的に再設定するreconfigure_guiの使い方を学びます。Keywords: reconfigure, Hokuyo, parameters, laser driver, laser, laser scanner, laser scan
Tutorial Level: BEGINNER
Next Tutorial: How to dynamically reconfigure the hokuyo_node from the command line or code.
Contents
パラメータ
hokuyo_nodeは、レーザがどのように働くかをコントロールできる多くのパラメータを持ちます。パラメータについては、ここをご覧ください。
コンパイル
依存関係を取得し、dynamic_reconfigureをコンパイルします。
$ rosdep install dynamic_reconfigure
$ rosmake dynamic_reconfigure
reconfigure_guiを実行
new terminalの中で、reconfigure_guiを実行します:
$ rosrun dynamic_reconfigure reconfigure_gui
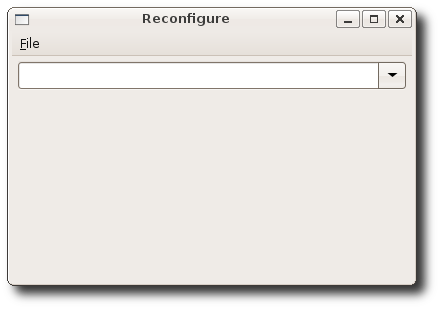
以下のようなものが見えると思います:
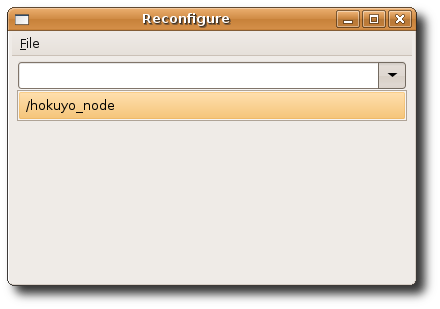
今では、reconfigure_guiは実行されているので、レーザスキャナーにhokuyo_nodeが接続されるように選ぶ必要があります。
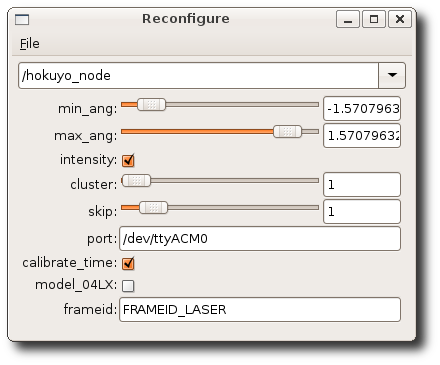
hokuyo_nodeがレーザスキャナに一旦接続すると、編集可能なパラメータが見れると思います。
reconfigure_guiが編集できるすべてのパラメータを表示しているのが見えると思います。


