| |
Running the portrait bot
Description: A tutorial on how to run the portrait_bot stack on the PR2 and the basestation.Tutorial Level: BEGINNER
Contents
Prerequirements
For this tutorial you will need:
- a PR2 Robot
- a canvas (for example a whiteboard on a table)
- a thick and at least 10 cm long pen (the PR2 must be able to hold it in its grippers)
- a surface to put the pen on (for example the canvas)
- a well lit room
- enough room around the PR2
- at least two persons (one at the basestation, and a photo victim)
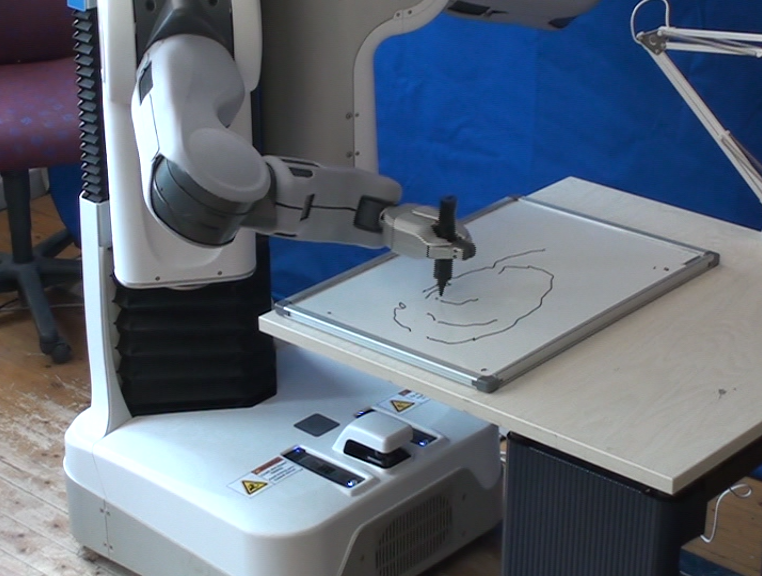
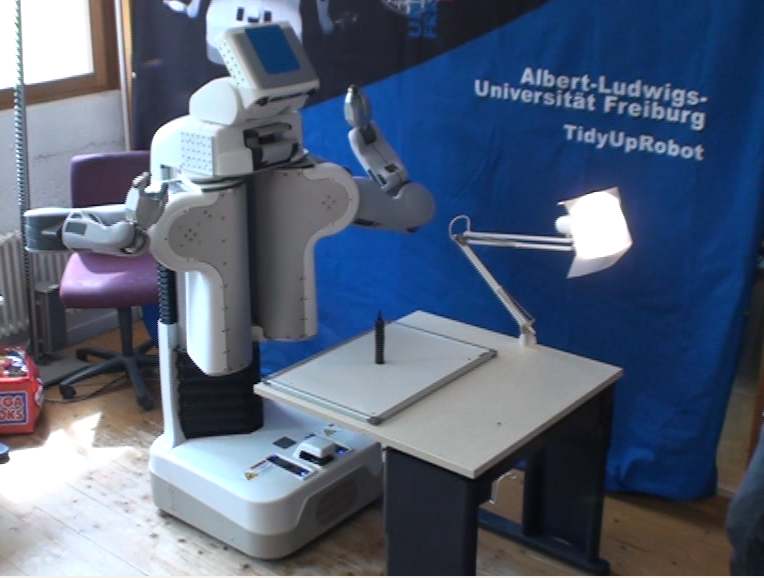
The image below shows the environment setup:
- the pen is in front of the robot
- the pen is reachable by the robot's right arm
Instructions
Launching the environment
Execute this command on the PR2
roslaunch face_finder pr2.launch
and execute
roslaunch face_finder basestation.launch
on the basestation.
The following GUI will display: 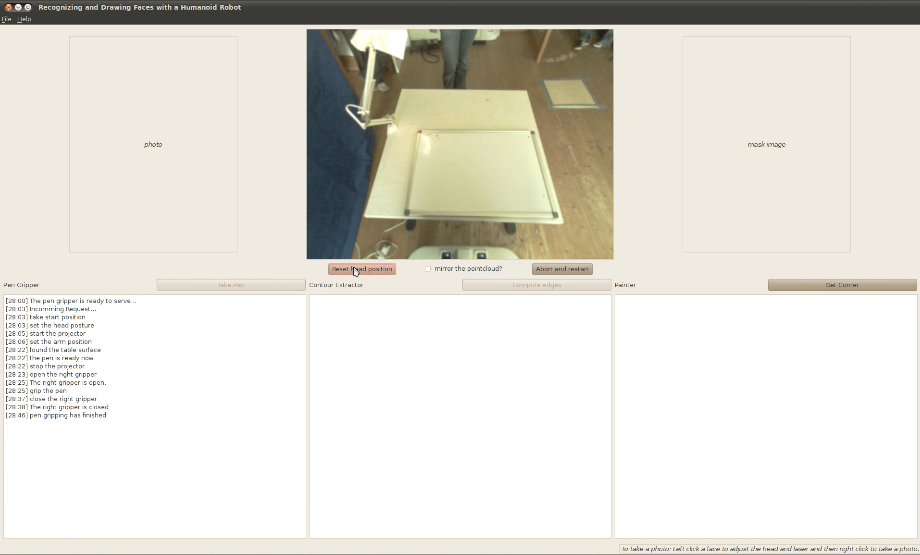
Taking the pen
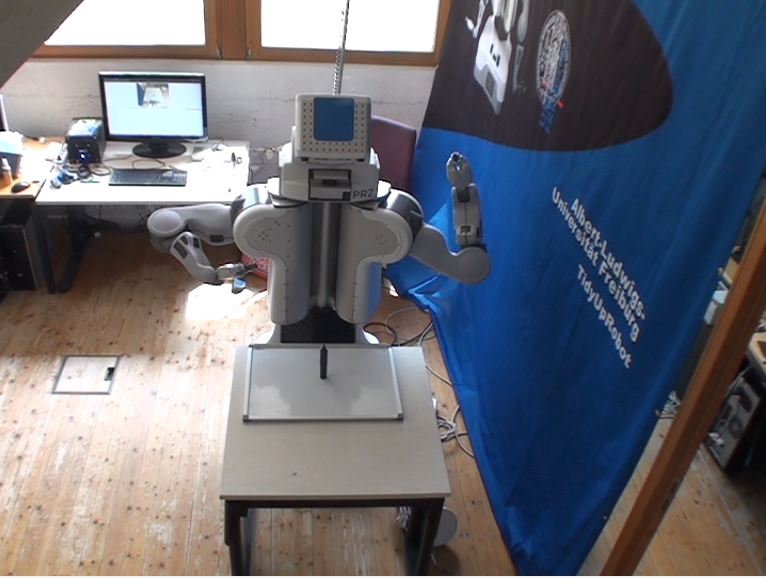
- Put the pen standing on a surface in front of the PR2 (should be reachable by the right gripper).
- Make sure that no other higher objects are standing on the surface.
- Make sure there is enough room around the PR2 (enough so that the arms can't hit anything if they move around).
- Press the "Take Pen" button on the GUI on the basestation and make sure that the arm does not hit anything.
- Wait until the PR2 has taken the pen.
Taking a picture
- Press the "Reset head position" button.
- Let a person stand in front of the cameras.
- You should see rectangles around the found faces on the GUI (the wide_stereo stream is displayed in the middle of the GUI).
- Leftclick on the face you want to use. This configures the laser scanner and head.
- Wait for about 5 seconds to give the laser scanner time to scan the face. The person in front of the camera must stand still during this period.
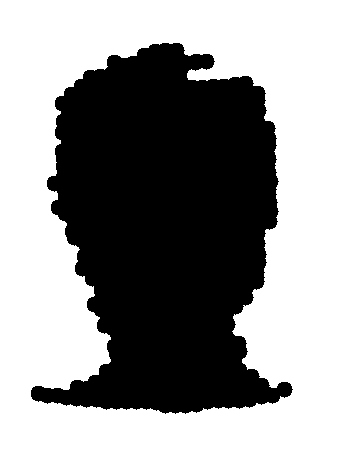
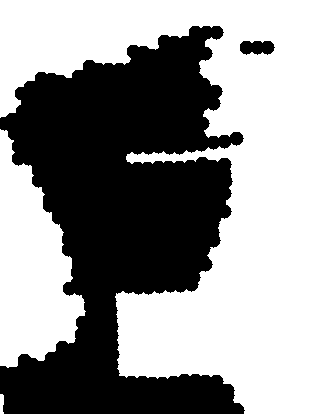
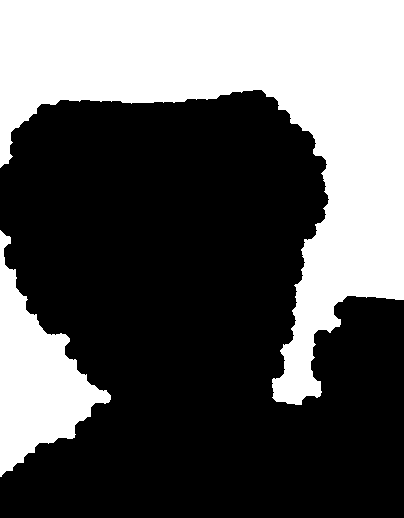
- Rightclick on the rectangle to take a picture and calculate a mask. This could take a while, so be patient. The mask is displayed in the right part of the window and the original image on the left part.
- Check if the mask is ok (it should be black around the area of the face and white everywhere else), otherwise take another picture.
|
|
|
good mask |
bad mask |
bad mask |
- Now you can press the button "Compute Edges".
Extracting the face contours
- After you have taken a picture, press the button "Compute Edges".
- Wait until it is done calculating different possibilities.
Now it should open a GUI, which shows you different proposals:
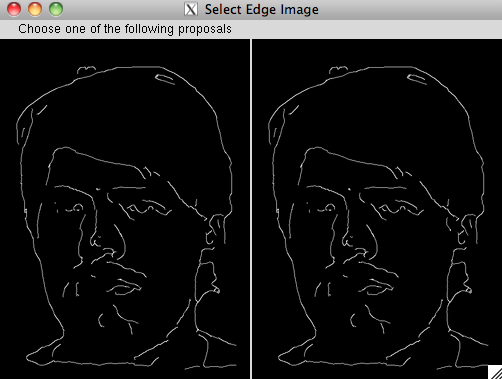
Click on the proposal you think is the best.- Now you can move the areas (the selected area is surrounded with a red rectangle) and change the parameters. To move an area select it in the drop down menue and click on the image to move it (the new position you would move the area to is surrounded with a blue rectangle). You can also play around with the parameters for the area, this is a bit tricky. In general the parameters will behave as follows:
blur width and blur height: The higher these parameters are, the smoother the lines will be. But also a lot of lines will vanish if you make this too high.
threshold1 and threshold2: If these values are high, less lines will be displayed. If they are low, more lines will be displayed.
search radius: This will connect line endpoints with other lines in the search radius (in pixels).
min line length: All lines that have less pixels than this number, will be deleted.
You can rate your result, this will improve the last proposal in the future.
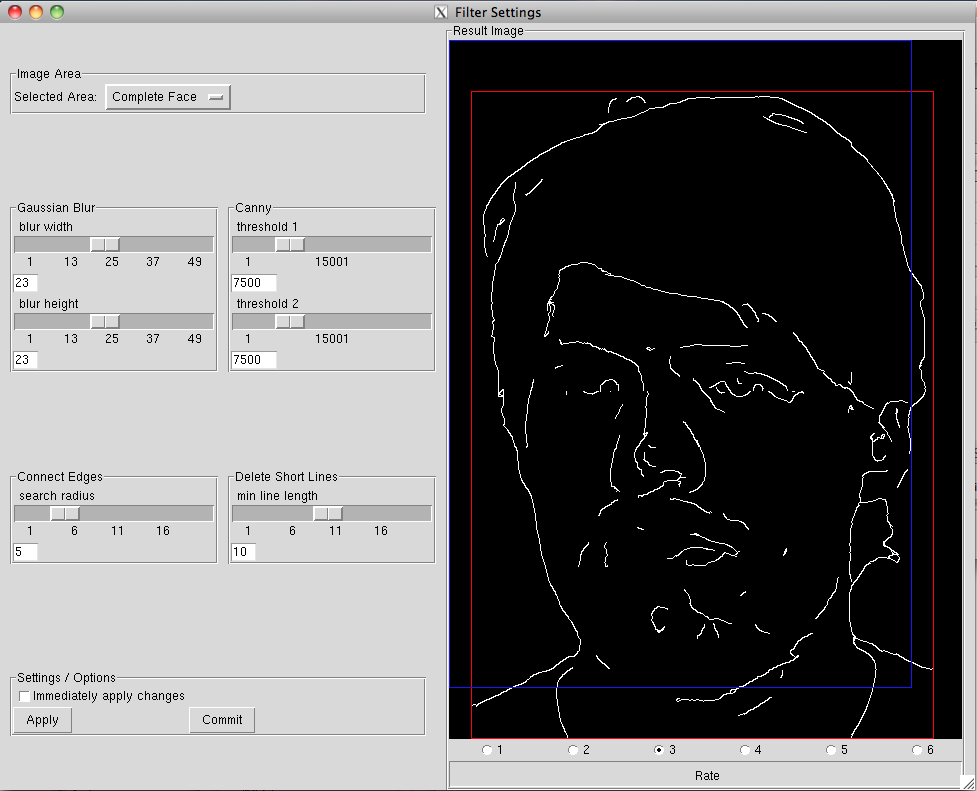
- Press "Commit" to send the result back to the main GUI.
- Now the edge image is displayed on the right side of the window.
Drawing the picture
Note: Drawing is currently only tested with surfaces that lie flat in front of the robot. We use a white board on a table.
- Press the button "Set Corner".
- Now you have to take the gripper to the top left corner of your canvas, so that the pen is pressed onto the canvas. Then press the button.
- Now the same for the other corners (based on the instructions on the screen)
- Finally press the "Draw Image" button and wait until the robot has finished drawing. You will see an output in the GUI telling you how many lines there are left.
Note: The last three lines will always be the proud PR2 signing his drawing with "PR2".
