| Note: This tutorial assumes that you have completed the previous tutorials: srs_assisted_arm_navigation, srs_arm_navigation_tests. |
| |
How to use assisted arm navigation
Description: This tutorial shows how to use assisted arm navigation solution which was developed for SRS project and Care-O-Bot.Keywords: arm, navigation, assisted, semi-autonomous, srs, cob, manipulation
Tutorial Level: BEGINNER
Contents
Introduction
This tutorial shows how to use assisted arm navigation. The idea is that there is semi-autonomous robot and if decision making is not able to automatically reach some position of arm it will ask human operator for help.
How to prepare environment for test
Use this command
roslaunch srs_arm_navigation_tests fake_dm_test.launch
to start simulation of COB, properly configured RVIZ, fake detection of objects, knowledge database, object database, BUT environment model and all needed stuff for simulated decision making.
Then put milkbox into the environment:
roslaunch srs_arm_navigation_tests milk_box.launch
Navigate robot to the starting position (interactive marker can be used for this task).
How to run fake decision making
Use this command
roslaunch srs_arm_navigation_tests fake_dm_only.launch
to start fake decision making. It's based on Smach and two generic states (move_arm_to_given_positions_assisted, move_arm_from_a_given_position_assisted). Both states will be triggered.
Operator workflow and usage of RVIZ plugin
GUI for human operator consists of RVIZ, arm navigation plugin and interactive markers.
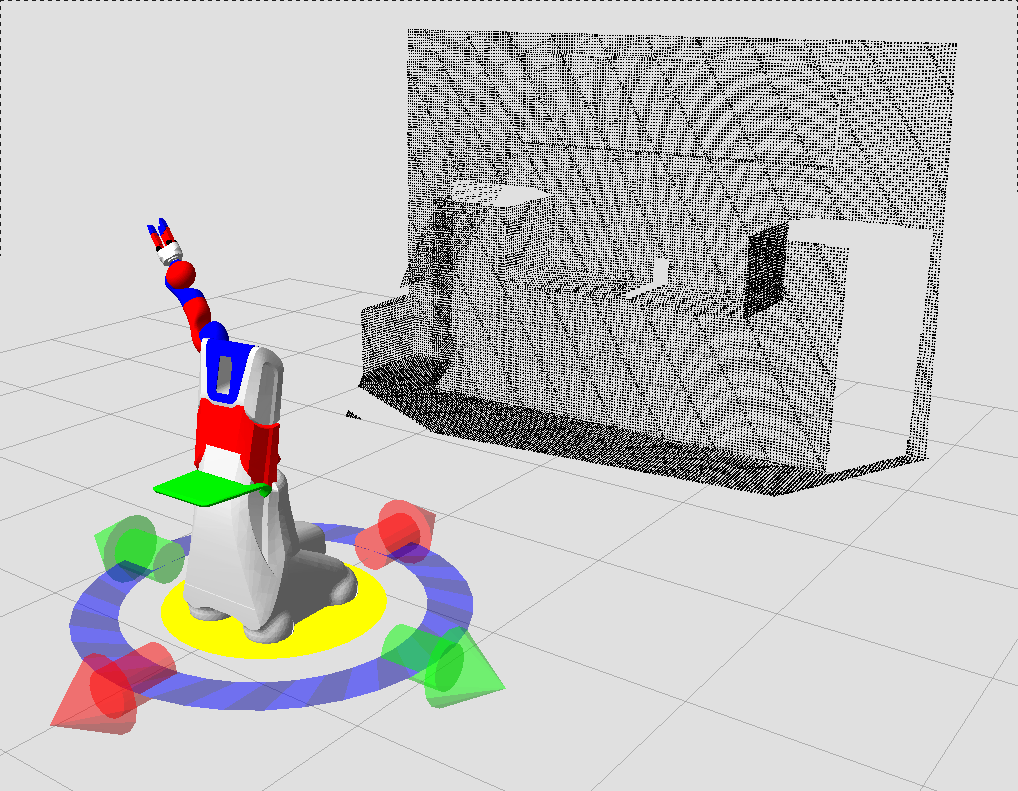
After the start of RVIZ operator should see robot with interactive teleop and pointcloud.
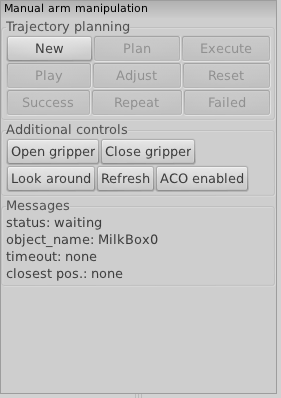
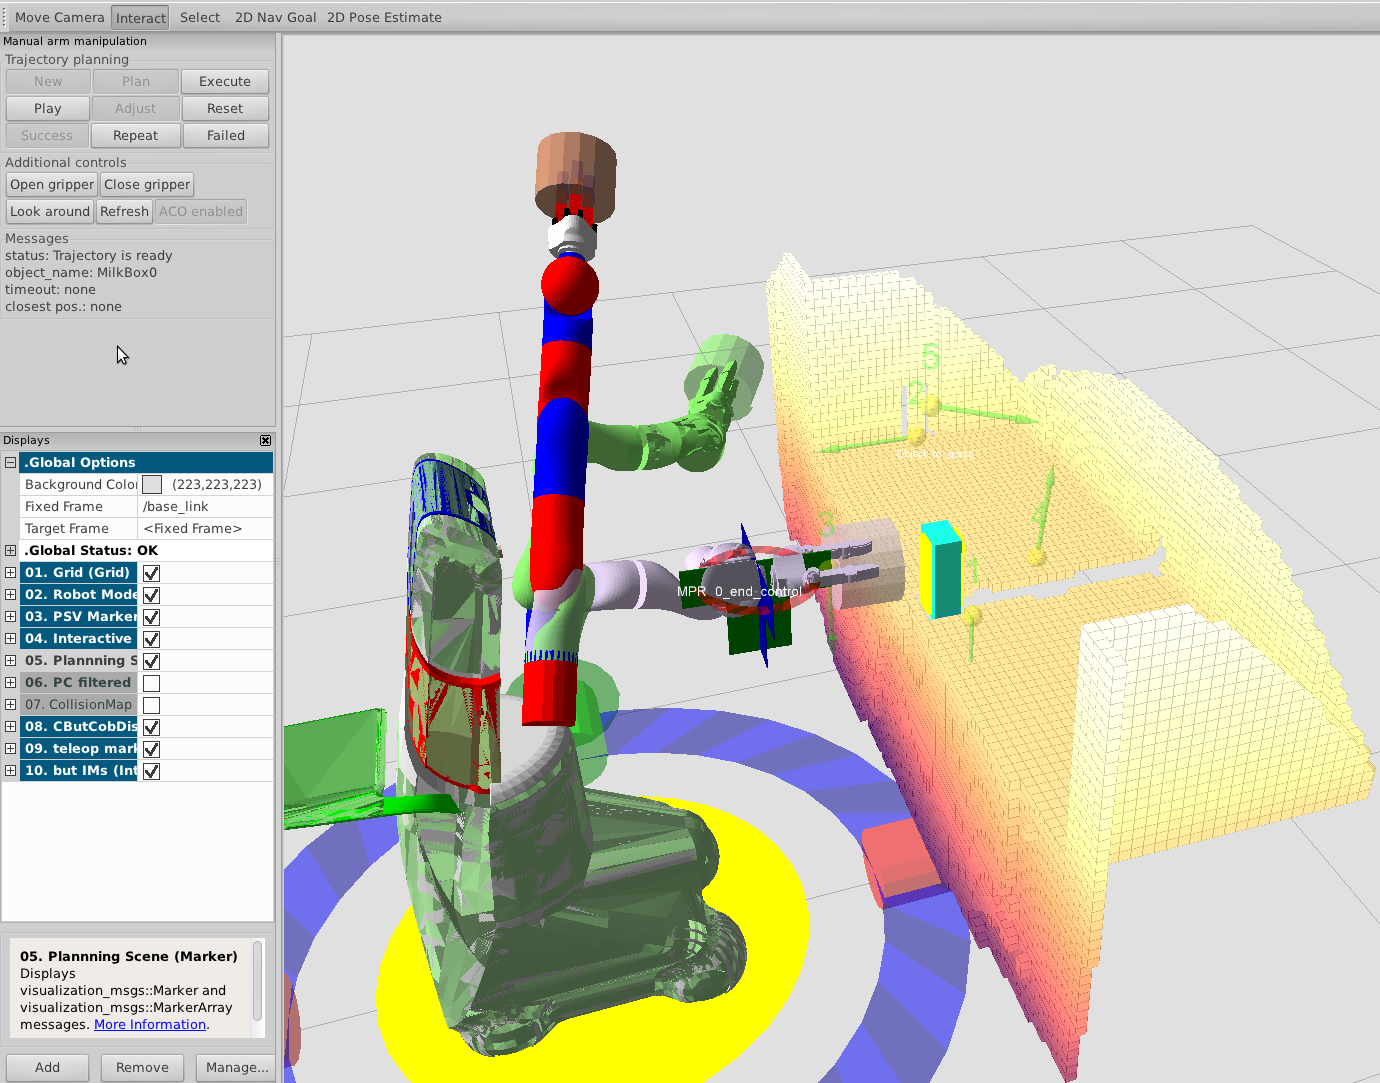
Default state of RVIZ plugin buttons looks like this:
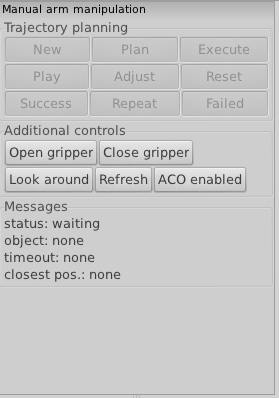
There are several active buttons:
Open / Close gripper can be used to open or close gripper of robot's arm
Look around will force robot to look around (with movement of torso) to improve collision map which is used for planning collision free trajectory
Refresh is used to send new planning scene (created from collision map) - should be used after Look around action
ACO enabled / disabled this button can enable/disable artificial collision object (ACO) connected to arm end effector. If ACO is enabled trajectory of arm will be safer, because ACO forces planner to avoid obstacles with greater distance. But with ACO enabled it's not possible to approach enough to detected object so for such cases it must be disabled.
Moving the robot
After successful detection of object (by default it's milkbox) user will be asked for action
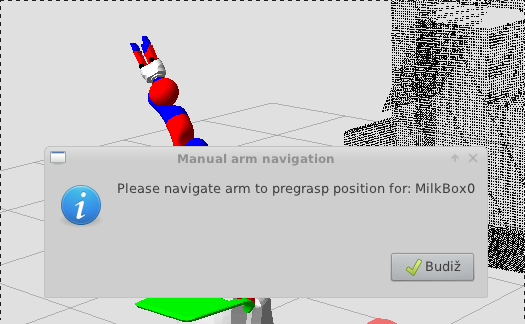
Now the operator should decide if the object is in reach of arm or not. If not he or she should move robot to a proper position.
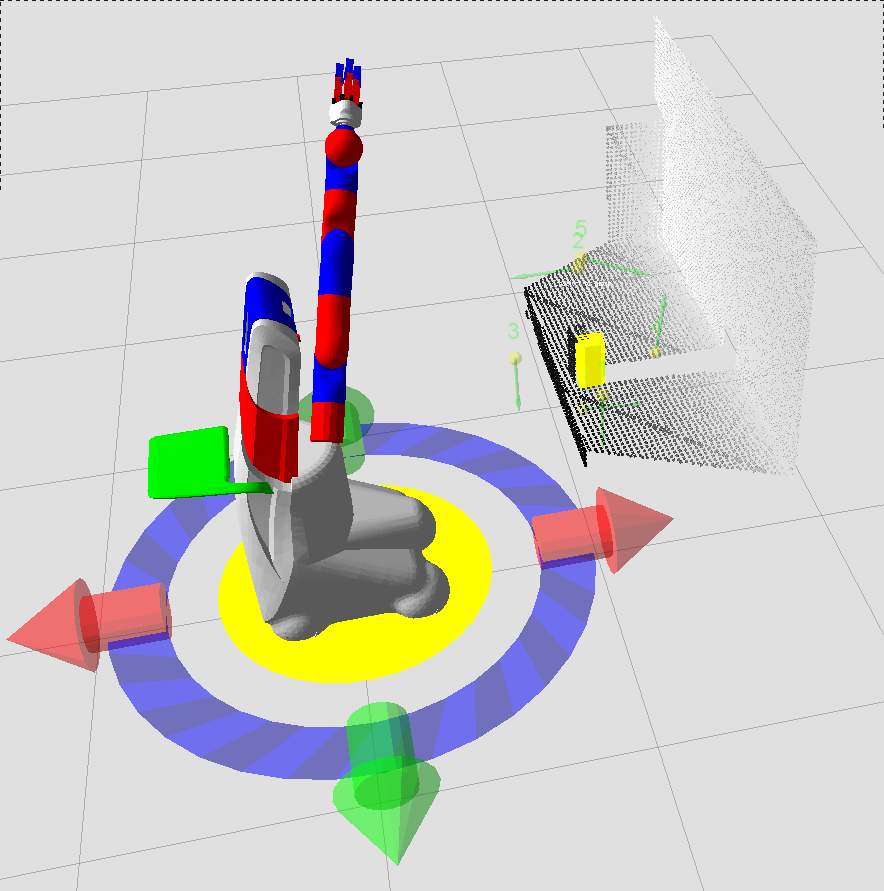
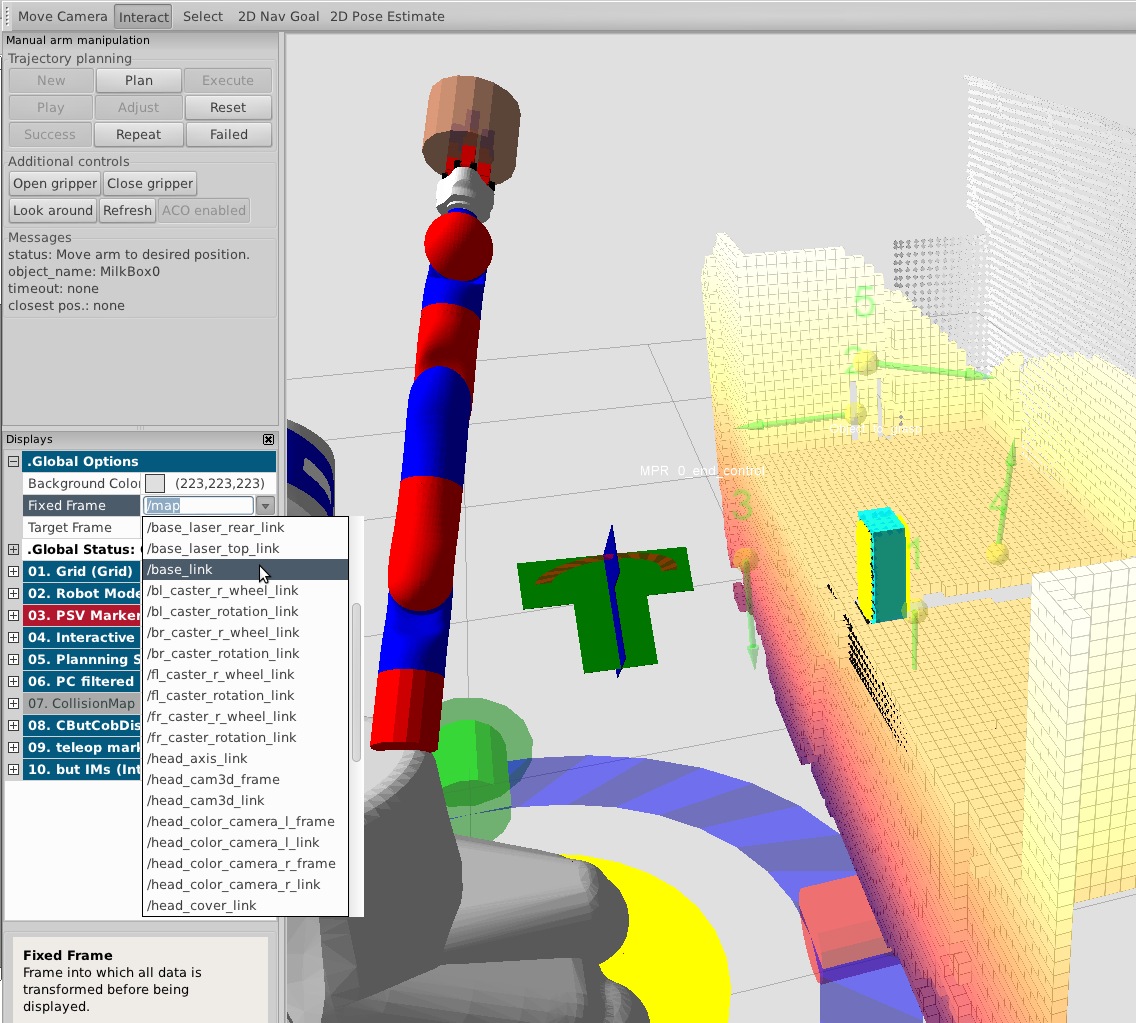
When moving robot, pay attention to have fixed frame set to /map (otherwise there is issue with IMs). If the robot is in proper position change fixed frame to base_link.
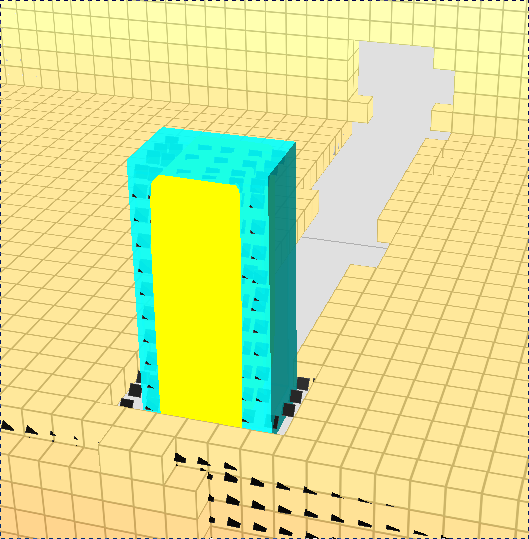
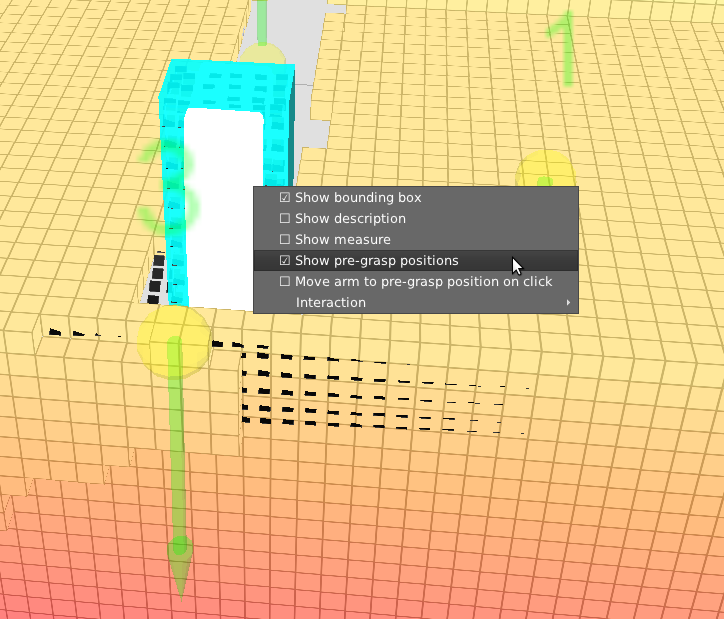
Operator should be able to see IM for detected object. There is bounding box and mesh obtained from object database. Around IM there are pregrasp positions for current object each represented by yellow ball, green arrow and it's ID.
If the robot was moved around too much it may happen that there is discrepancy between stored position of detected object and its real position. This is caused by inaccuracies in transformations, localisation of robot and object detection.

In such case it's necessary to ask DM (or fake DM) for a new detection - this can be done with Repeat button (it will be enabled after press of New).
Planning
Operator may start assisted arm trajectory planning by pressing New button.
Before pressing New the operator should decide if ACO (see above) will be enabled or disabled. After New a change will not be possible. Button become active again after press of Reset.
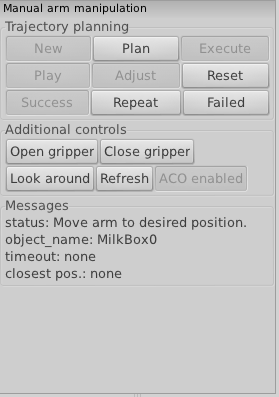
After press of New some another button become enabled:
Plan - start planning and filtering trajectory (from current robot state to position setted by IM)
Reset - cancel all changes in position of arm IM; can be used when IM for arm is accidentally moved somewhere far
Repeat - ask DM for new detection and also pregrasp positions
Failed - task is not possible or there is some another problem
IM of detected object has it's menu. Check Move arm to pre-grasp position on click. Then it is possible to just click on selected pregrasp position and IM of arm will move there.
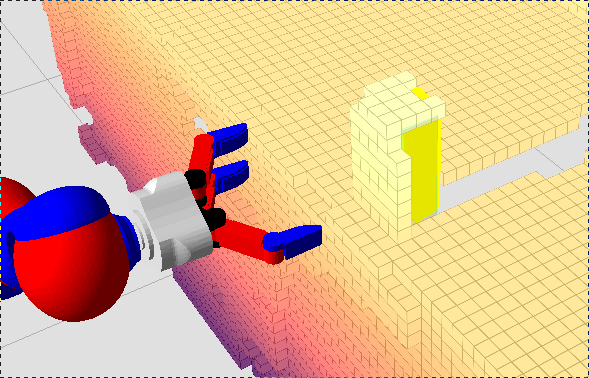
If the goal position is in collision it's indicated by red colour of arm IM. Otherwise it is possible to start planning with Plan and then execute planned trajectory on robot with Execute.
If the trajectory was successfully planned it will be played.
After execution of trajectory Success button becomes enabled.
Trajectory can be also divided into more parts. For example it's possible to move almost to pregrasp position with ACO enabled (for higher safety), then disable ACO and plan new short trajectory to exact position for pregrasp.
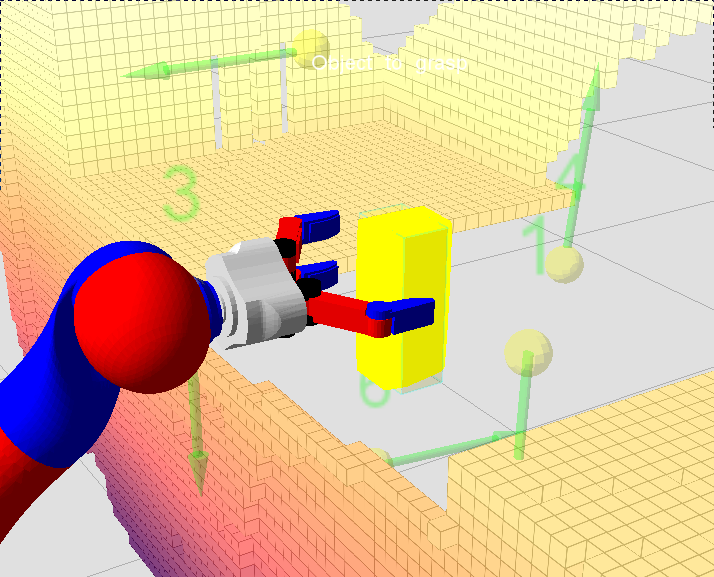
Summary
Brief instructions for moving arm to pregrasp position in two steps (using two trajectories):
- wait until messagebox with name of object appears
- make sure that fixed frame is set to /map
- position robot properly
- set fixed frame to /base_link
- set ACO to enabled
press New
if there is discrepancy between stored position of object and it's current position (in pointcloud data) press Repeat and then again New
- adjust position of arm's end effector using IM
enable Move arm to pre-grasp position on click in context menu of object's IM
- click on selected pregrasp position
- move IM further from object until arm is not in collision
click on Plan
if trajectory seems to be safe click Execute otherwise try different position, or divide trajectory planning into more parts
- disable ACO
start new planning with New
- if needed, open gripper
- click on selected pregrasp position
if ok, click on Plan, Execute and finally Success


