Author: Jordi Pages < jordi.pages@pal-robotics.com >
Maintainer: Sara Cooper < sara.cooper@pal-robotics.com >
Support: ari-support@pal-robotics.com
Source: https://github.com/pal-robotics/ari_tutorials.git
| |
Person detection (C++)
Description: ROS node using the OpenCV person detector based on HOG Adaboost cascadeKeywords: OpenCV
Tutorial Level: ADVANCED
Next Tutorial: Face Detection
Purpose
This tutorial presents a ROS node that subscribes to an image topic and applies the OpenCV person detector based on an Adaboost cascade of HoG. The node publishes ROIs of the detections and a debug image showing the processed image with the ROIs likely to contain a person.
Pre-Requisites
First, make sure that the tutorials are properly installed along with the ARI simulation, as shown in the Tutorials Installation Section.
Download person detector
In order to execute the demo first we need to download the source code of the person detector in the public simulation workspace in a console
$ cd ~/ari_public_ws/src
$ git clone https://github.com/pal-robotics/pal_person_detector_opencv.git
Building the workspace
Now we need to build the workspace
cd ~/ari_public_ws
$ catkin build
Execution
Open three consoles and in each one source the workspace
cd ~/ari_public_ws
source ./devel/setup.bash
In the first console launch the simulation
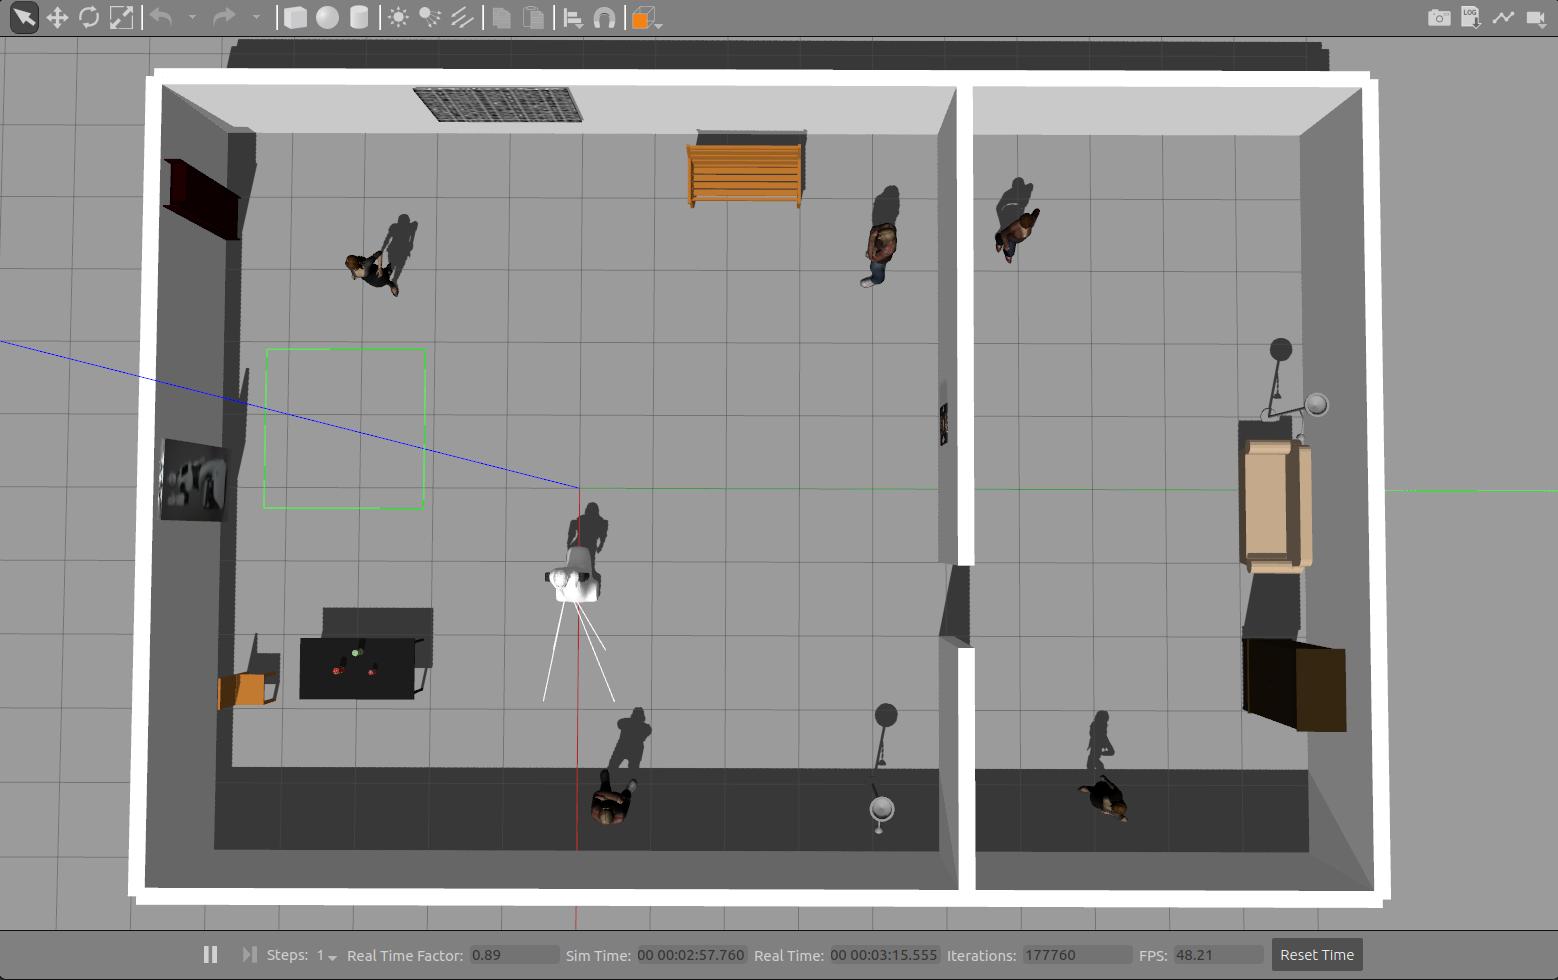
$ roslaunch ari_gazebo ari_gazebo.launch public_sim:=true world:=tutorial_office
Note that in this simulation world there are several person models
In the second console run the person detector node as follows
$ roslaunch pal_person_detector_opencv detector.launch image:=/head_front_camera/image_raw
In the third console we may run an image visualizer to see the person detections
$ rosrun image_view image_view image:=/person_detector/debug
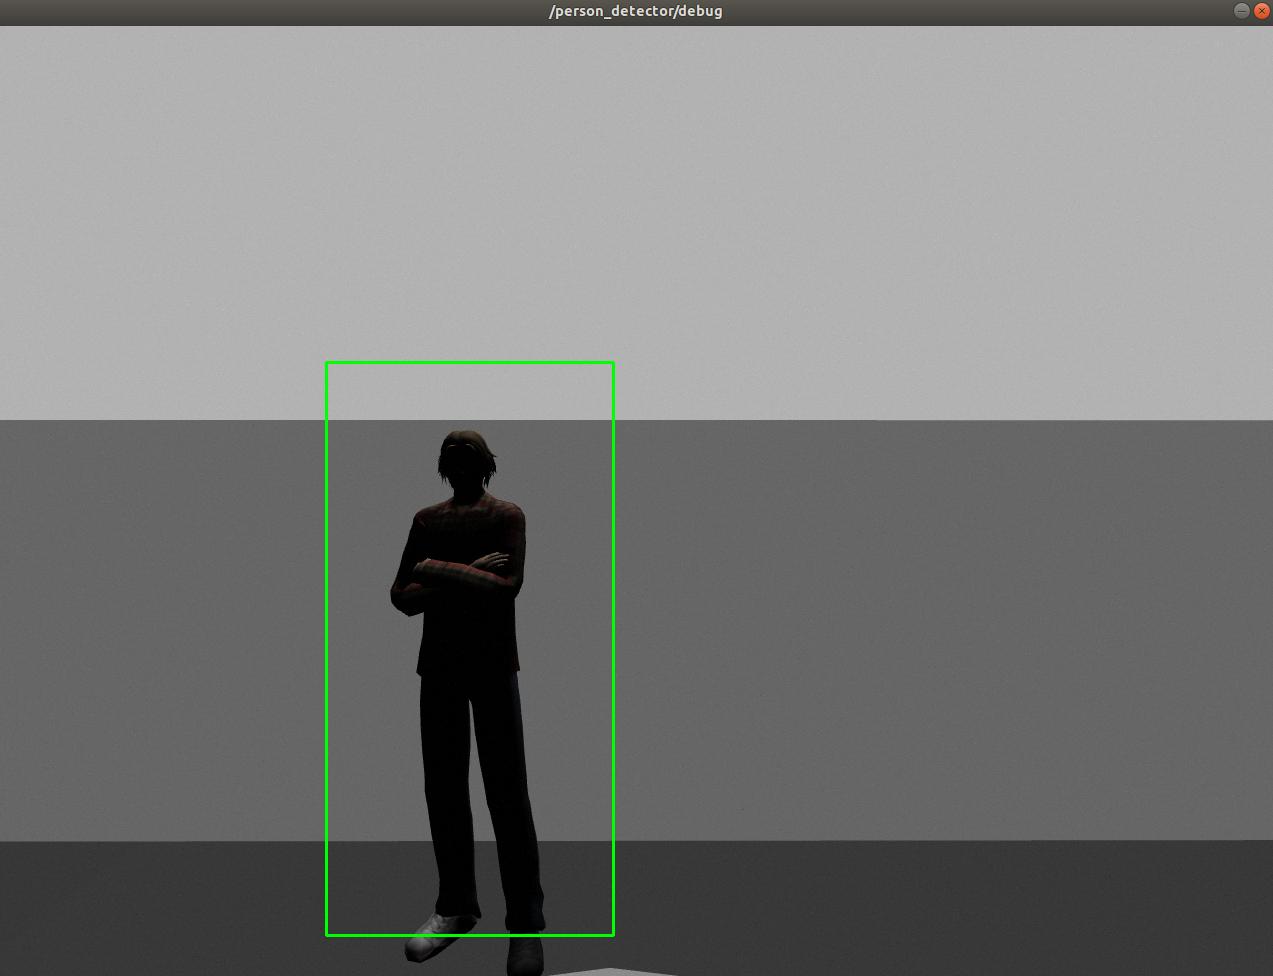
Note that persons detected are stroked with a ROI. The detections are not only represented in the /person_detector/debug Image topic but also in /person_detector/detections, which contains a vector with the image ROIs of all the detected persons. In order to see the contents of the topic we may use
$ rostopic echo -n 1 /person_detector/detections
which will prompt one message of the topic that when a person is detected will look like
header:
  seq: 1115
  stamp:
    secs: 253
    nsecs: 738000000
  frame_id: ''
detections:
  -
    x: 434
    y: 366
    width: 224
    height: 448
camera_pose:
  header:
    seq: 0
    stamp:
      secs: 0
      nsecs:         0
    frame_id: ''
  child_frame_id: ''
  transform:
    translation:
      x: 0.0
      y: 0.0
      z: 0.0
    rotation:
      x: 0.0
      y: 0.0
      z: 0.0
      w: 0.0
---
Moving around
In order to see better how the person detector performs we can open a new console and run the key_teleop node in order to move the robot around
source ./devel/setup.bash
rosrun key_teleop key_teleop.py
Then, using the arrow keys of the keyboard we can make ARI move around the simulated world to gaze toward the different persons and see how the detector works
