Author: Alessandro Di Fava
Maintainer: Jordi Pages < jordi.pages@pal-robotics.com >, Alessandro Di Fava < alessandro.difava@pal-robotics.com >
Support: tiago-support@pal-robotics.com
Source: https://github.com/pal-robotics/tiago_simulation.git
| |
Execute the Multi-TIAGo Simulation
Description: This tutorial shows how to launch the Multi-TIAGo simulation in Gazebo and how to execute some basic operations.Keywords: Multi-TIAGo, multi-robot simulation
Tutorial Level: INTERMEDIATE
Next Tutorial: Multi-TIAGo navigation

Contents
Purpose
This tutorial shows how to use the Multi-TIAGo simulation in order to simulate multiple Tiago robots in a single Gazebo environment.
Pre-requisites
First make sure that the tutorials are properly installed along with the TIAGo simulation, as shown in the Tutorials Installation Section.
Execution
First open two consoles and source the public simulation workspace as follows:
cd ~/tiago_public_ws
source ./devel/setup.bash
Launching the simulation
In the first console launch the following simulation
roslaunch tiago_multi multitiago_gazebo.launch
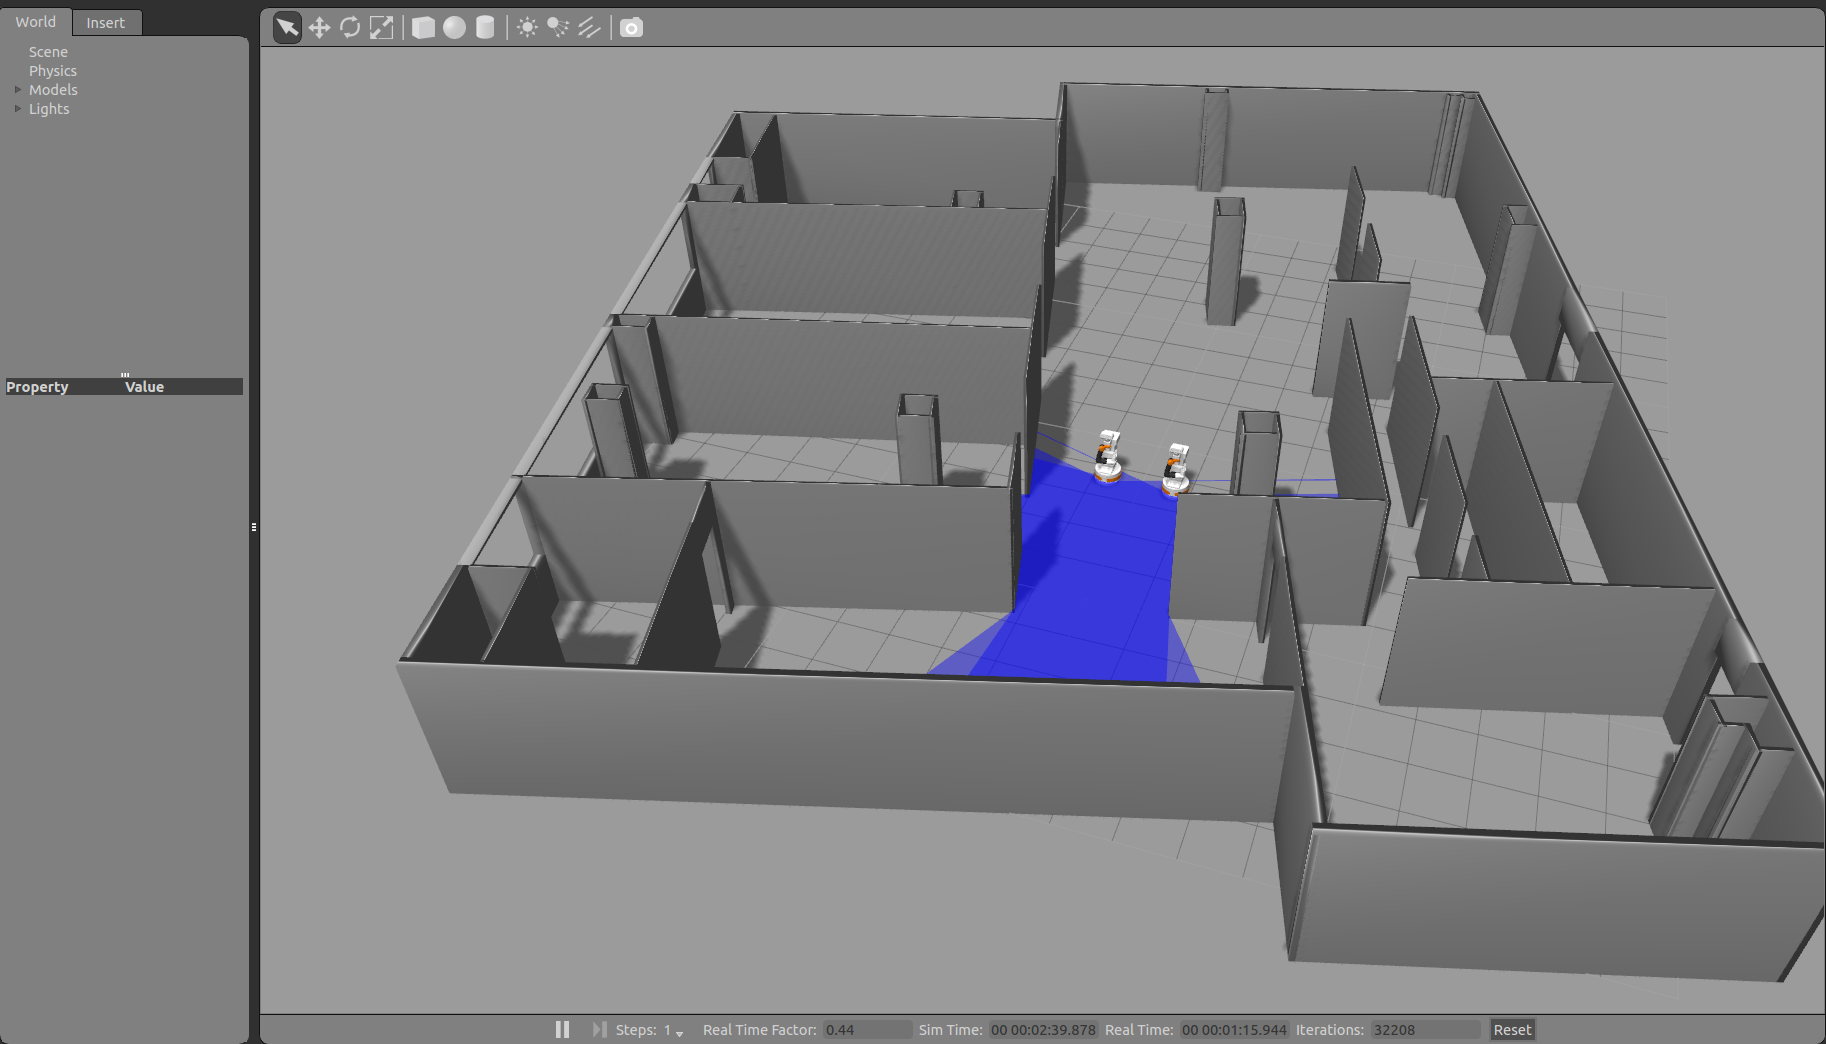
Gazebo will show up with two TIAGo robots in the PAL office environment.

Wait until the two TIAGo robots have tucked their arm. Then you may proceed with the next steps.
In order to have multiple TIAGo robots coexisting in the same environment some modifications need to be done. All the nodes belonging to a specific robot are pushed into its own namespace. In addition its tf tree is prepended with the same name as a tf_prefix. This generates a single tf tree that has a map root, and then, for each robot, a classic robot/map -> robot/odom -> robot/base_footprint tree, were robot is the robot's tf_prefix.
The launch file contain all the required arguments to launch a new TIAGo in its own namespace, adding the model to gazebo and launching its controllers. The launch file has three mandatory parameters:
robot_name: namespace for the robot's nodes (its tf tree will use the same name as tf_prefix).
x_pose: X coordinate of the initial pose of the robot in the environment.
y_pose: Y coordinate of the initial pose of the robot on the environment.
The last two parameters are important to make sure that the different robots start at different coordinates of the map to avoid overlapping.
The namespaces used in this simulation are: tiago1 for the first TIAGo robot and tiago2 for the second one.
Running key_teleop
In the second console launch the keyboard teleoperation node on a specific namespace as follows
roslaunch tiago_multi teleop_tiago.launch robot:=tiago1

By pressing the arrow keys on this console drive TIAGo around the world. The launch runs a key_teleop node in the namespace provided in the robot parameter. In this case we are running the node for the first robot. Press 'q' in the key_teleop console or open a new console and launch the following command to control the second robot
roslaunch tiago_multi teleop_tiago.launch robot:=tiago2
Each time that you open a new console remember to source the public simulation workspace.
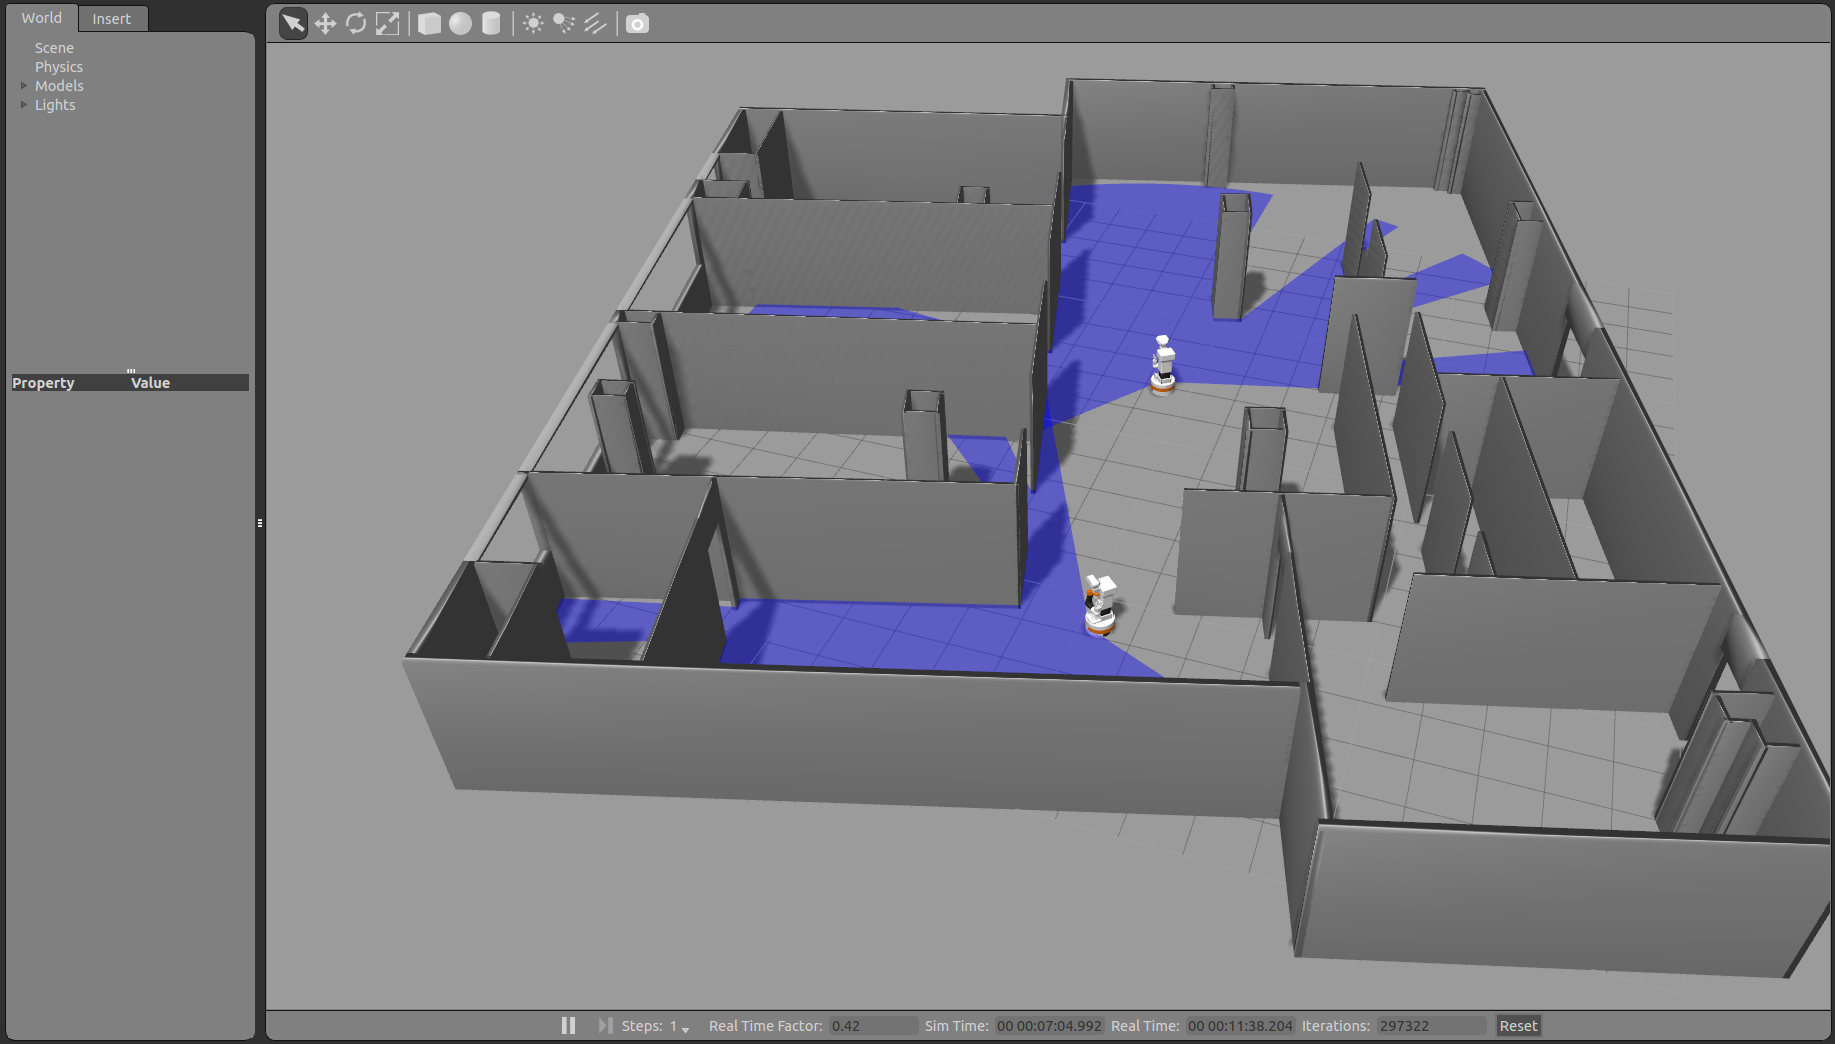
The following picture shows an example of the two robots after that have been driven with the keyboard teleoperation node.

Playing motions
In the second console close the key_teleop node in order to run play_motion command for the two TIAGo robots. When the simulation is launched, the play_motion action server is automatically launched (see http://wiki.ros.org/Robots/TIAGo/Tutorials/motions/play_motion for details).
In order to see the names of the motions defined, for each robot, run the following instruction in the second console:
rosparam list | grep "play_motion/motions"
Then, there are two ways to run a defined motion on a specific namespace. The first way is using the following graphical action client (see http://wiki.ros.org/Robots/TIAGo/Tutorials/motions/play_motion for details)
rosrun actionlib axclient.py /tiago1/play_motion
Change /tiago1/play_motion with /tiago2/play_motion to run the motion for the second robot.
The second way is to use the C++ and Python action clients as explained in http://wiki.ros.org/Robots/TIAGo/Tutorials/motions/play_motion. In order to use them on a specific namespace we need to remap the name of the action client. An example of the usage of the C++ action client node, for the first robot, is as follows
rosrun play_motion run_motion offer /play_motion:=/tiago1/play_motion
The Python action client node is run as follows
rosrun play_motion run_motion_python_node.py home /play_motion:=/tiago1/play_motion
Change /tiago1/play_motion with /tiago2/play_motion to run the motion for the second robot.
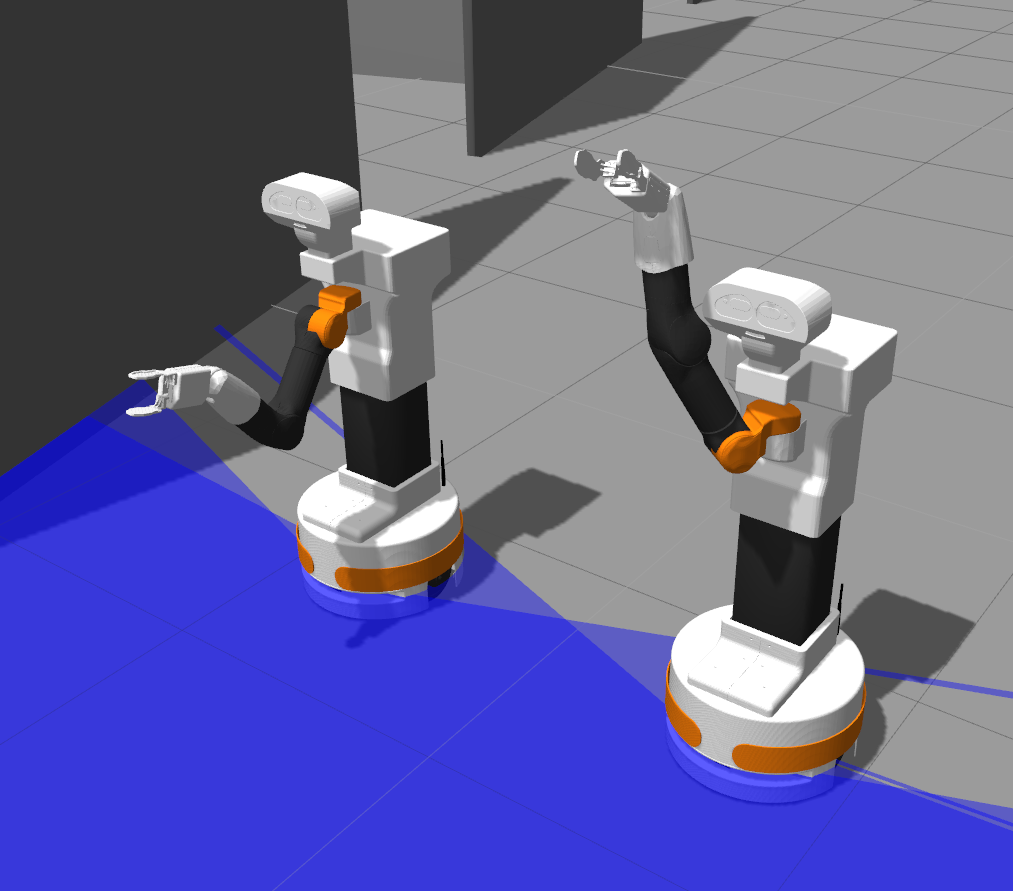
An example of execution of two motions is shown in the following picture:

The first TIAGo executed the offer_gripper motion and the second TIAGo executed the reach_max motion.


