| Note: This tutorial assumes that you have completed the previous tutorials: ROS Tutorials. |
| |
Interactive Markers: Getting Started
Description: This tutorial explains what Interactive Marker are and teaches you some of the basic concepts.Tutorial Level: BEGINNER
Next Tutorial: Interactive Markers: Writing a Simple Interactive Marker Server
Contents
Intro
Interactive markers are similar to the "regular" markers described in the previous tutorials, however they allow the user to interact with them by changing their position or rotation, clicking on them or selecting something from a context menu assigned to each marker.
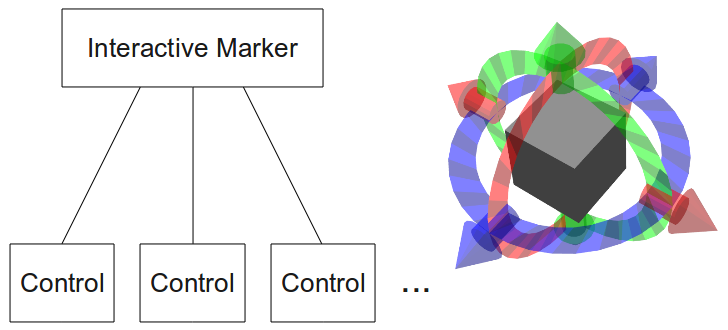
They are represented by the visualization_msgs/InteractiveMarker message, which contains a context menu and several controls (visualization_msgs/InteractiveMarkerControl). The controls define the different visual parts of the interactive marker, can consist of several regular markers (visualization_msgs/Marker) and can each have a different function.
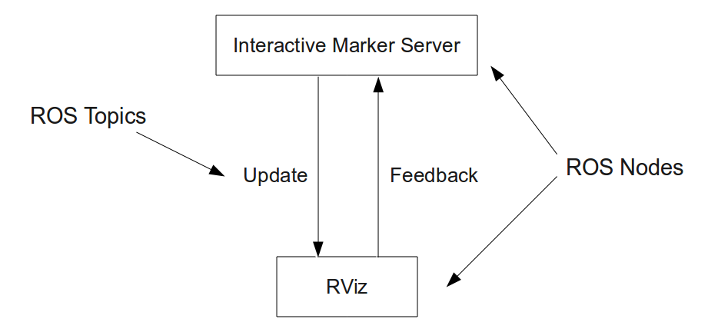
If you want to create a node providing a set of interactive markers, you need to instantiate an InteractiveMarkerServer object. This will handle the connection to the client (usually RViz) and make sure that all changes you make are being transmitted and that your application is being notified of all the actions the user performs on the interactive markers.
Further Documentation
To find out more about how to use interactive markers, refer to this and the following tutorials. The source code used can be found in the interactive_marker_tutorials package.
For writing applications using interactive markers, you will most likely use the interfaces provided in the interactive_markers package. Refer to the Code API for more information.
The messages used to describe interactive markers themselves contain a detailed description of all their parameters. Of main interest are visualization_msgs/InteractiveMarker, visualization_msgs/InteractiveMarkerControl and visualization_msgs/InteractiveMarkerFeedback. The recommended way to create context menus is using the MenuHandler interface, so you will not have to deal with the underlying messages.
The interactive_marker_tutorials Package
The best way to understand what interactive markers do is by trying out the examples contained in the interactive_marker_tutorials package. It contains five examples: simple_marker, basic_controls, menu, pong and cube.
How To Run The Tutorials
The procedure to run the tutorials is basically the same in all case. E.g. to run basic_controls, open a terminal and type
rosrun interactive_marker_tutorials basic_controls
This will start the node which contains the interactive marker server. Then, start RViz by running the following command in a separate terminal:
rosrun rviz rviz
In RViz, do the following:
- Set the fixed frame to '/base_link'.
Add an 'Interactive Markers' display by clicking on 'Add' in the 'Displays' panel.
Set the update topic of this display to '/basic_controls/update'. This should immediately bring up several grey cubes in rviz.
Now select 'Interact' in the tool panel. This will enable all interactive elements in the main view, which will bring up additional arrows and rings around the boxes. You can left-click on these controls and in some case on the box itself to change the pose of each interactive marker. Some markers have a context menu which you can access by right-clicking on them.
Add a 'Grid' display. This is a useful visual clue for perceiving how the markers move in space while you drag them.
simple_marker
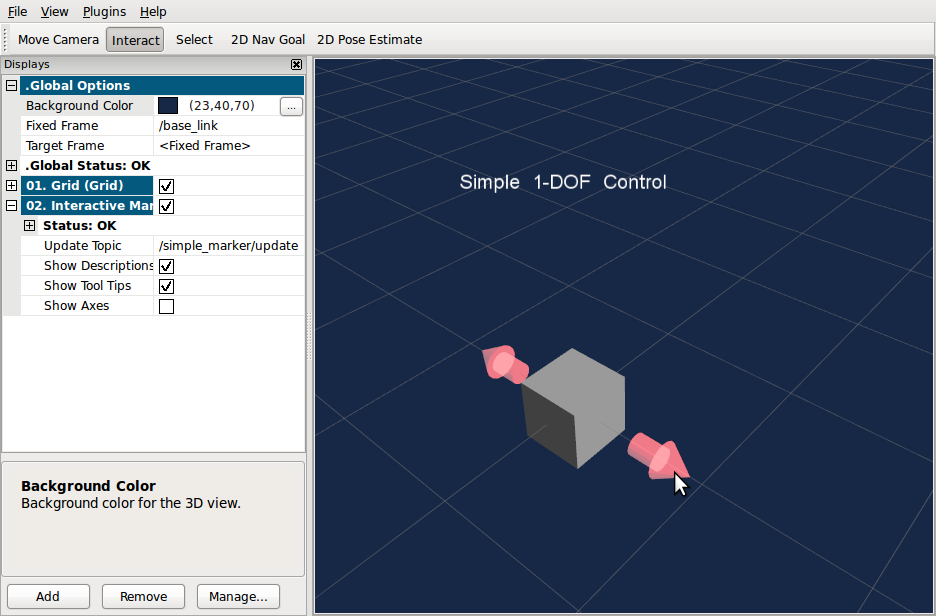
This example will display a minimalist marker in RViz. See Writing a Simple Interactive Marker Server for more details.
basic_controls
Code (Python): https://github.com/ros-visualization/visualization_tutorials/blob/indigo-devel/interactive_marker_tutorials/scripts/basic_controls.py
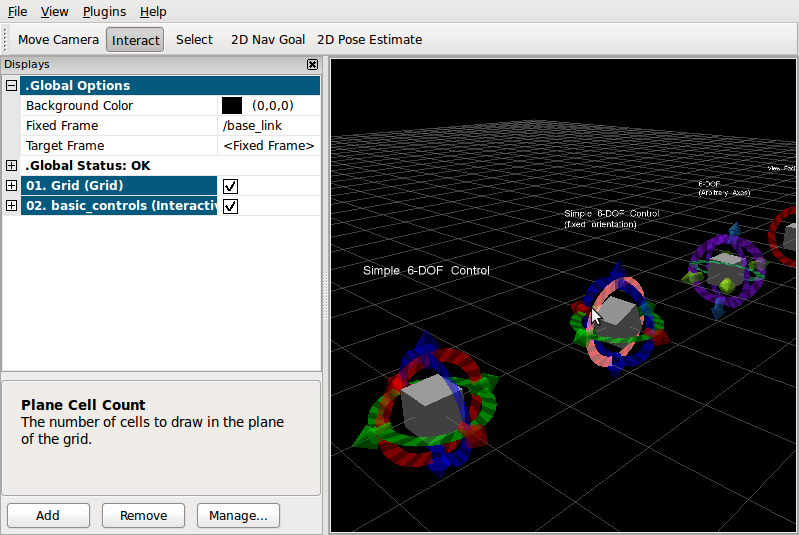
Displays a selection of interactive markers that can be manipulated in different ways. It is explained in more detail in the Basic Controls tutorial.
menu
Code (Python): https://github.com/ros-visualization/visualization_tutorials/blob/indigo-devel/interactive_marker_tutorials/scripts/menu.py
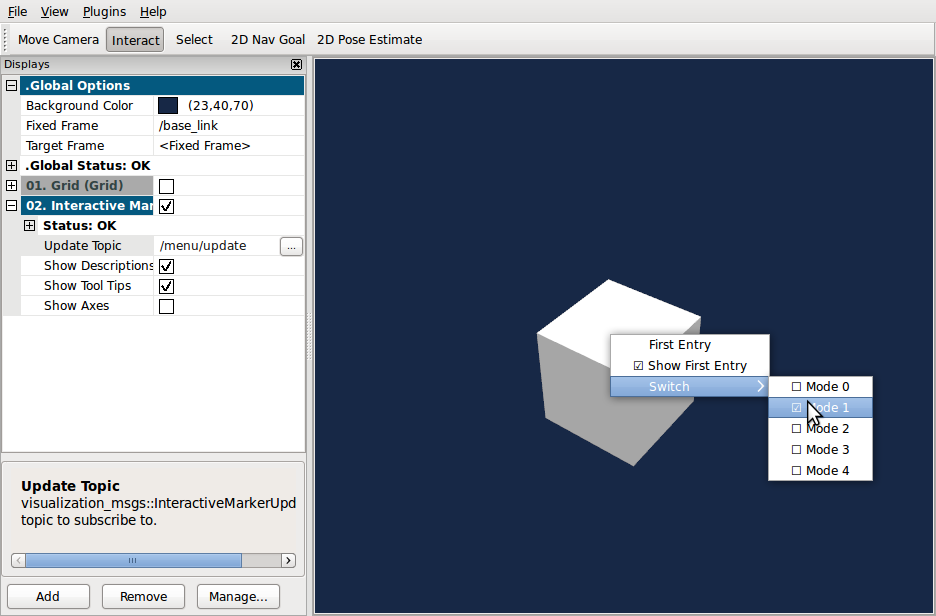
Shows how to manage a more complex context menu associated with an interactive marker, including hiding entries and adding check boxes.
pong
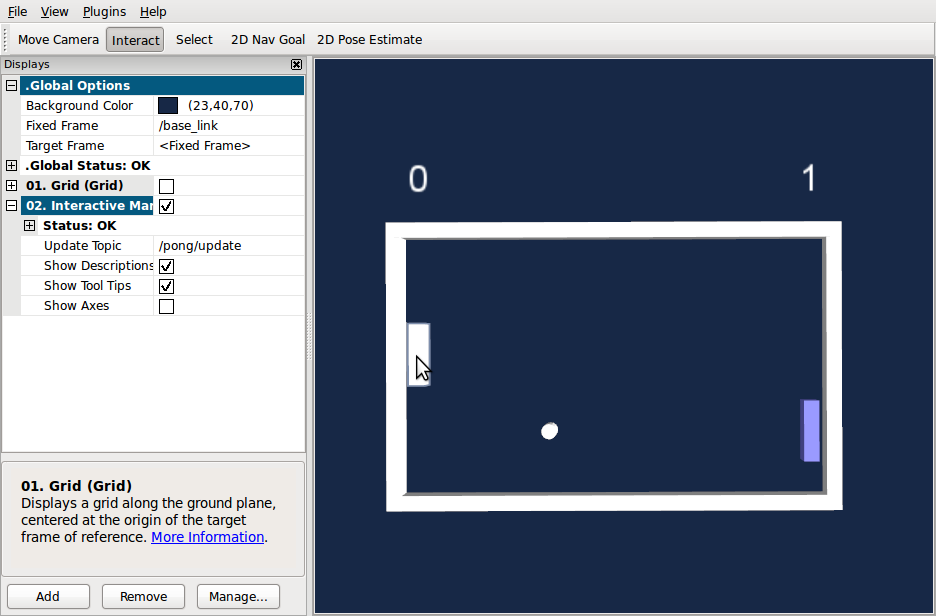
Lets you play the classic arcade game with one or two players in rviz. It is meant to distract you from your work- demonstrate the two-way interaction between an interactive marker server and multiple clients.
If you open two instances of RViz on different computers that are connected to the same pong server, you can play against each other. Otherwise, the computer will take control of the unused paddle.
cube
Code (Python): https://github.com/ros-visualization/visualization_tutorials/blob/indigo-devel/interactive_marker_tutorials/scripts/cube.py
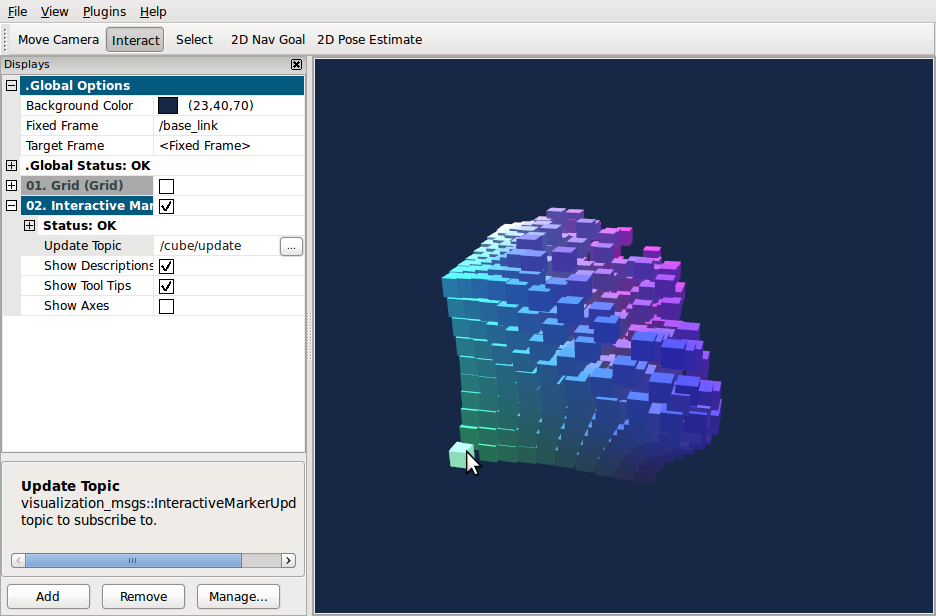
Demonstrates how to procedurally create and manage a large number of interactive markers.
