| Note: This tutorial assumes that you have completed the previous tutorials: ROS tutorials. |
| |
How to Build a Map Using Logged Data
Description: This tutorial shows you how to create a 2-D map from logged transform and laser scan data.Keywords: gmapping
Tutorial Level: BEGINNER
Next Tutorial: Building a map in simulator.
Contents
Building a map
- If you're working from a source checkout (as opposed to a binary installation), build gmapping:
rosmake gmapping
- Get a bag. You have a couple of choices: Either way, you'll end up with a bag.
- Bring up the master:
roscore
- Make sure that use_sim_time is set to true before any nodes are started:
rosparam set use_sim_time true
Bring up slam_gmapping, which will take in laser scans (in this case, on the base_scan topic) and produce a map:
rosrun gmapping slam_gmapping scan:=base_scan
Note: On the PR2, the odom frame is named odom_combined. Use the command:
rosrun gmapping slam_gmapping scan:=base_scan _odom_frame:=odom_combined
- In a new terminal, start playing back the bag file to feed data to slam_gmapping:
rosbag play --clock <name of the bag that you downloaded / created in step 2>
- Wait for rosbag to finish and exit.
Save your new map to disk using map_saver from the map_server package:
rosrun map_server map_saver -f <map_name>
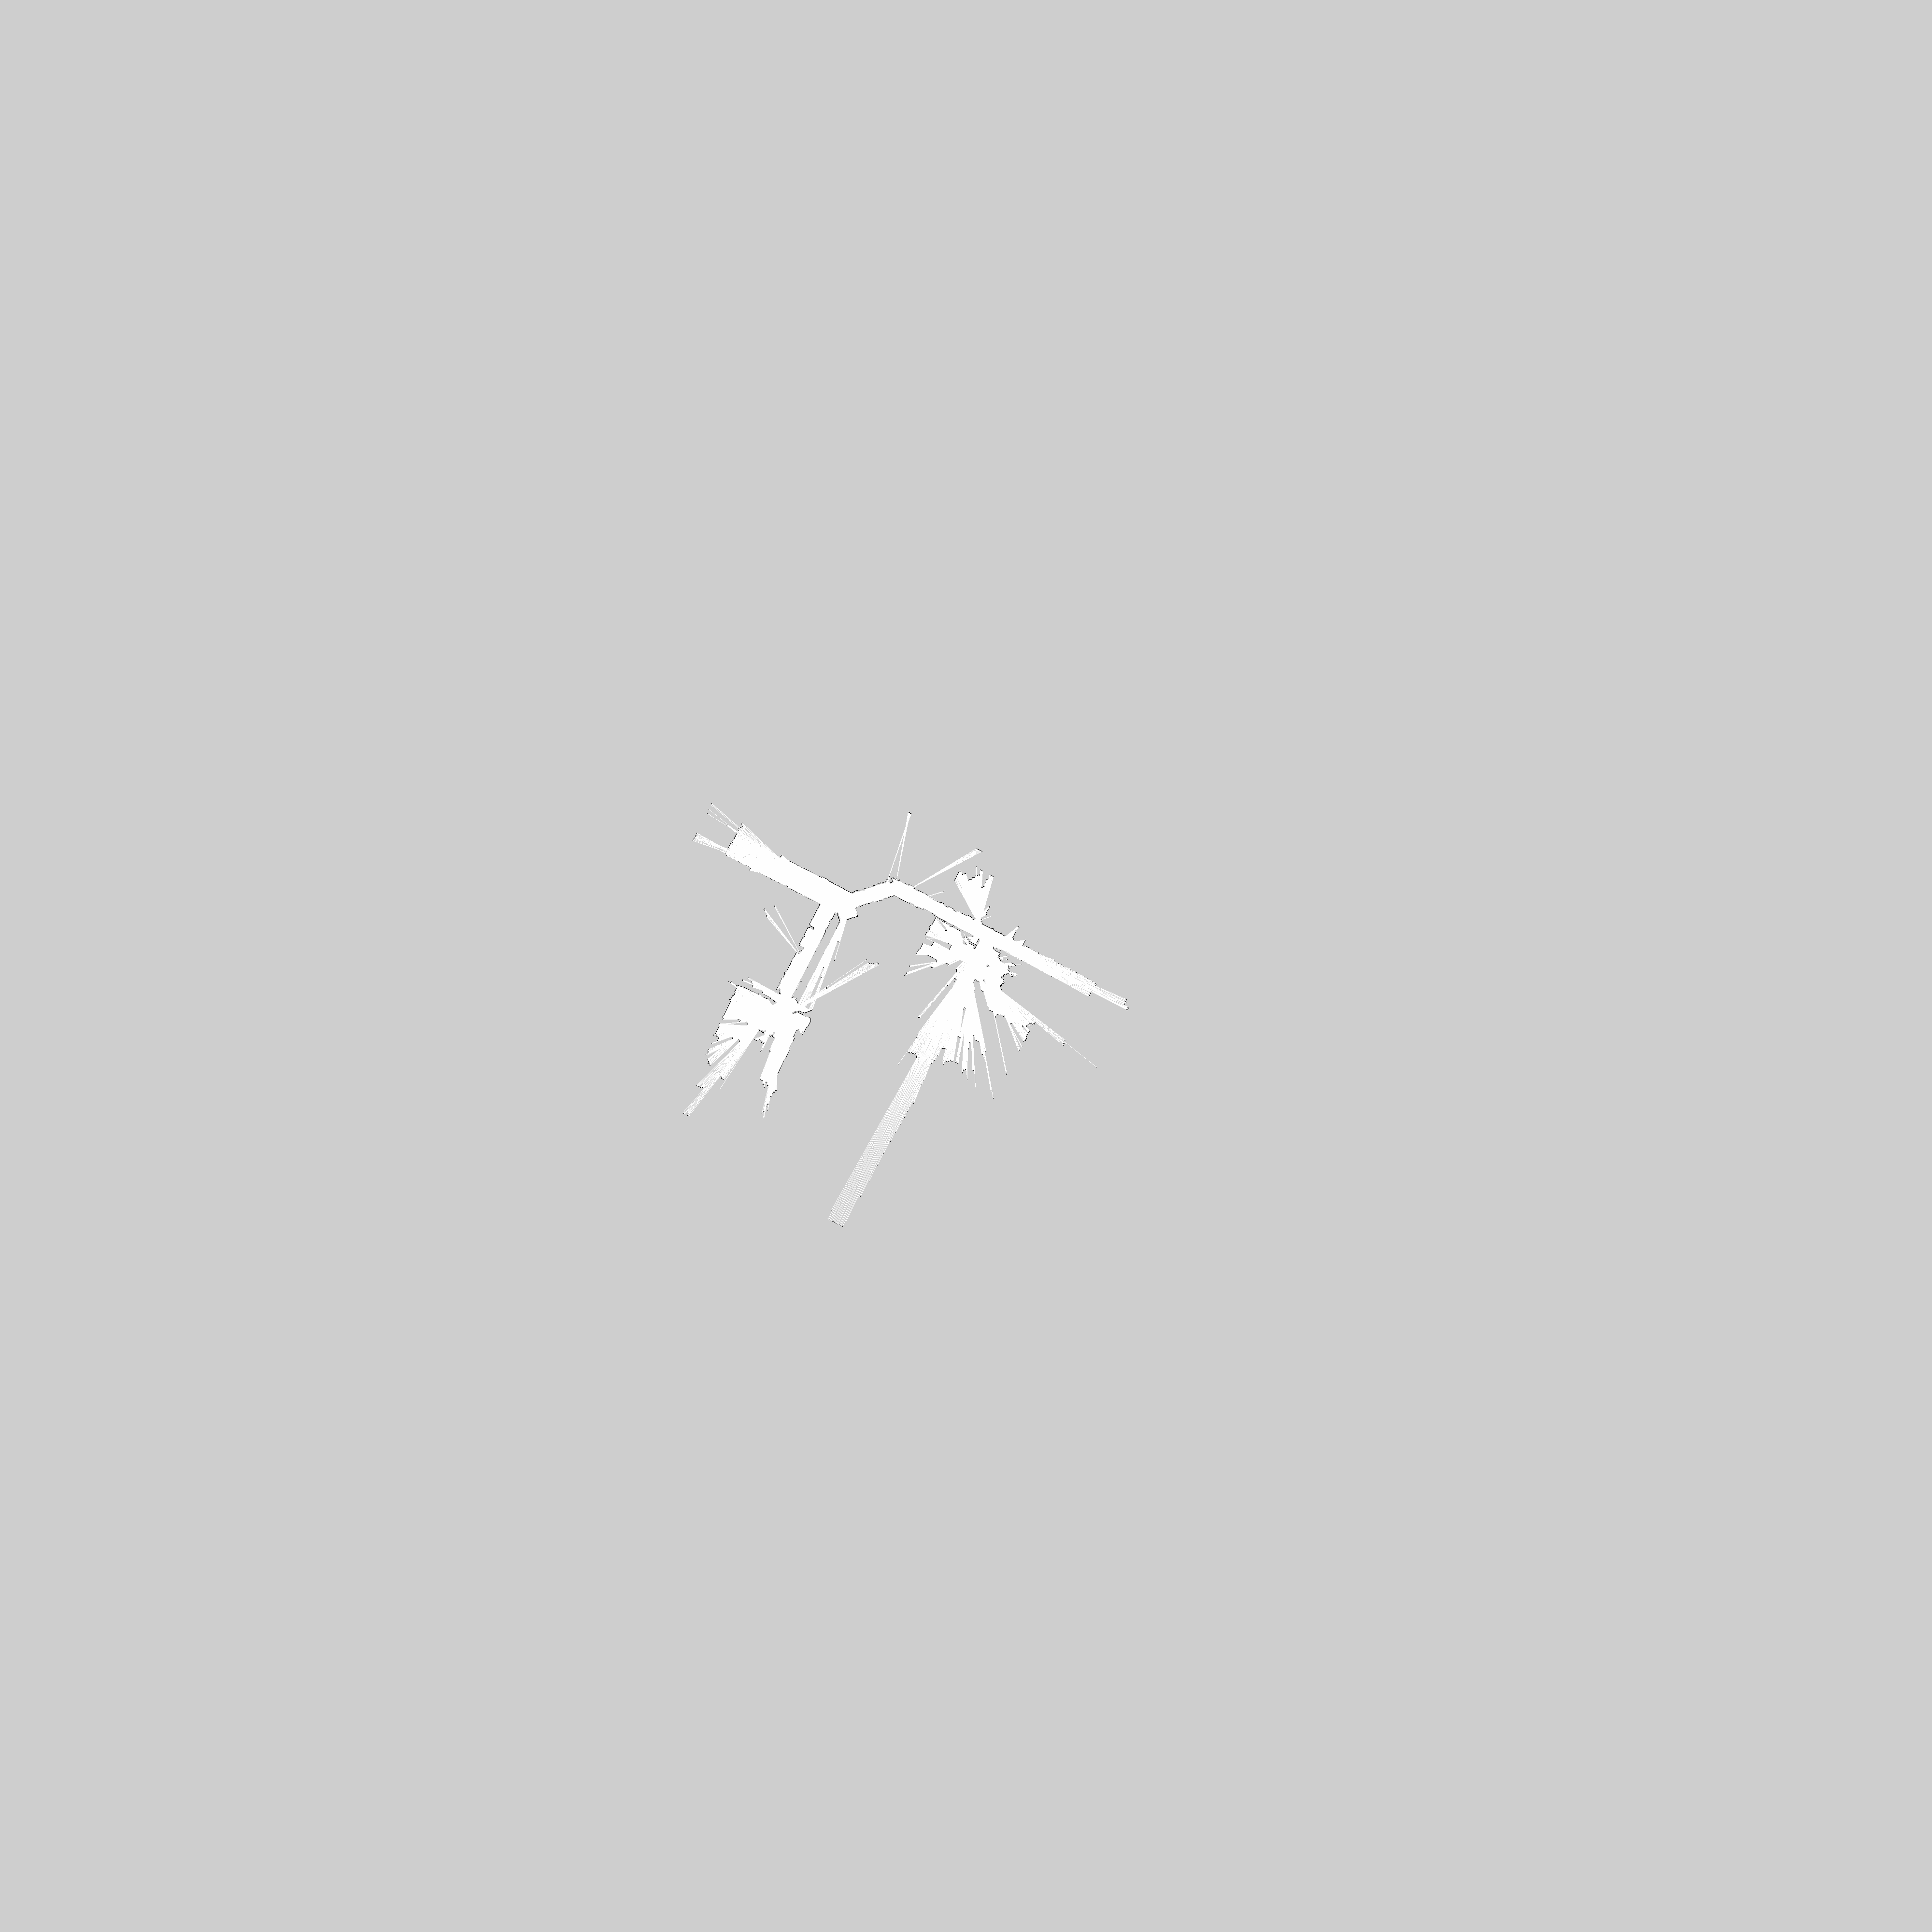
You now have a map, saved locally as map.pgm. Congratulations. You can view it with any image viewer (gimp, eog, gthumb, etc.); it should look very much like
 .
.
What's next? You might want to use your new map in the navigation stack, by passing your map to the map_server. As an example, if you're working with a PR2, you would supply your new map at this point in the process of bringing up the navigation stack.
Downloading a test bag
Download a bag file to test with here: basic_localization_stage.bag
Making your own bag
- Bring up your robot, with laser scans and transform data published, and joystick teleoperation enabled (details will vary from robot to robot).
- Start recording scans and transforms (note that the scan topic may vary from robot to robot):
rosbag record -O mylaserdata /base_scan /tf
This will start writing a file in the current directory called 'mylaserdata_<DATE>-topic.bag.
- Drive the robot around. General advice:
- Try to limit fast rotations, as they are hardest on the scan-matcher. It helps to lower the maximum allowed velocity from the joystick.
- Visualize what the robot "sees" with its laser; if the laser can't see it, it won't be in the map.
- People walking around don't usually present a problem, unless they walk along with the robot, in view of its laser.
- Loop closure is the hardest part; when closing a loop, be sure to drive another 5-10 meters to get plenty of overlap between the start and end of the loop.
Kill the rosbag instance, and note the name of the file that was created.
Variation: watching the mapping progress
If you don't care to wait until the log playback and mapping process has finished before seeing some results, then you can watch the progress in rviz.
rosrun rviz rviz
- Add a display with a map, set to the topic /map


