| |
Hardware Setup
Description: Required hardware components and how to connect them.Tutorial Level: BEGINNER
Next Tutorial: Software installation
Required Hardware
You will need the following components:
Yujin Robot's Kobuki base.
- A Tango enabled device. These are the currently supported devices:
Asus ZenFone AR.
Lenovo Phab2Pro.
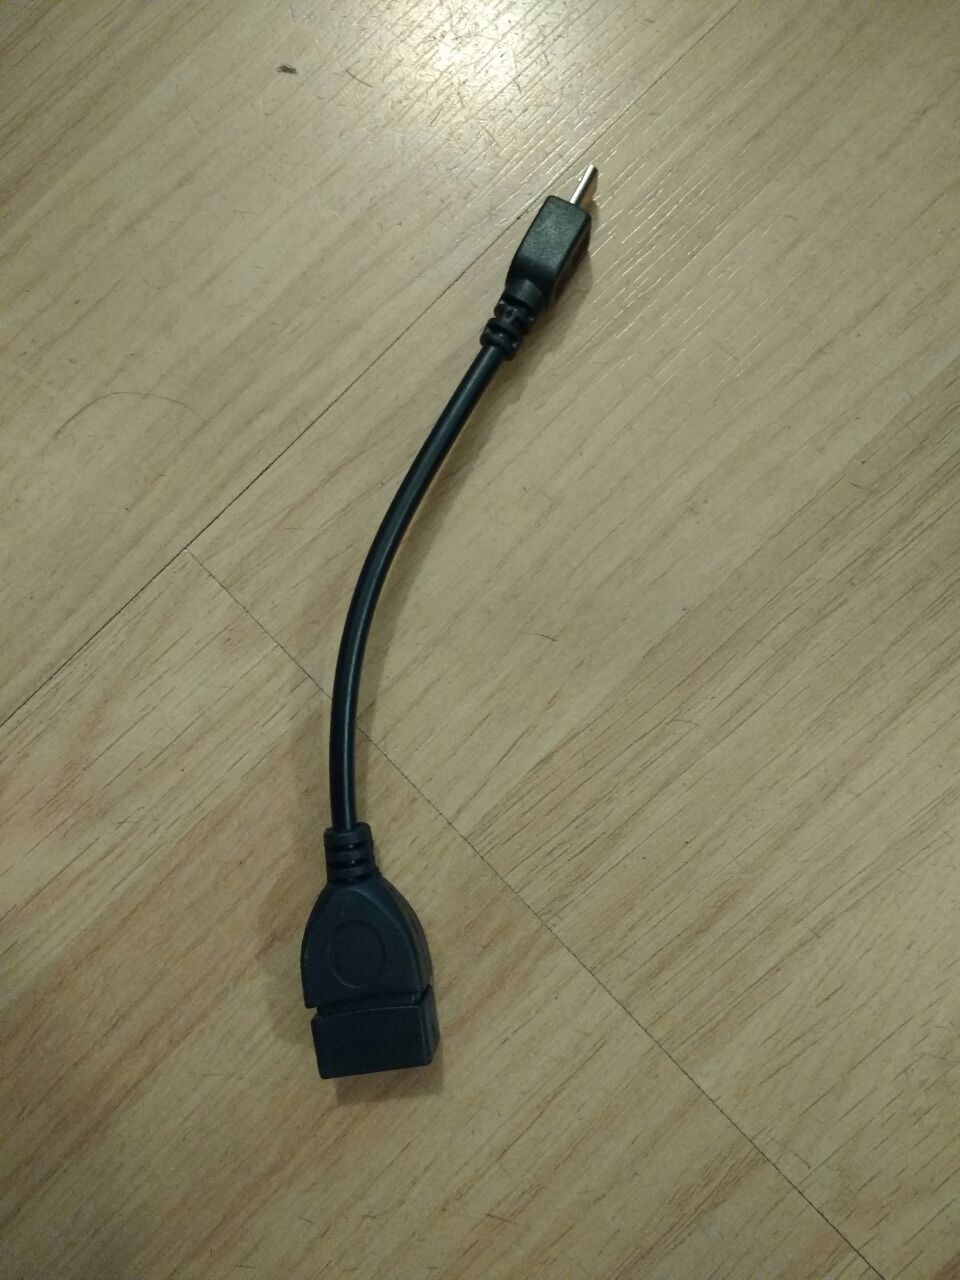
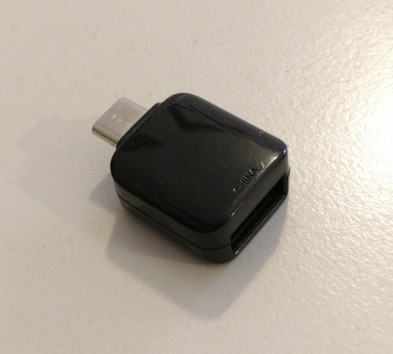
- USB On-The-Go adapter cable:
- USB to Micro-USB for Tango tablet and Phab 2 Pro.
- USB to USB-C for Zenfone AR.
- A mobile device dock to hold the Tango device in its proper place:
Recommended 3D printable mount for the Phab2 Pro.
Recommended 3D printable mount for the Zenfone AR.
A device to visualize and command the robot. It can be a Linux desktop with Ubuntu, or a second Android device (not necessarily Tango enabled; any device with Android KitKat or greater will work).
Connecting the components
First, don't forget to turn on the Kobuki base.
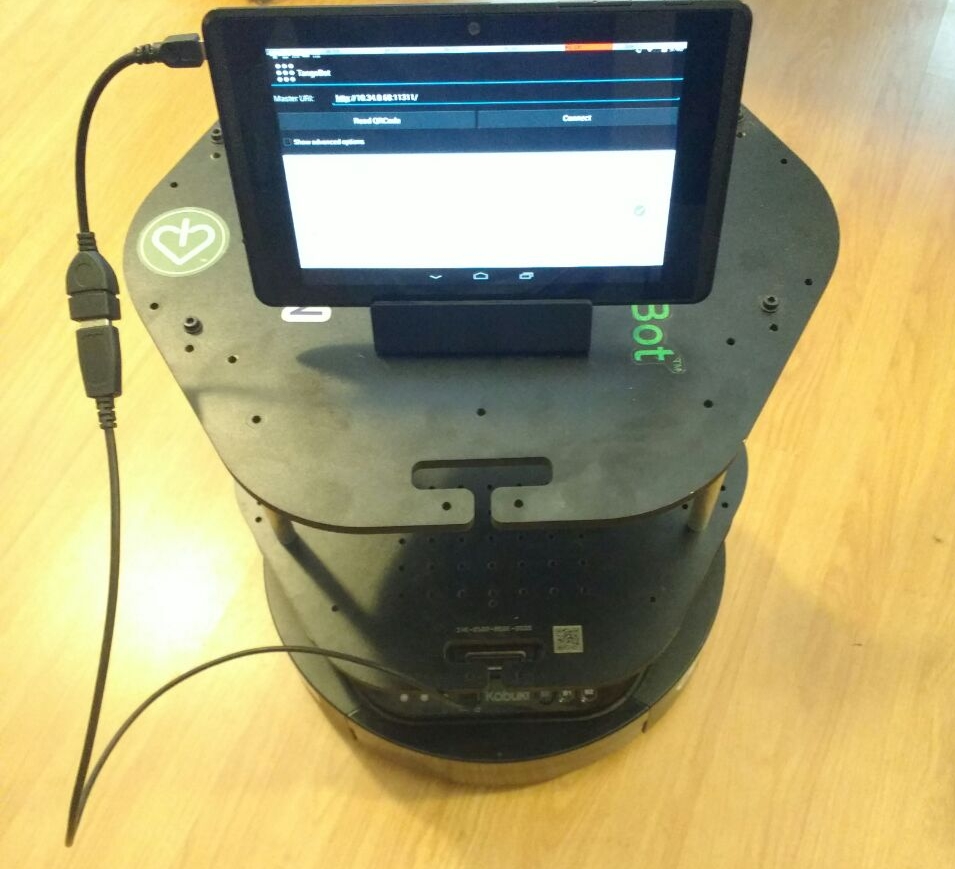
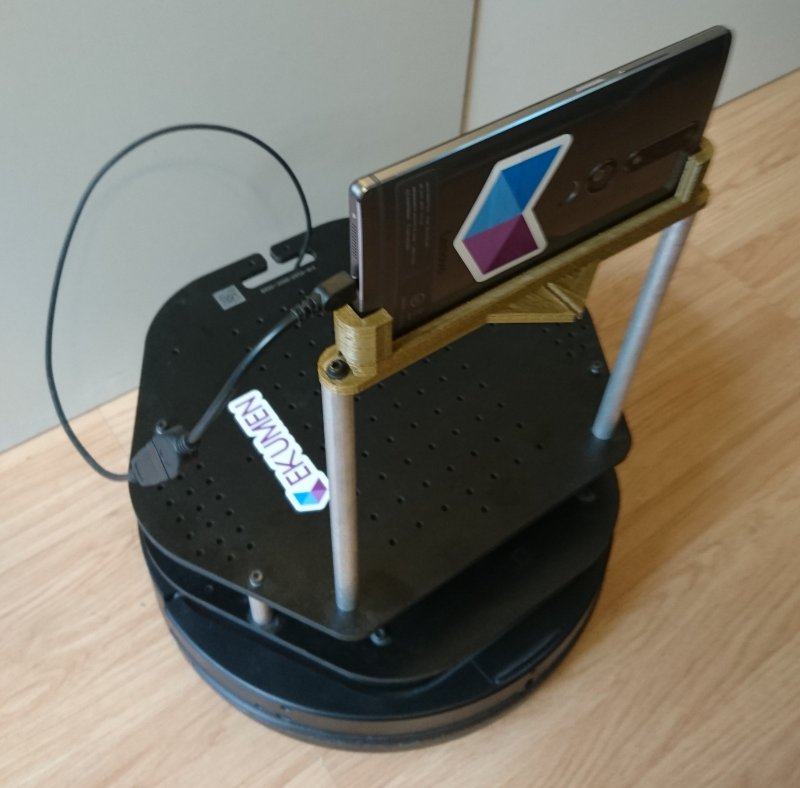
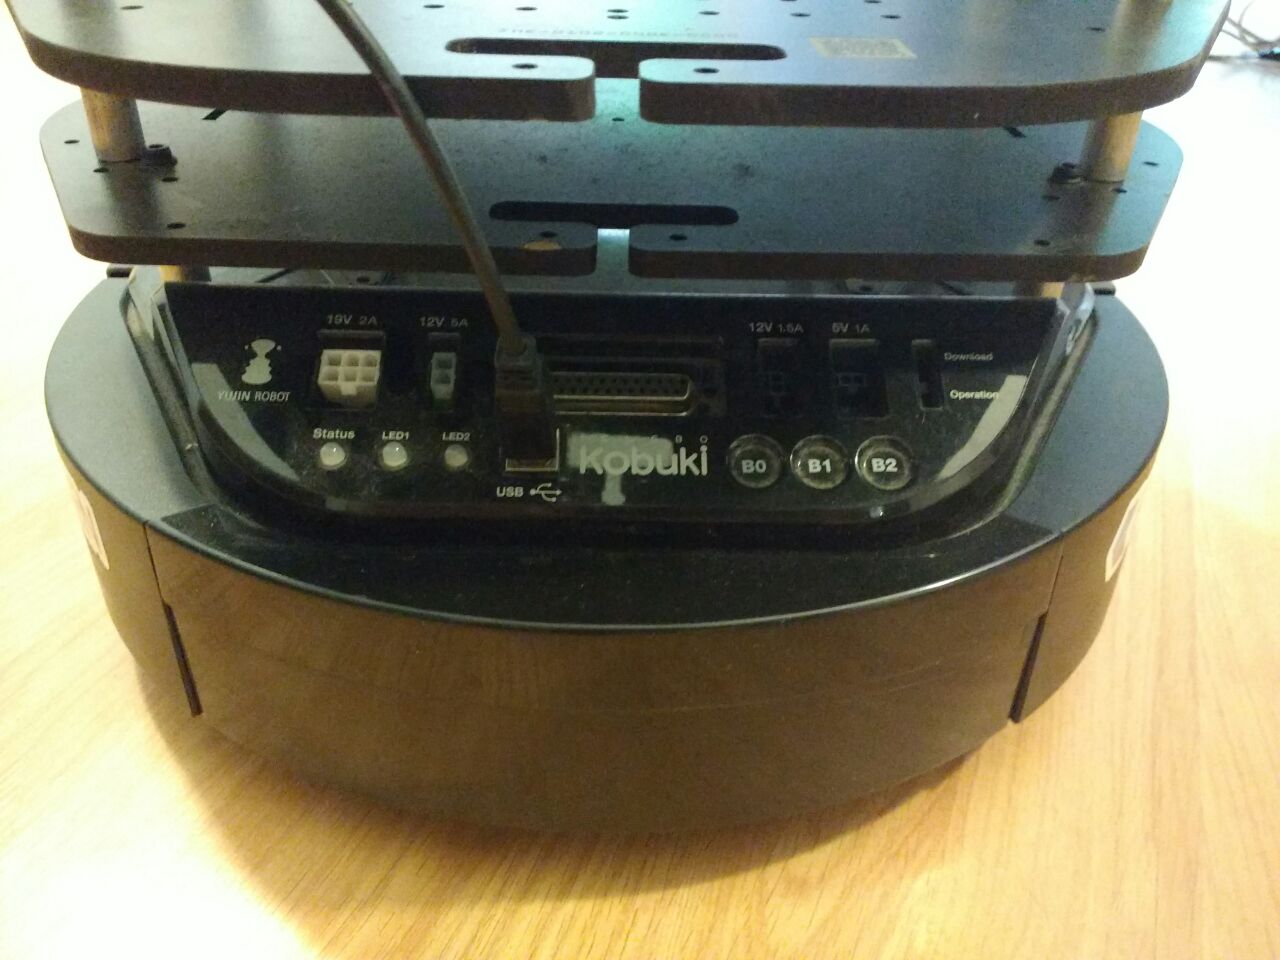
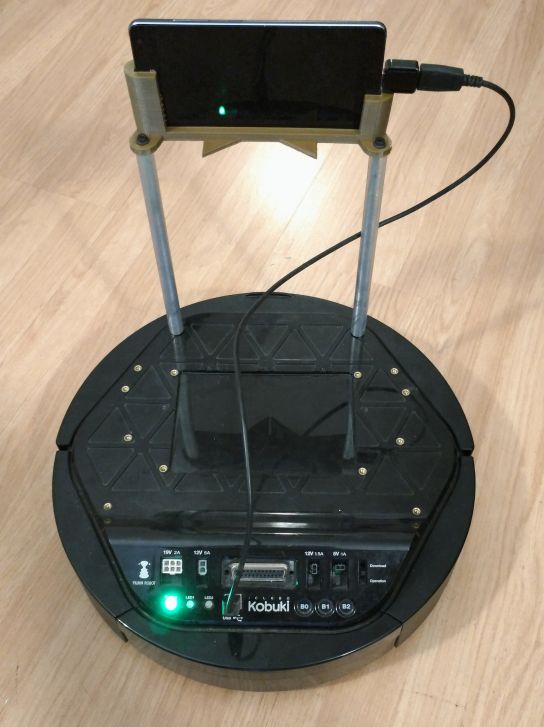
Connect the USB On-The-Go adapter to your Tango device in one end, and to the Kobuki base in the other end using the standard USB cable provided with the Kobuki base. Place the Tango device on the dock and locate it in the robot as shown in the pictures below. Your tablet's camera should be pointing ahead your robot's front.
NOTE: The Tangobot application will work with the Tango Development Kit, the Lenovo Phab 2 Pro or the Asus Zenfone AR as long as the positions of the devices are exactly as shown in the pictures. Otherwise, the extrinsics transform configuration will need to be adjusted to your particular robot configuration.
Please take a look at the pictures for clarification:
|
|
|
|
|
|
|
|
|
|
What's next?
Now that you have your hardware setup ready, you can proceed with Software Installation, or go back to the Tangobot's Main Page.


