Author: Sara Cooper < sara.cooper@pal-robotics.com >
Maintainer: Sara Cooper < sara.cooper@pal-robotics.com >
Support: ari-support@pal-robotics.com
Source: https://github.com/pal-robotics/ari_tutorials.git
| |
Create a map with slam_toolbox
Description: This tutorial shows how to create a map of the environment using the ARI's torso RGB-D camera.Keywords: Mapping, laser scan matching
Tutorial Level: INTERMEDIATE
Next Tutorial: Localization
Contents
Purpose
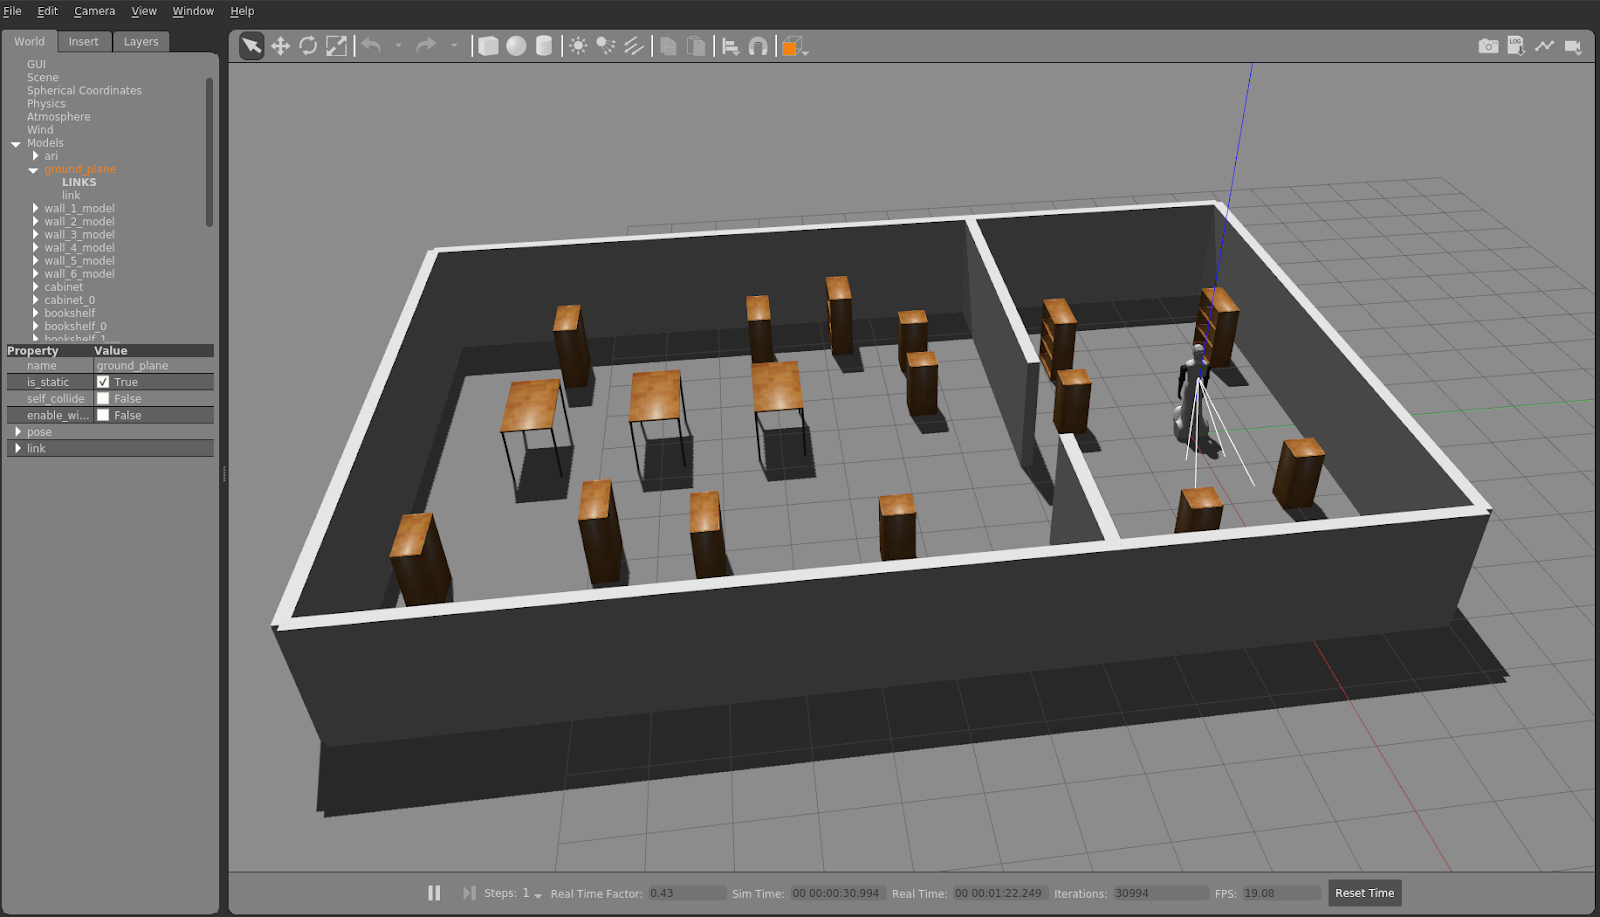
This tutorial shows how to create a laser map of the environment with the public simulation of ARI using slam_toolbox. In order to map with this package, ARI’s torso RGB-D camera’s point cloud data is transformed into laser scans by pointcloud_to_laserscan package. The map is required to use amcl based localization to match laser scans with the map to provide reliable estimates of the robot pose in the map.
Pre-Requisites
First make sure that the tutorials are properly installed along with the ARI simulation, as shown in the Tutorials Installation Section. Next, install the slam_toolbox package by using the following command:
sudo apt install ros-melodic-slam-toolbox
Execution
First of all open two consoles and source ARI's public simulation workspace in each one
cd ~/ari_public_ws
source ./devel/setup.bash
In the first console launch the following simulation
roslaunch ari_2dnav_gazebo ari_mapping.launch public_sim:=true

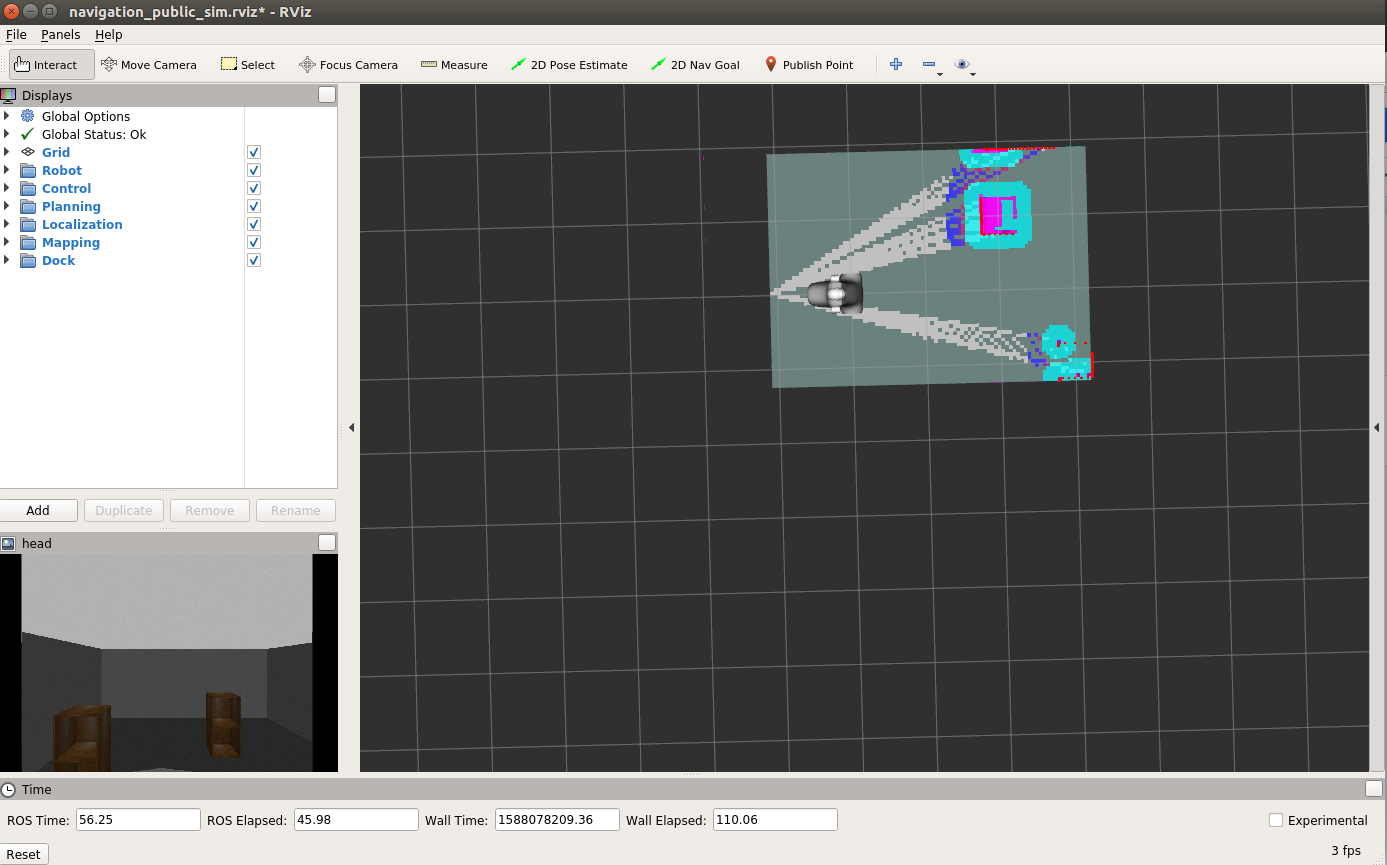
Note that rviz will also show up in order to visualize the mapping process. slam_toolbox is built upon Karto SLAM, and incorporates information from laser scanners in the form of a LaserScan message and TF transforms from map->odom, and creates a 2D occupancy grid of the free and occupied space

In the second console launch the keyboard teleoperation node
rosrun key_teleop key_teleop.py

By pressing the arrow keys on this console drive ARI around the world. So that ARI can have enough time to add new discovered areas onto the map it is necessary to drive slowly, avoid abrupt turns, and do smooth trajectories along the walls and between obstacles, but without getting too close. Make sure that an area has been correctly mapped before extending, by doing necessary circles around a fixed area. See an example video of the mapping process here:
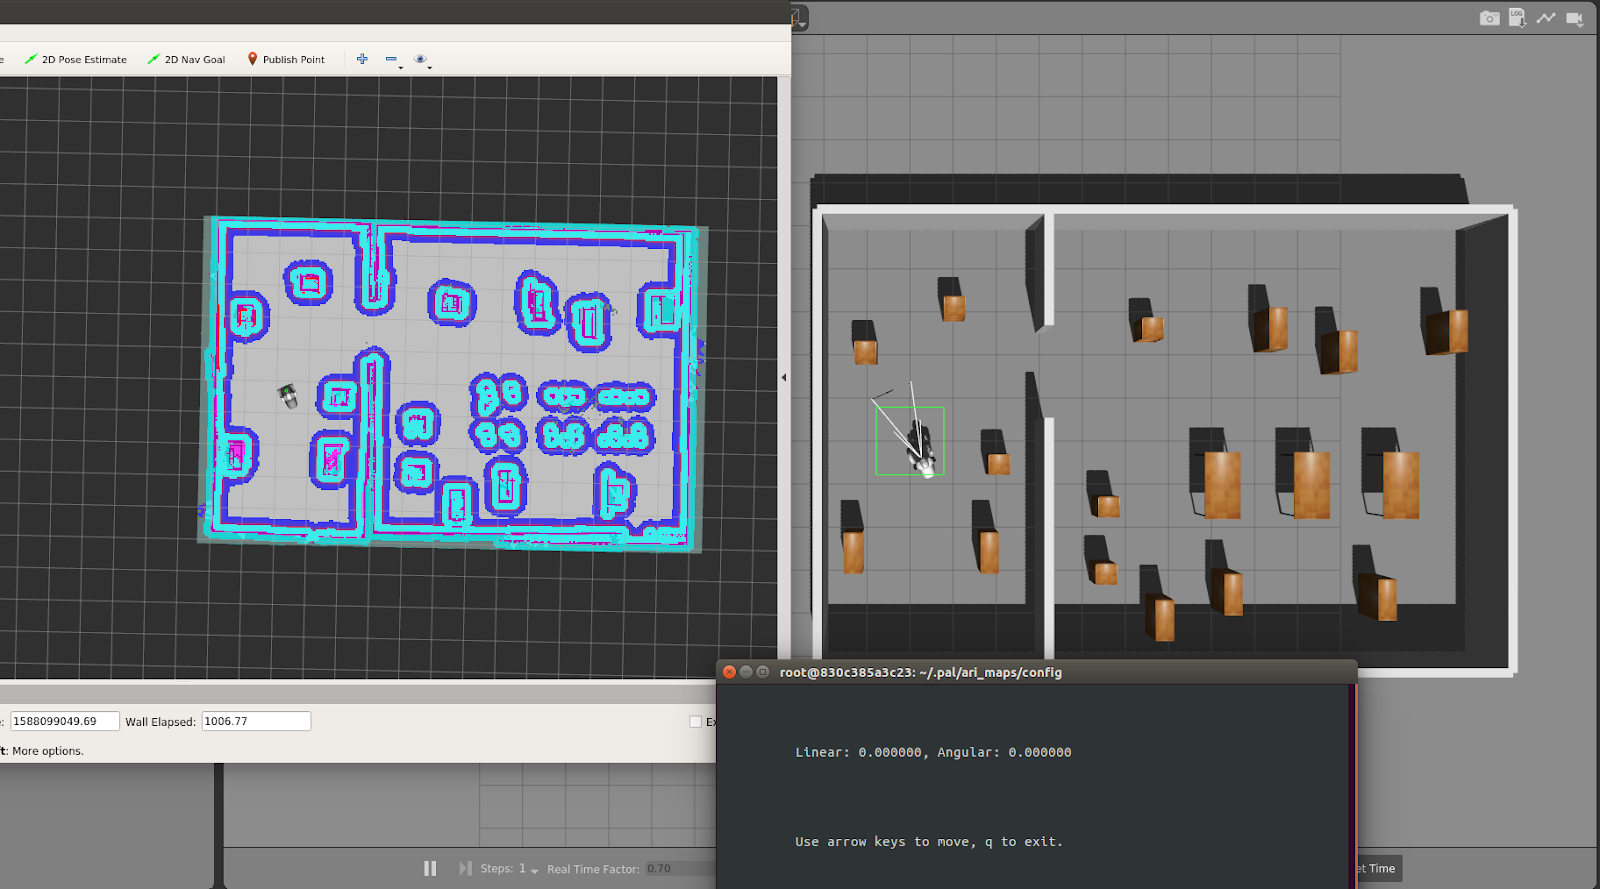
The map being created will be shown. When the world has been fully mapped, as in the below example

Press 'q' in the key_teleop console and save the map as follows
rosservice call /pal_map_manager/save_map "directory: ''"
The service call will save the map in the following folder
~/.pal/ari_maps/config
Now ARI is ready to do autonomous localization and path planning using the map. See next tutorial on how to make use of maps to perform autonomous navigation.


