| |
Quick Start for Robot Users
Description: A QuickStart guide to help the users who purchased the Nextage Open robot to jump start; this tutorial will show how to fire up, do the simplest task with arms, and to run existing sample codes. Virtual users (who don't have the real robot) can start from the next tutorial.Tutorial Level: BEGINNER
Contents
Requirement
Please do consult the hardware manual first, and do whatever you're advised to do in advance. As per the title, this tutorial will walk your through the simplest path of using the robot, meaning there will be minimum hardware usage included. But we assume that you've already completed all the required chores as stated in the manual.
In particular, when the robot moves be ready to use relay button. In this tutorial, a symbol ![]() is used to indicate tasks linked to physical robot motion.
is used to indicate tasks linked to physical robot motion.
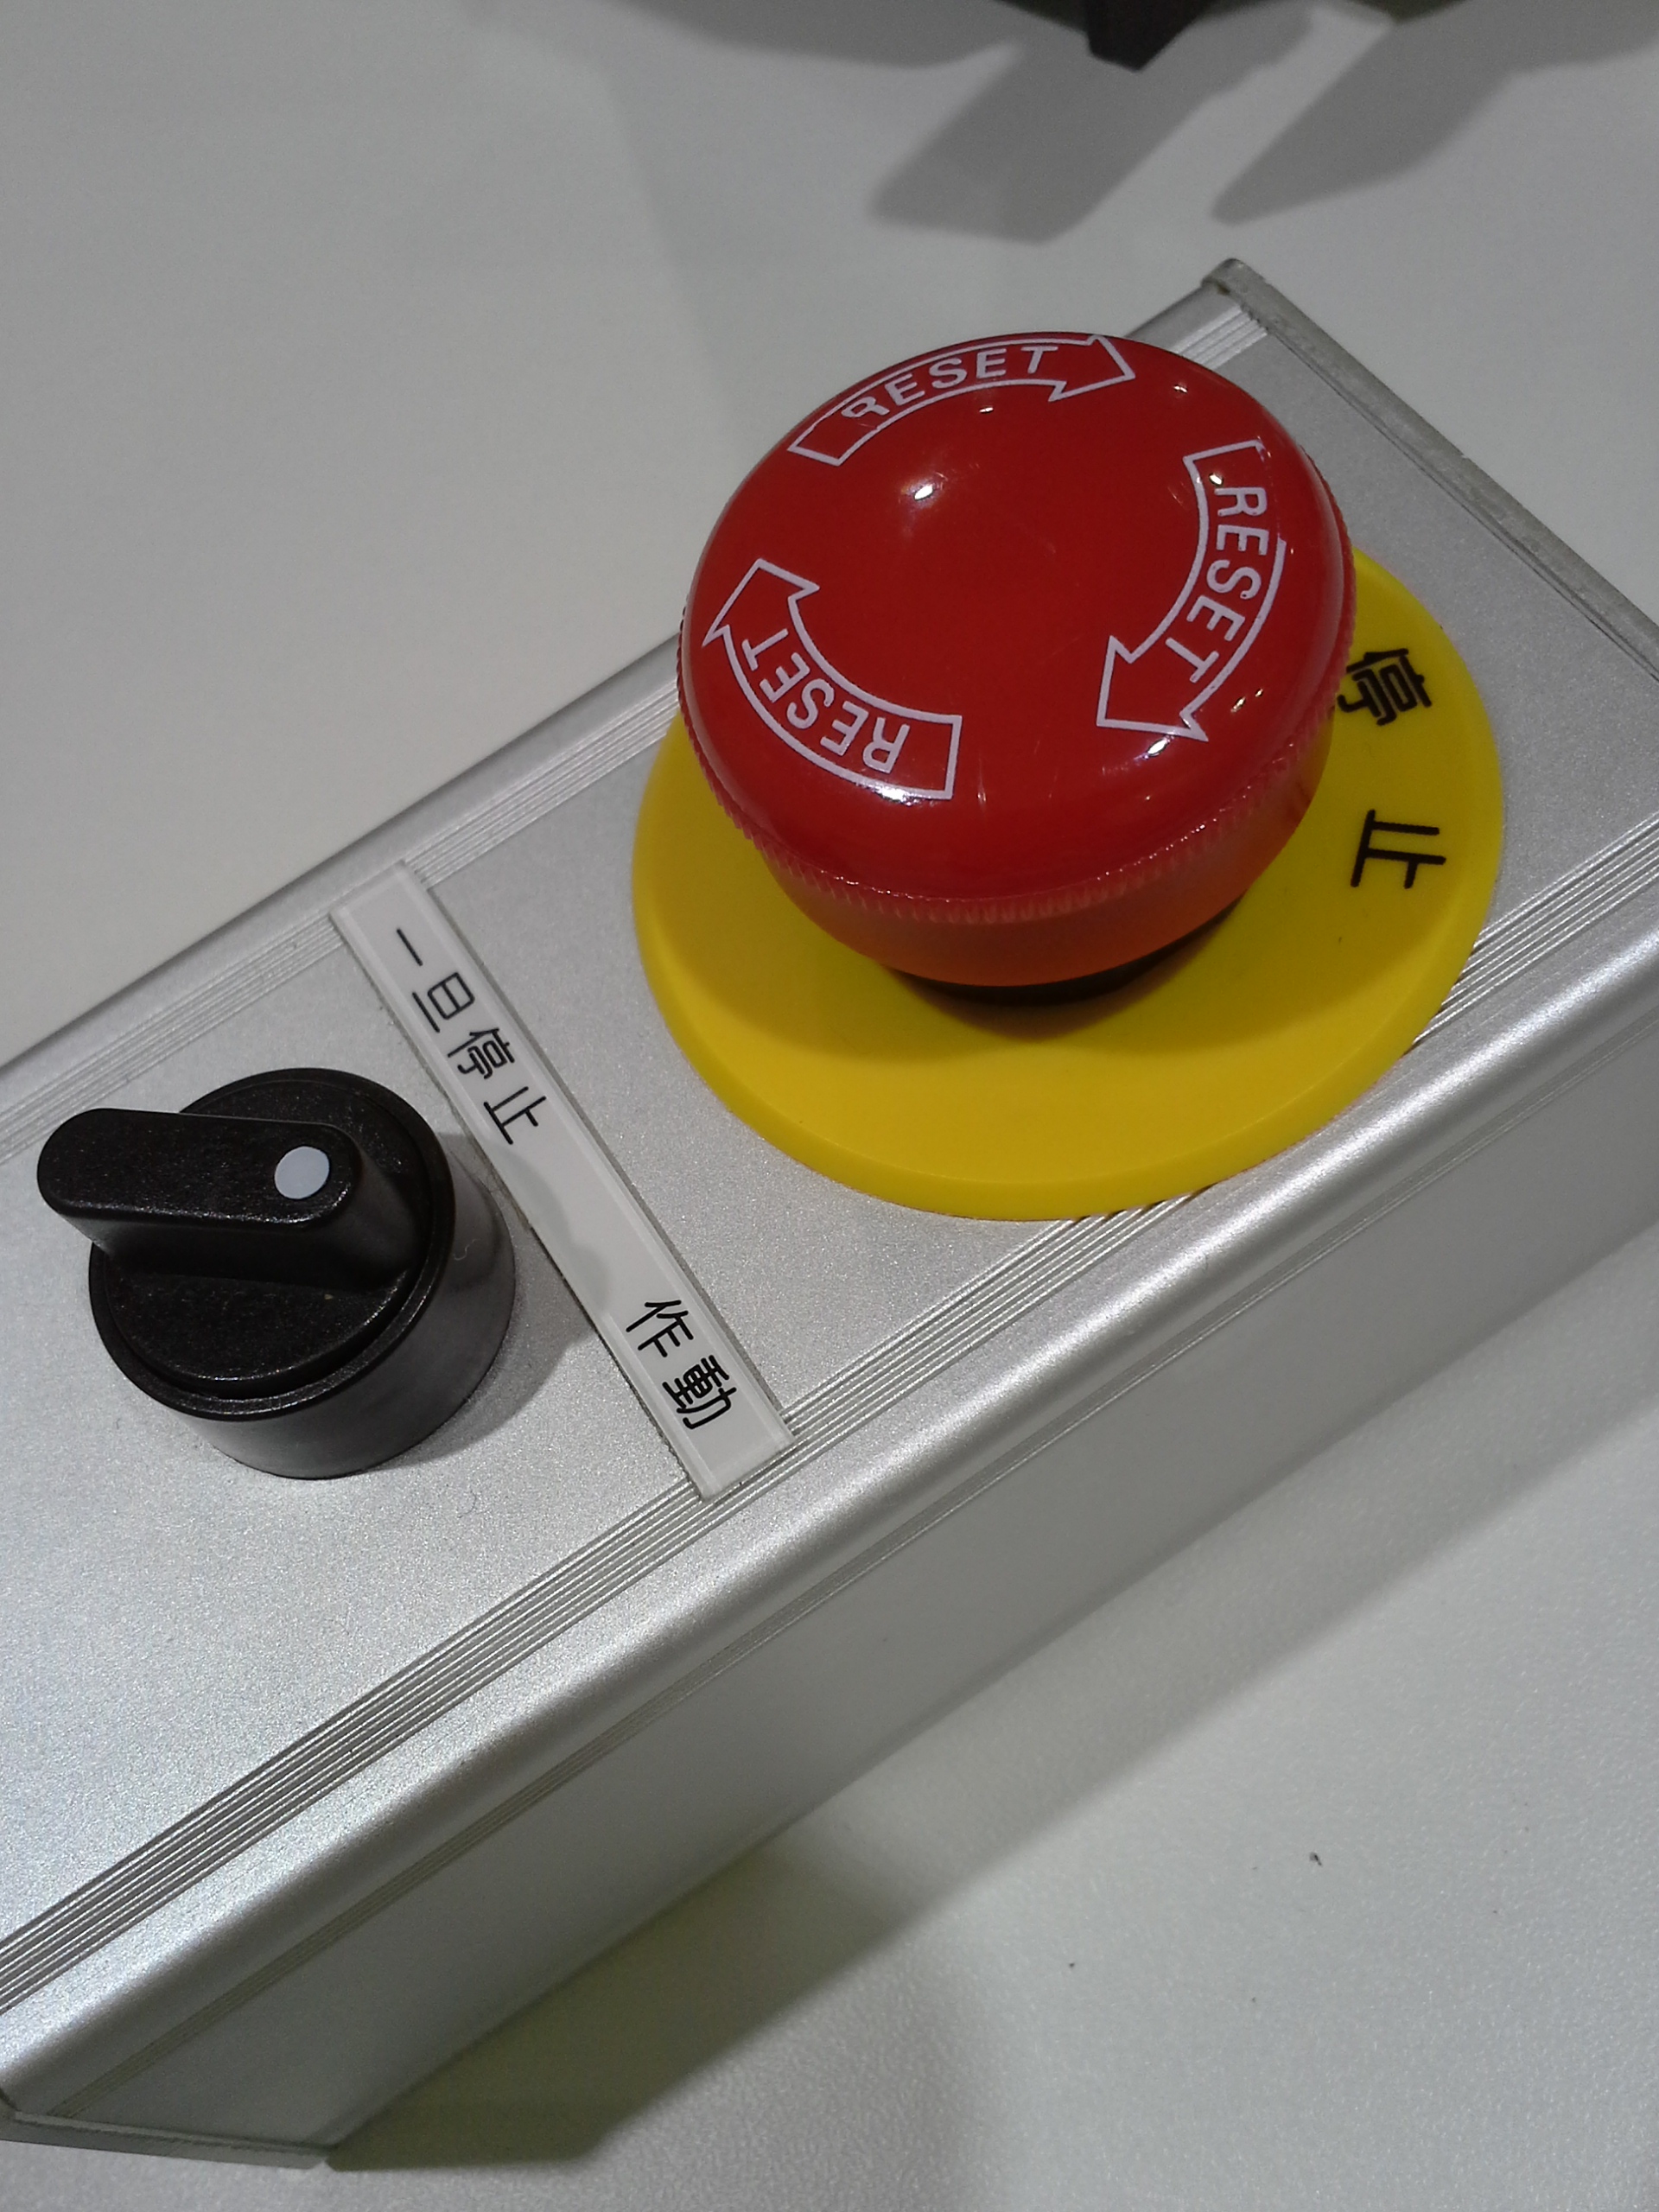 Relay (run-stop switch); Rest assured, non-Japanese customers should get one with labels written in English.
Workstation environment
Your Nextage Open robot comes with two computers on board:
QNX 6.5.0, or called Controller Box in Nextage Open system.
UI Control Box is where you do your work on. You can also use any machine for your development as long as it satisfies the requirement. This tutorial assumes you're on UI Control Box.
Power up the computers
- There is a knob on the button of the pedestal that moves the casters up and down. Turn this knob counter clockwise to anchor the robot down to the floor. (TODO)
- The AC power plugin should come out of the pedestal like this (TODO).
- (If you are using air equipment) Attach the air pipe here. (TODO)
Connect your keyboard and mouse to the UI Control Box. (Of the two computers, the one on the top is the UI Control Box.)
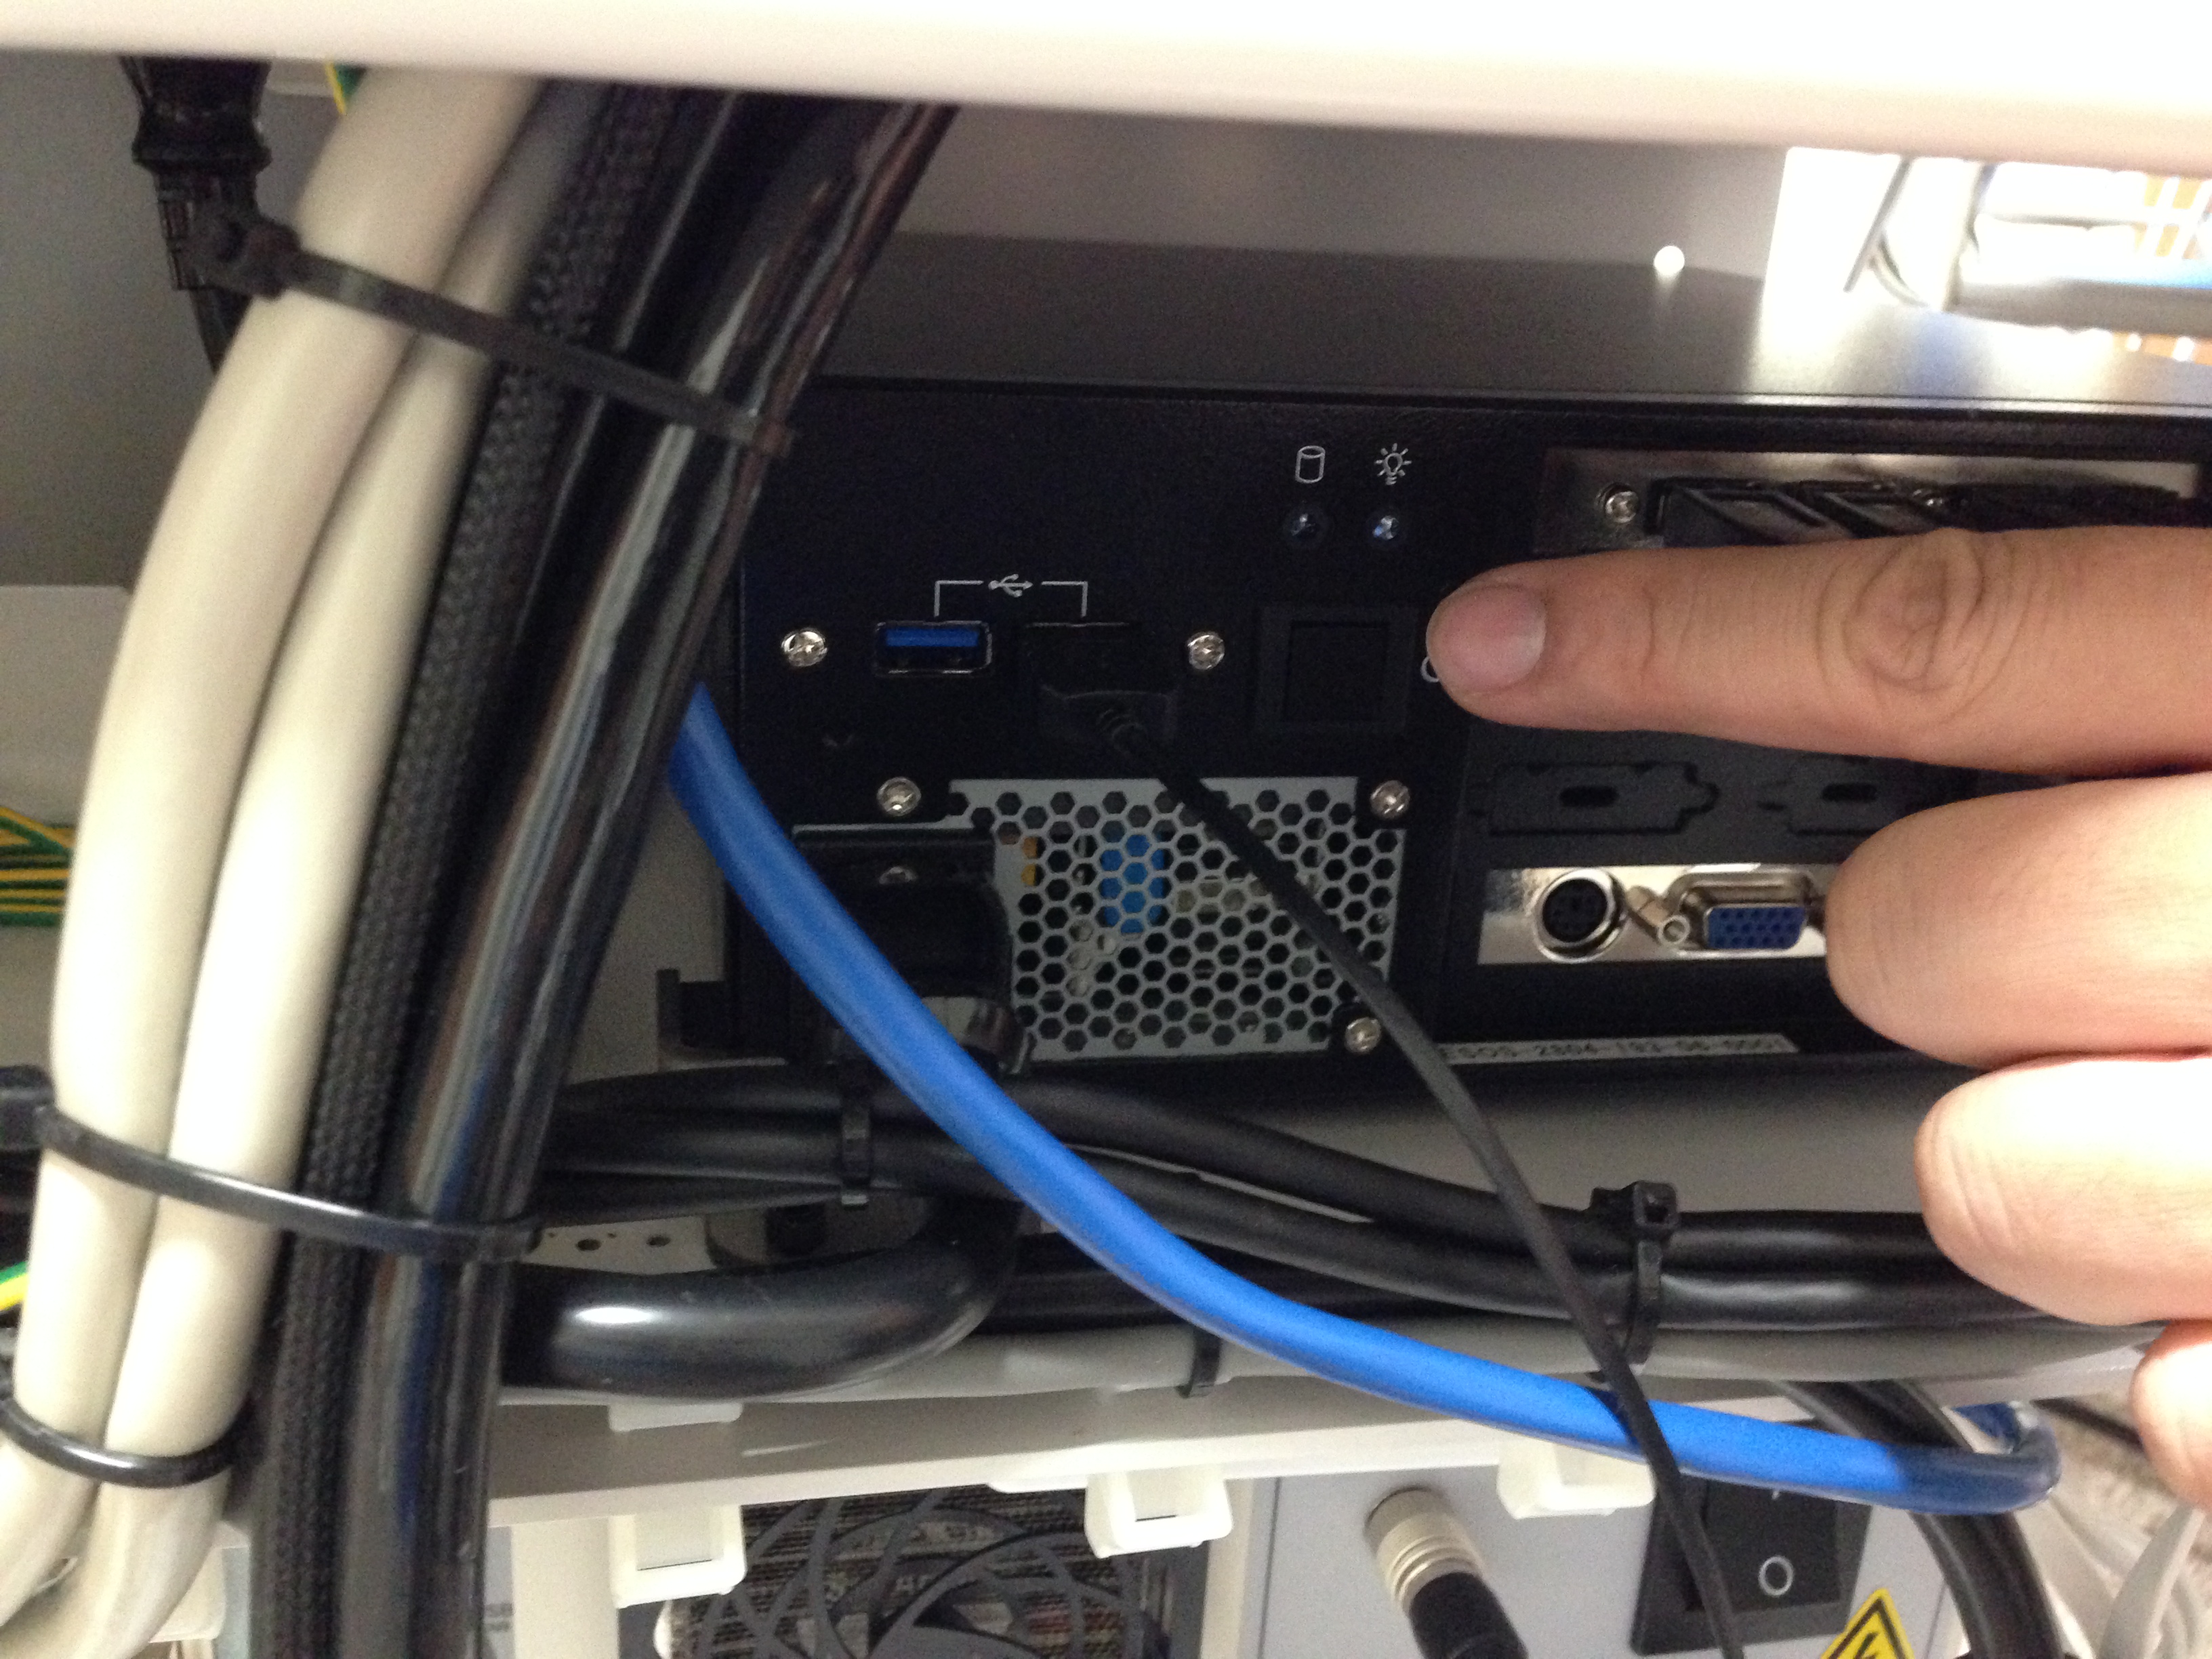
- Connect your display monitor to the UI Control Box.
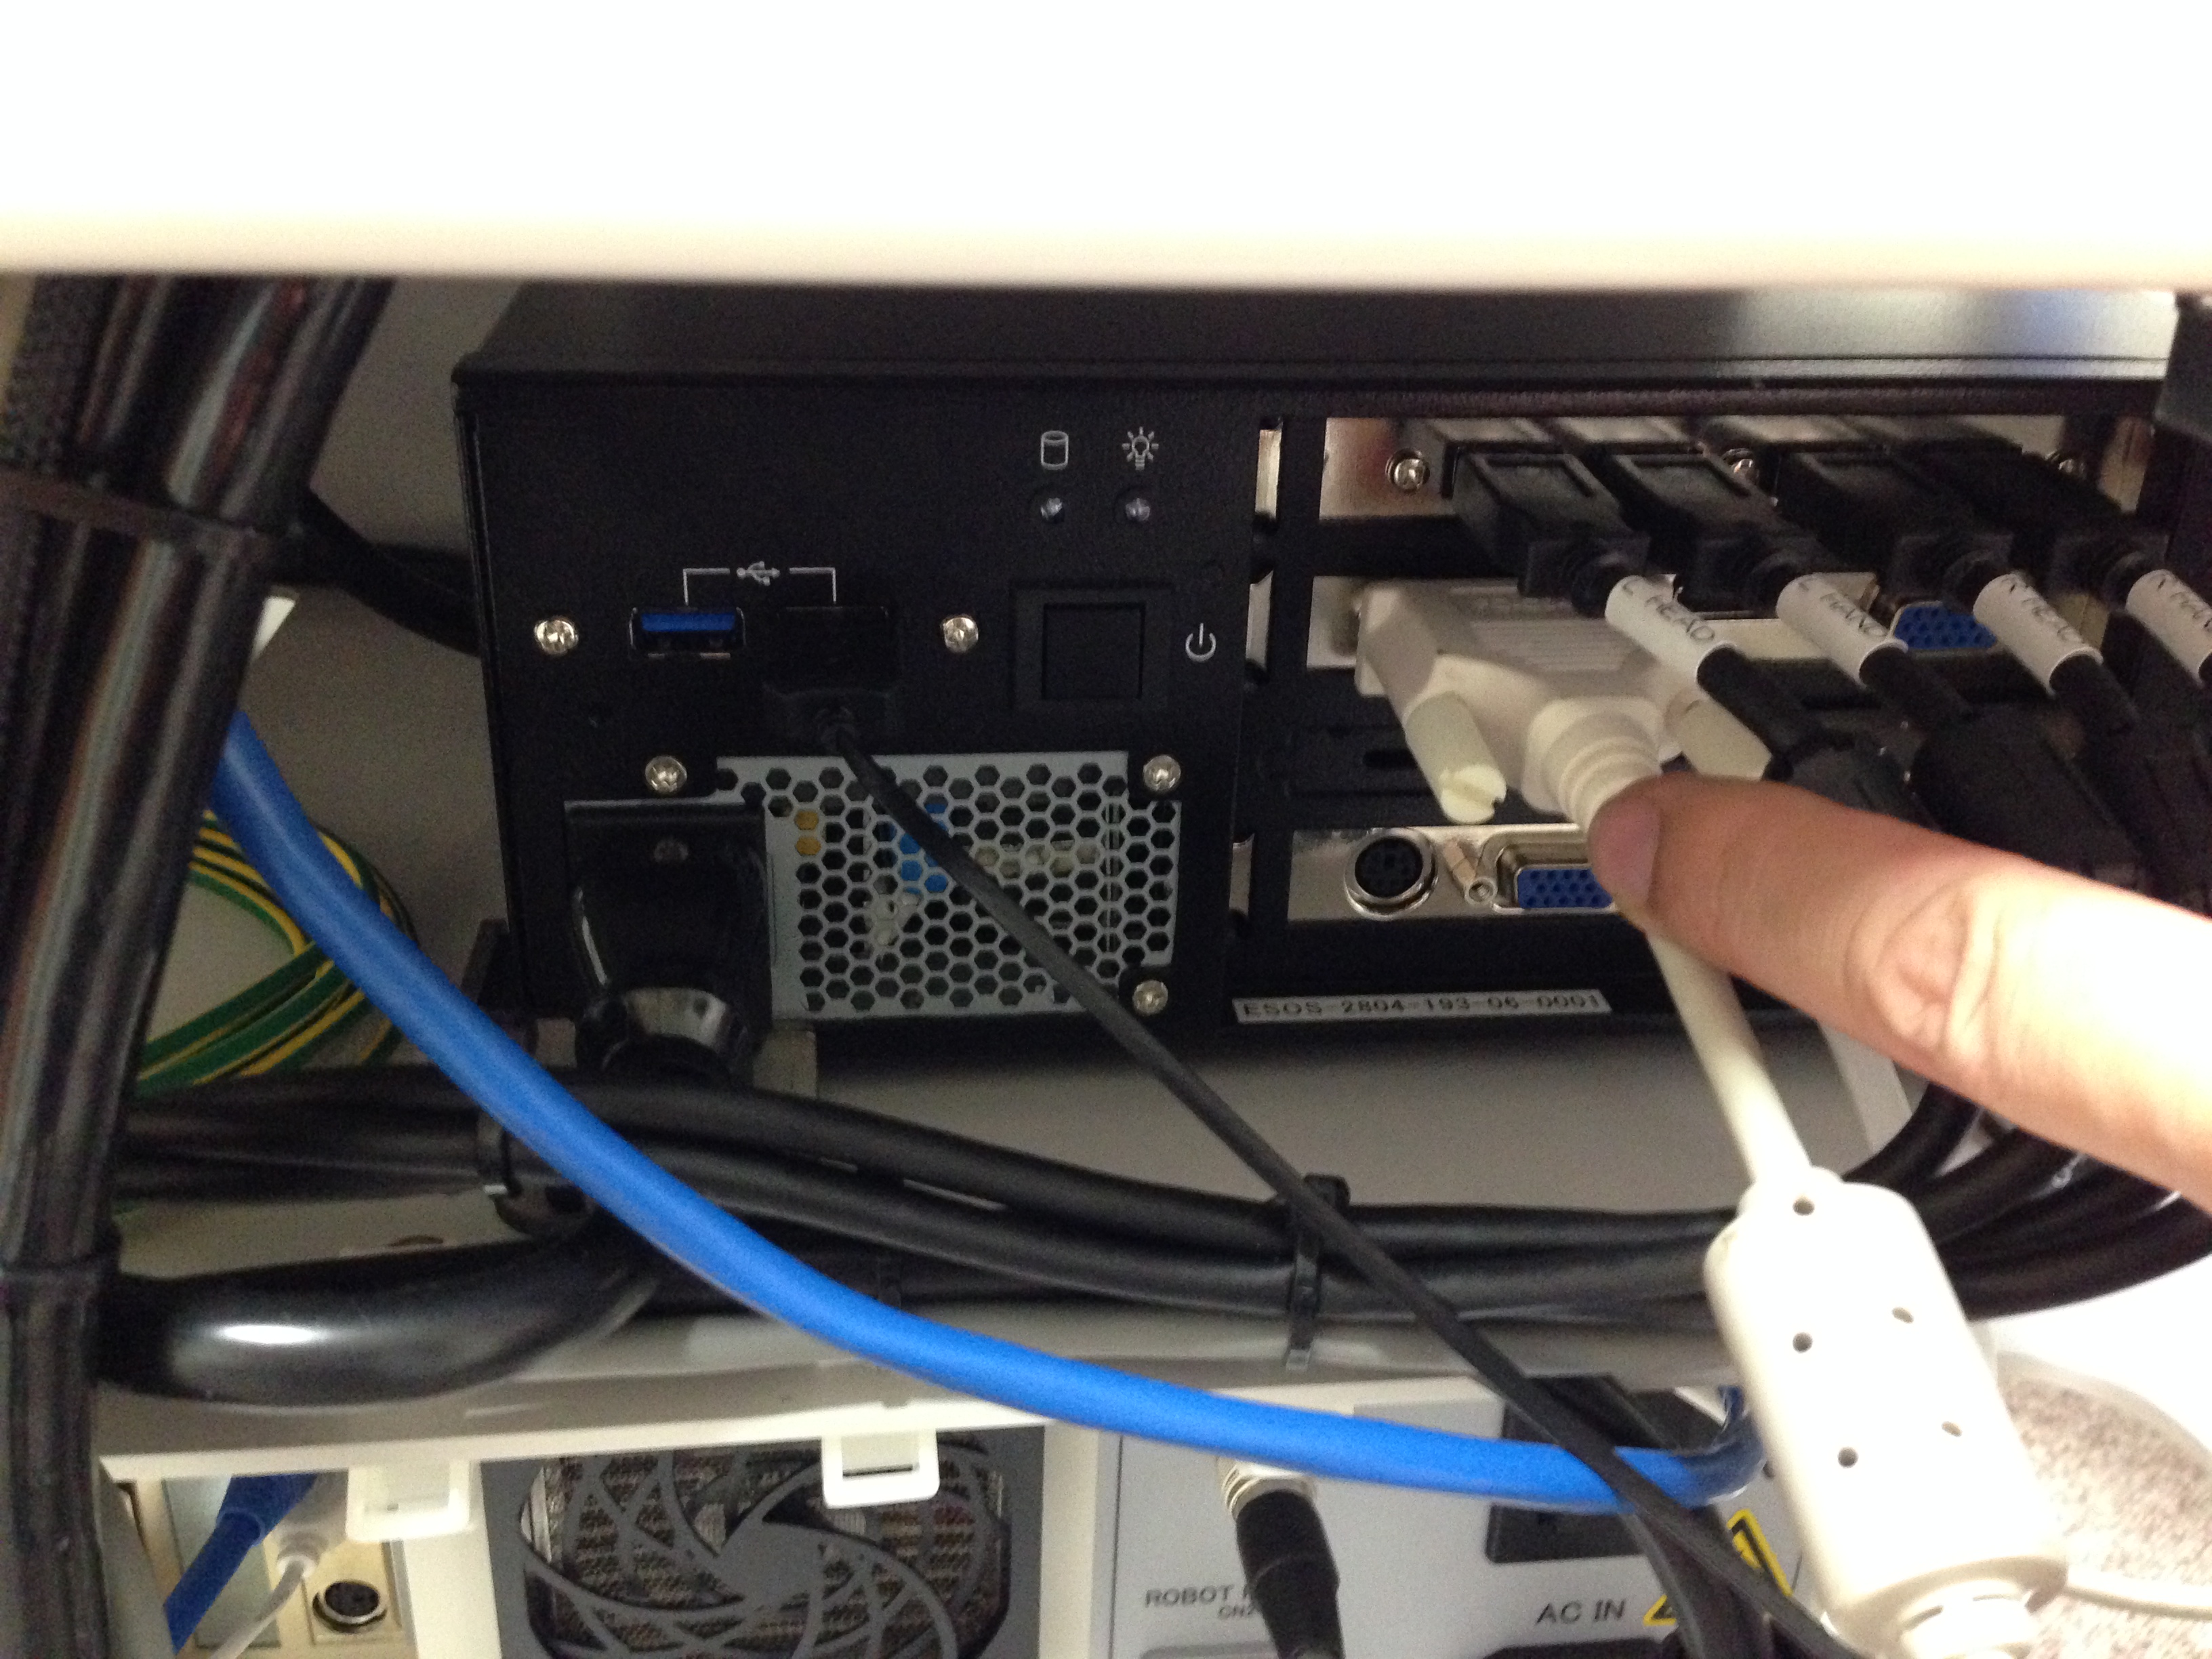
- Plug in AC power. (The main switch on the Controller Box will light up red.)
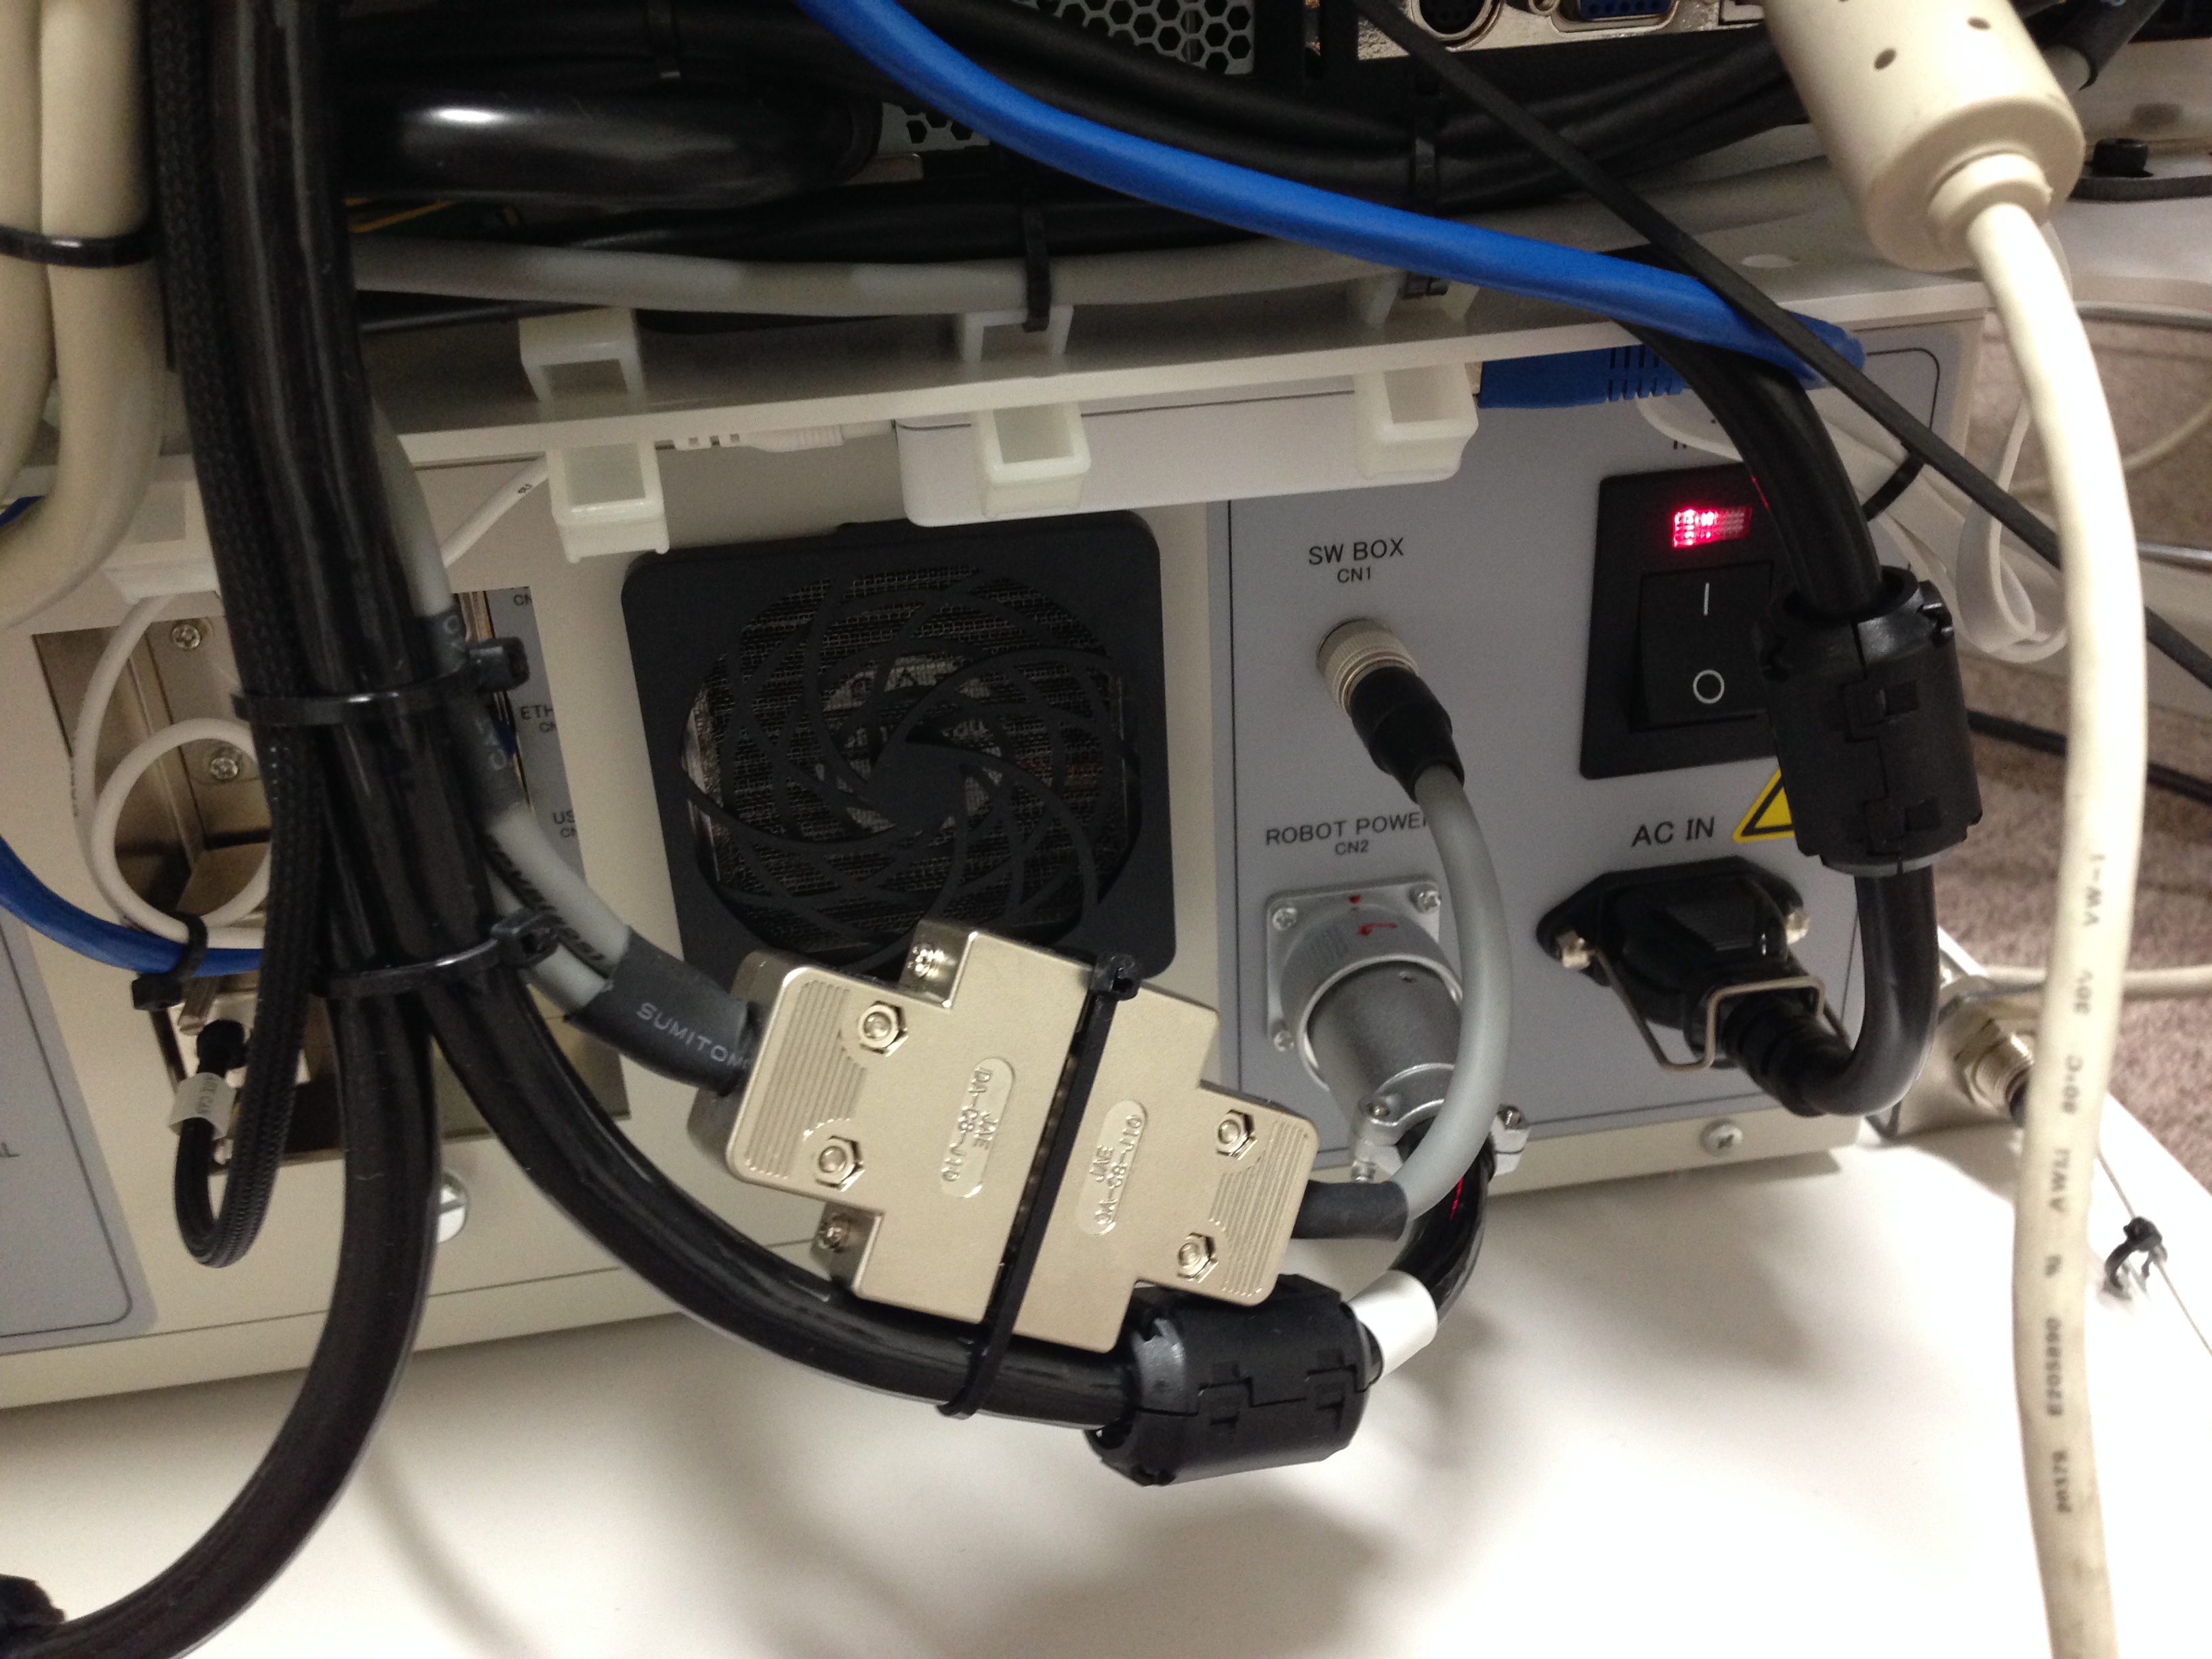
- Connect the switch box to the back of the robot.
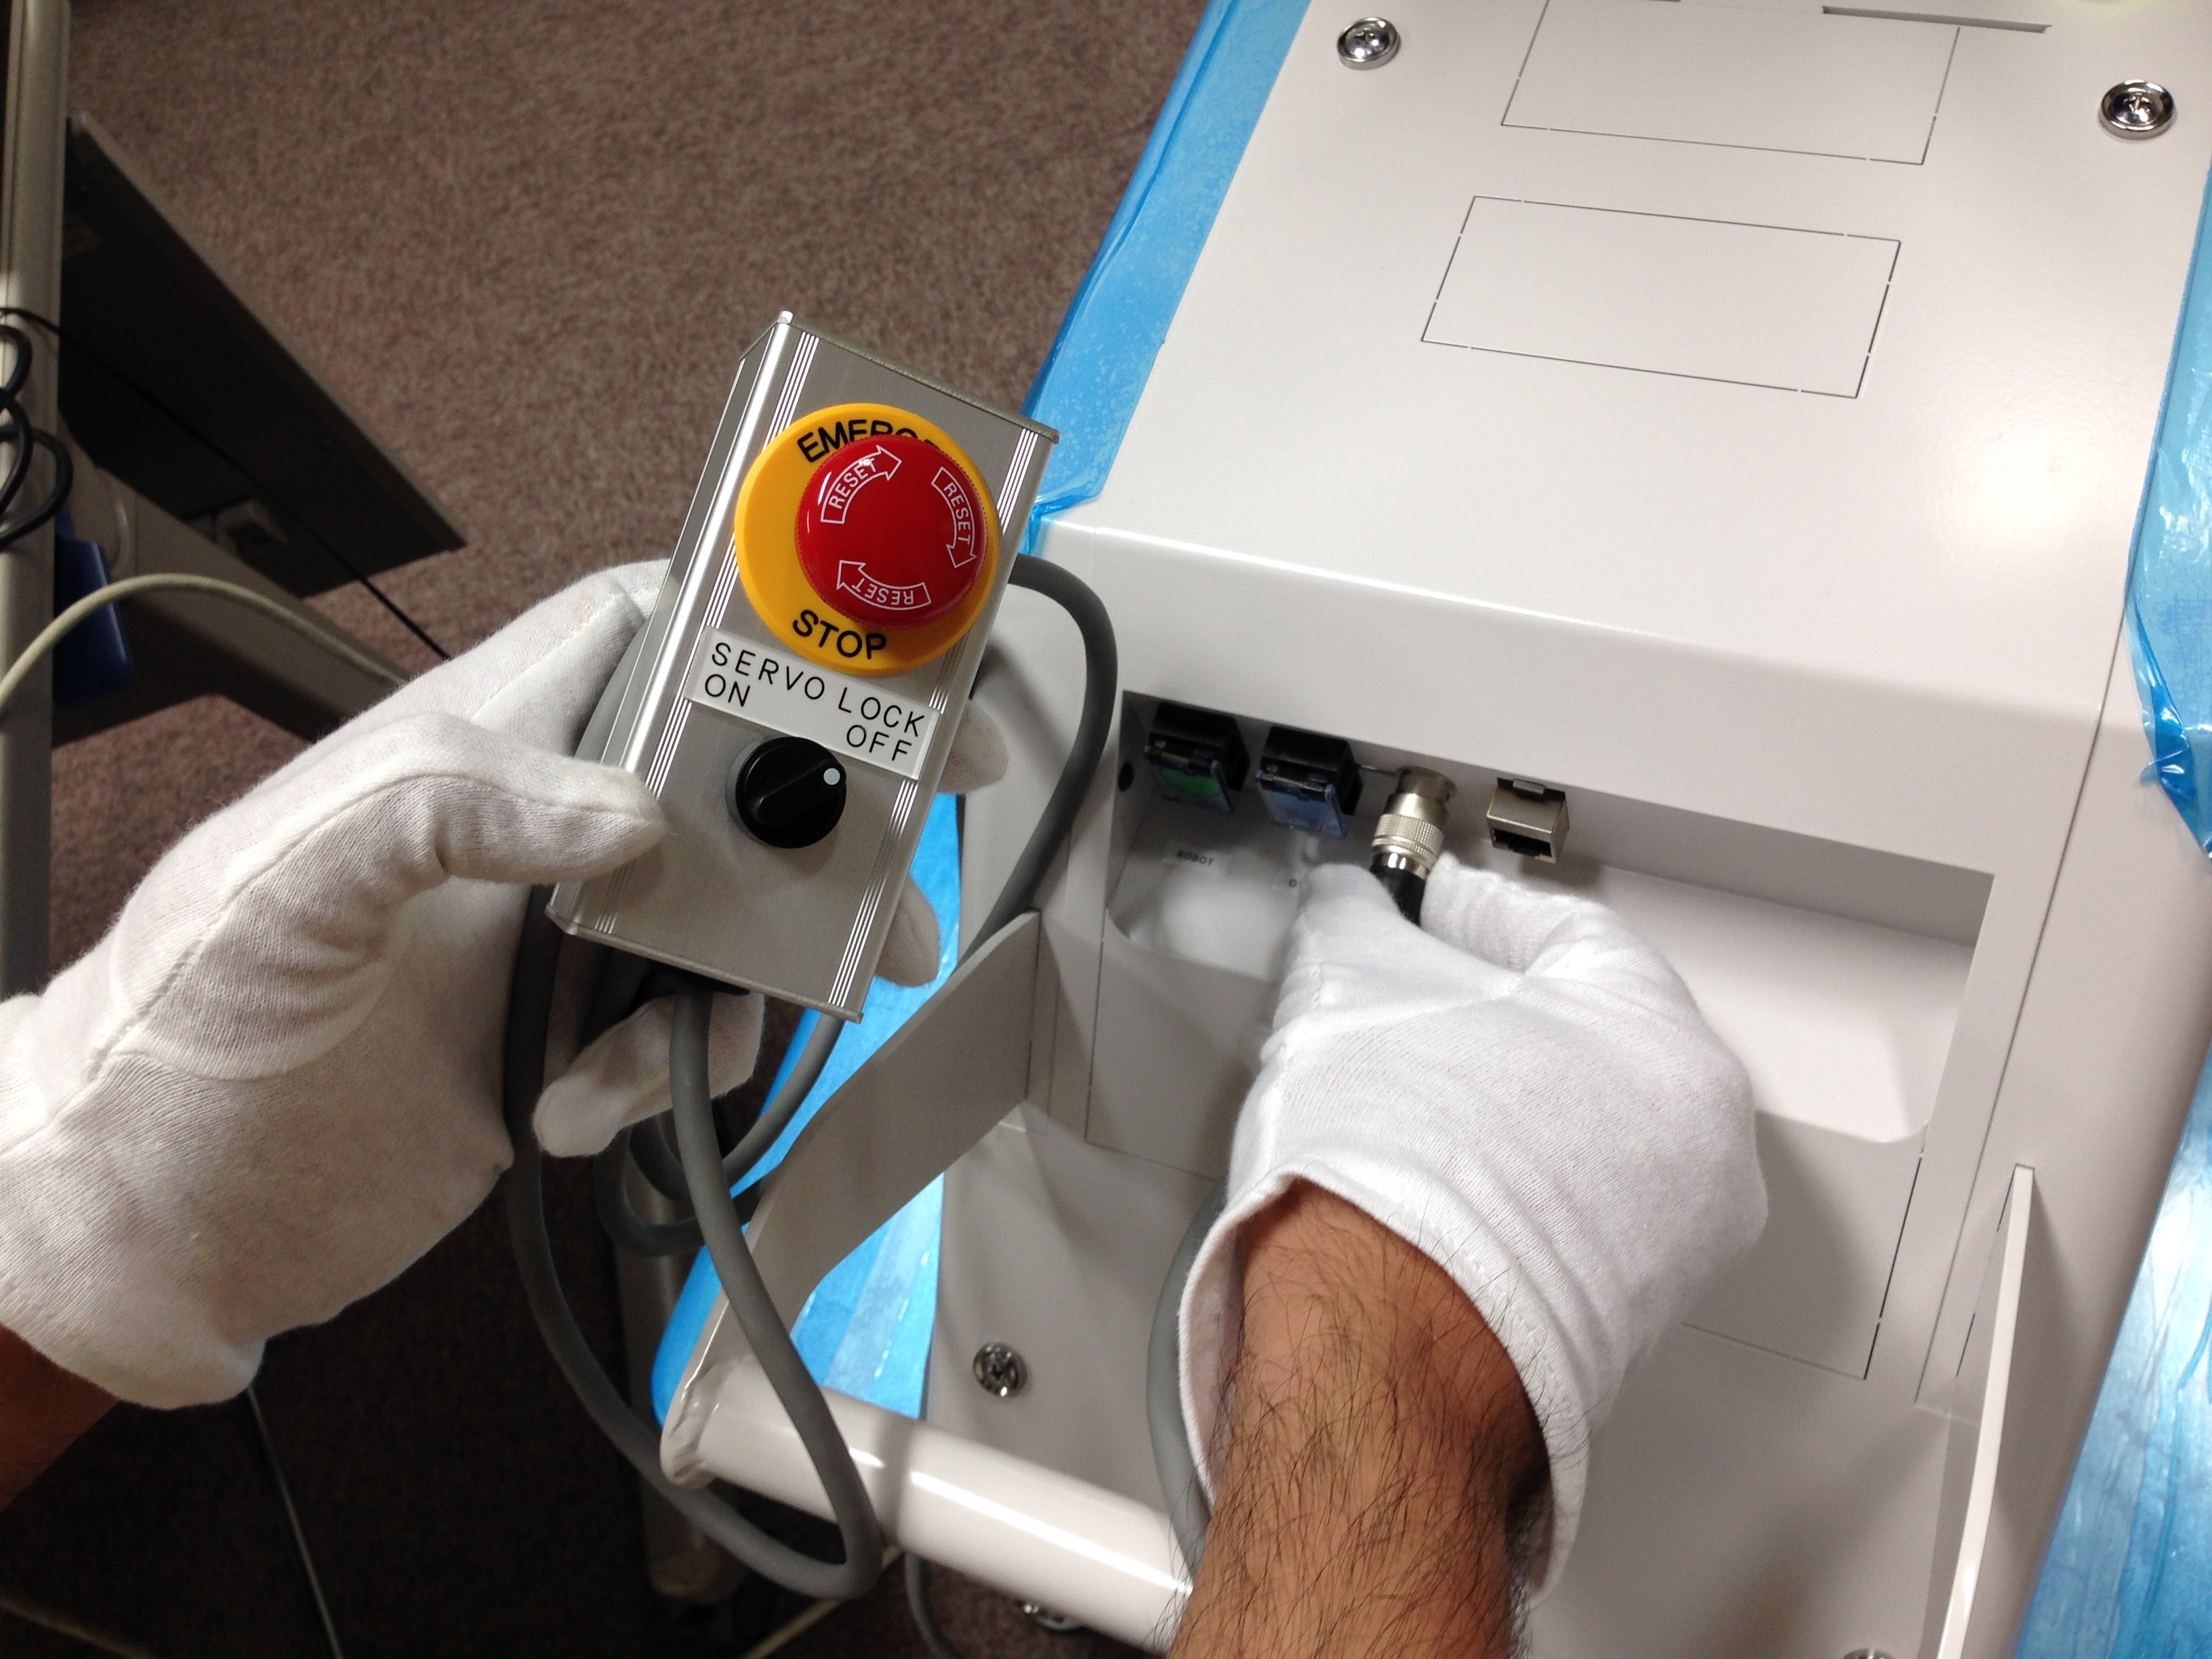
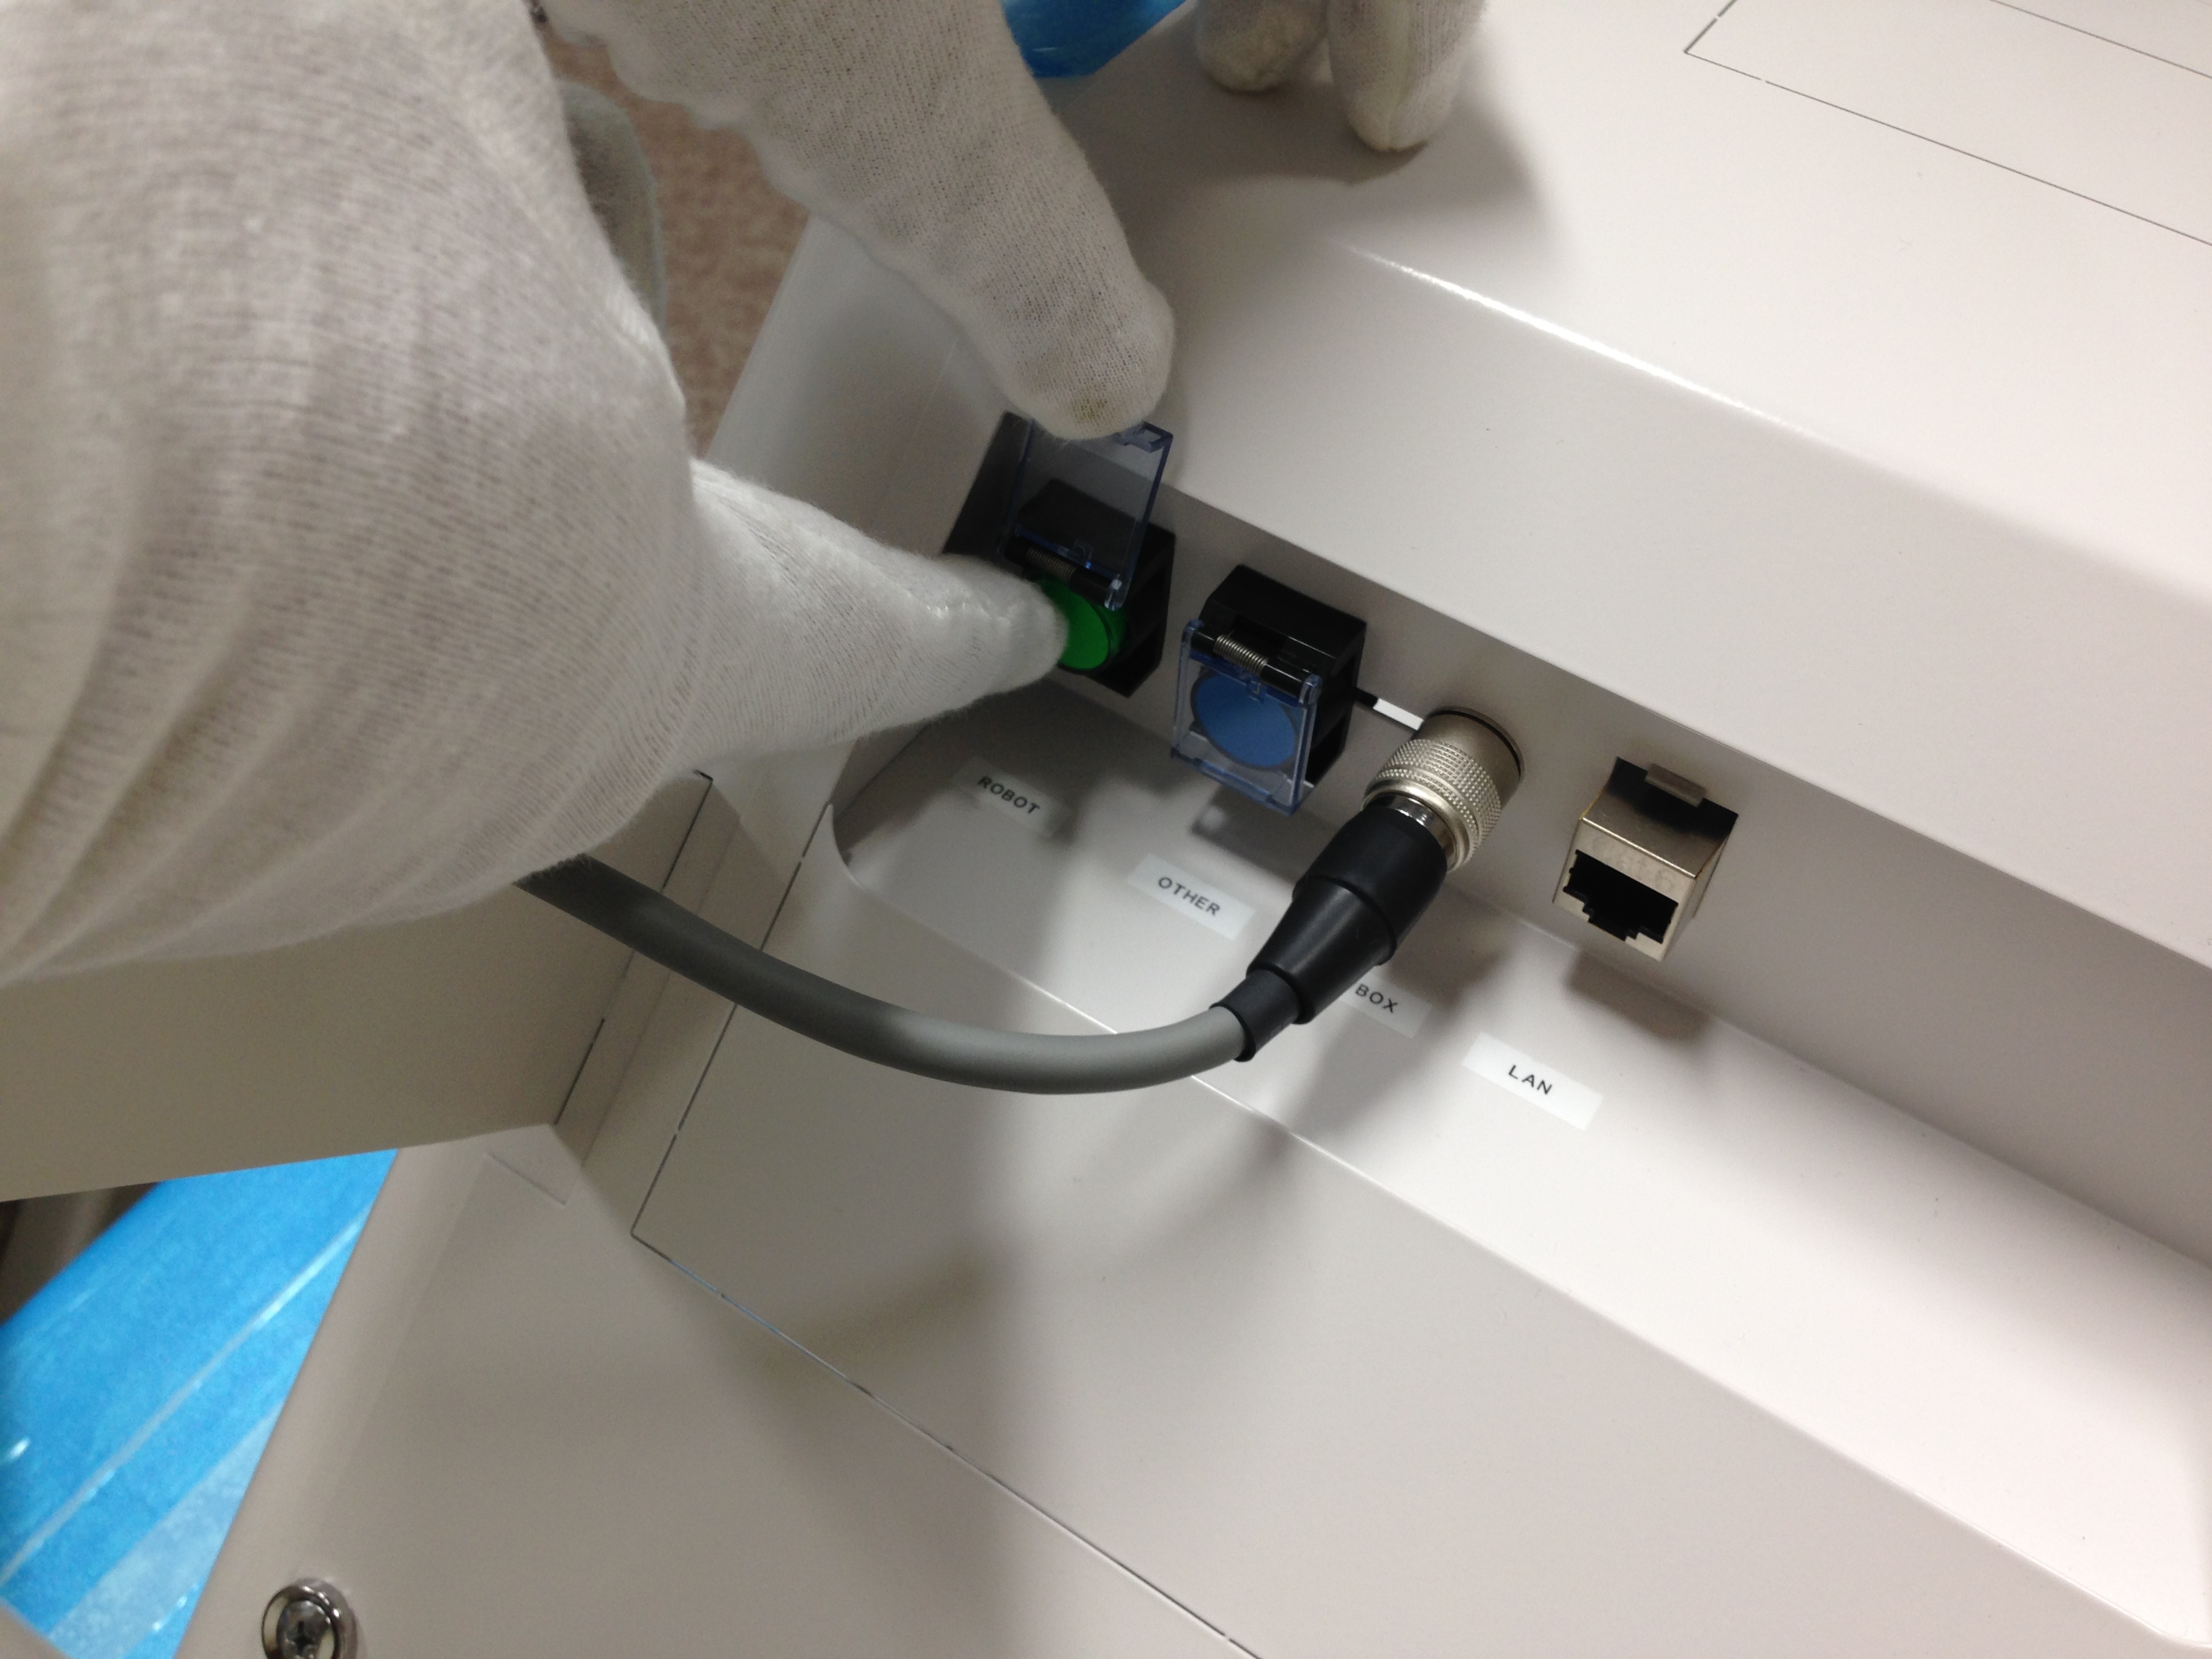
- Press the green button on the back of the robot. You will hear a beeping noise for about a minute. All the four LED lights on the robot’s chest will be blinking.

- Press the blue button on the back of the robot. When only the green and white LED lights are blinking, the robot is ready to go!
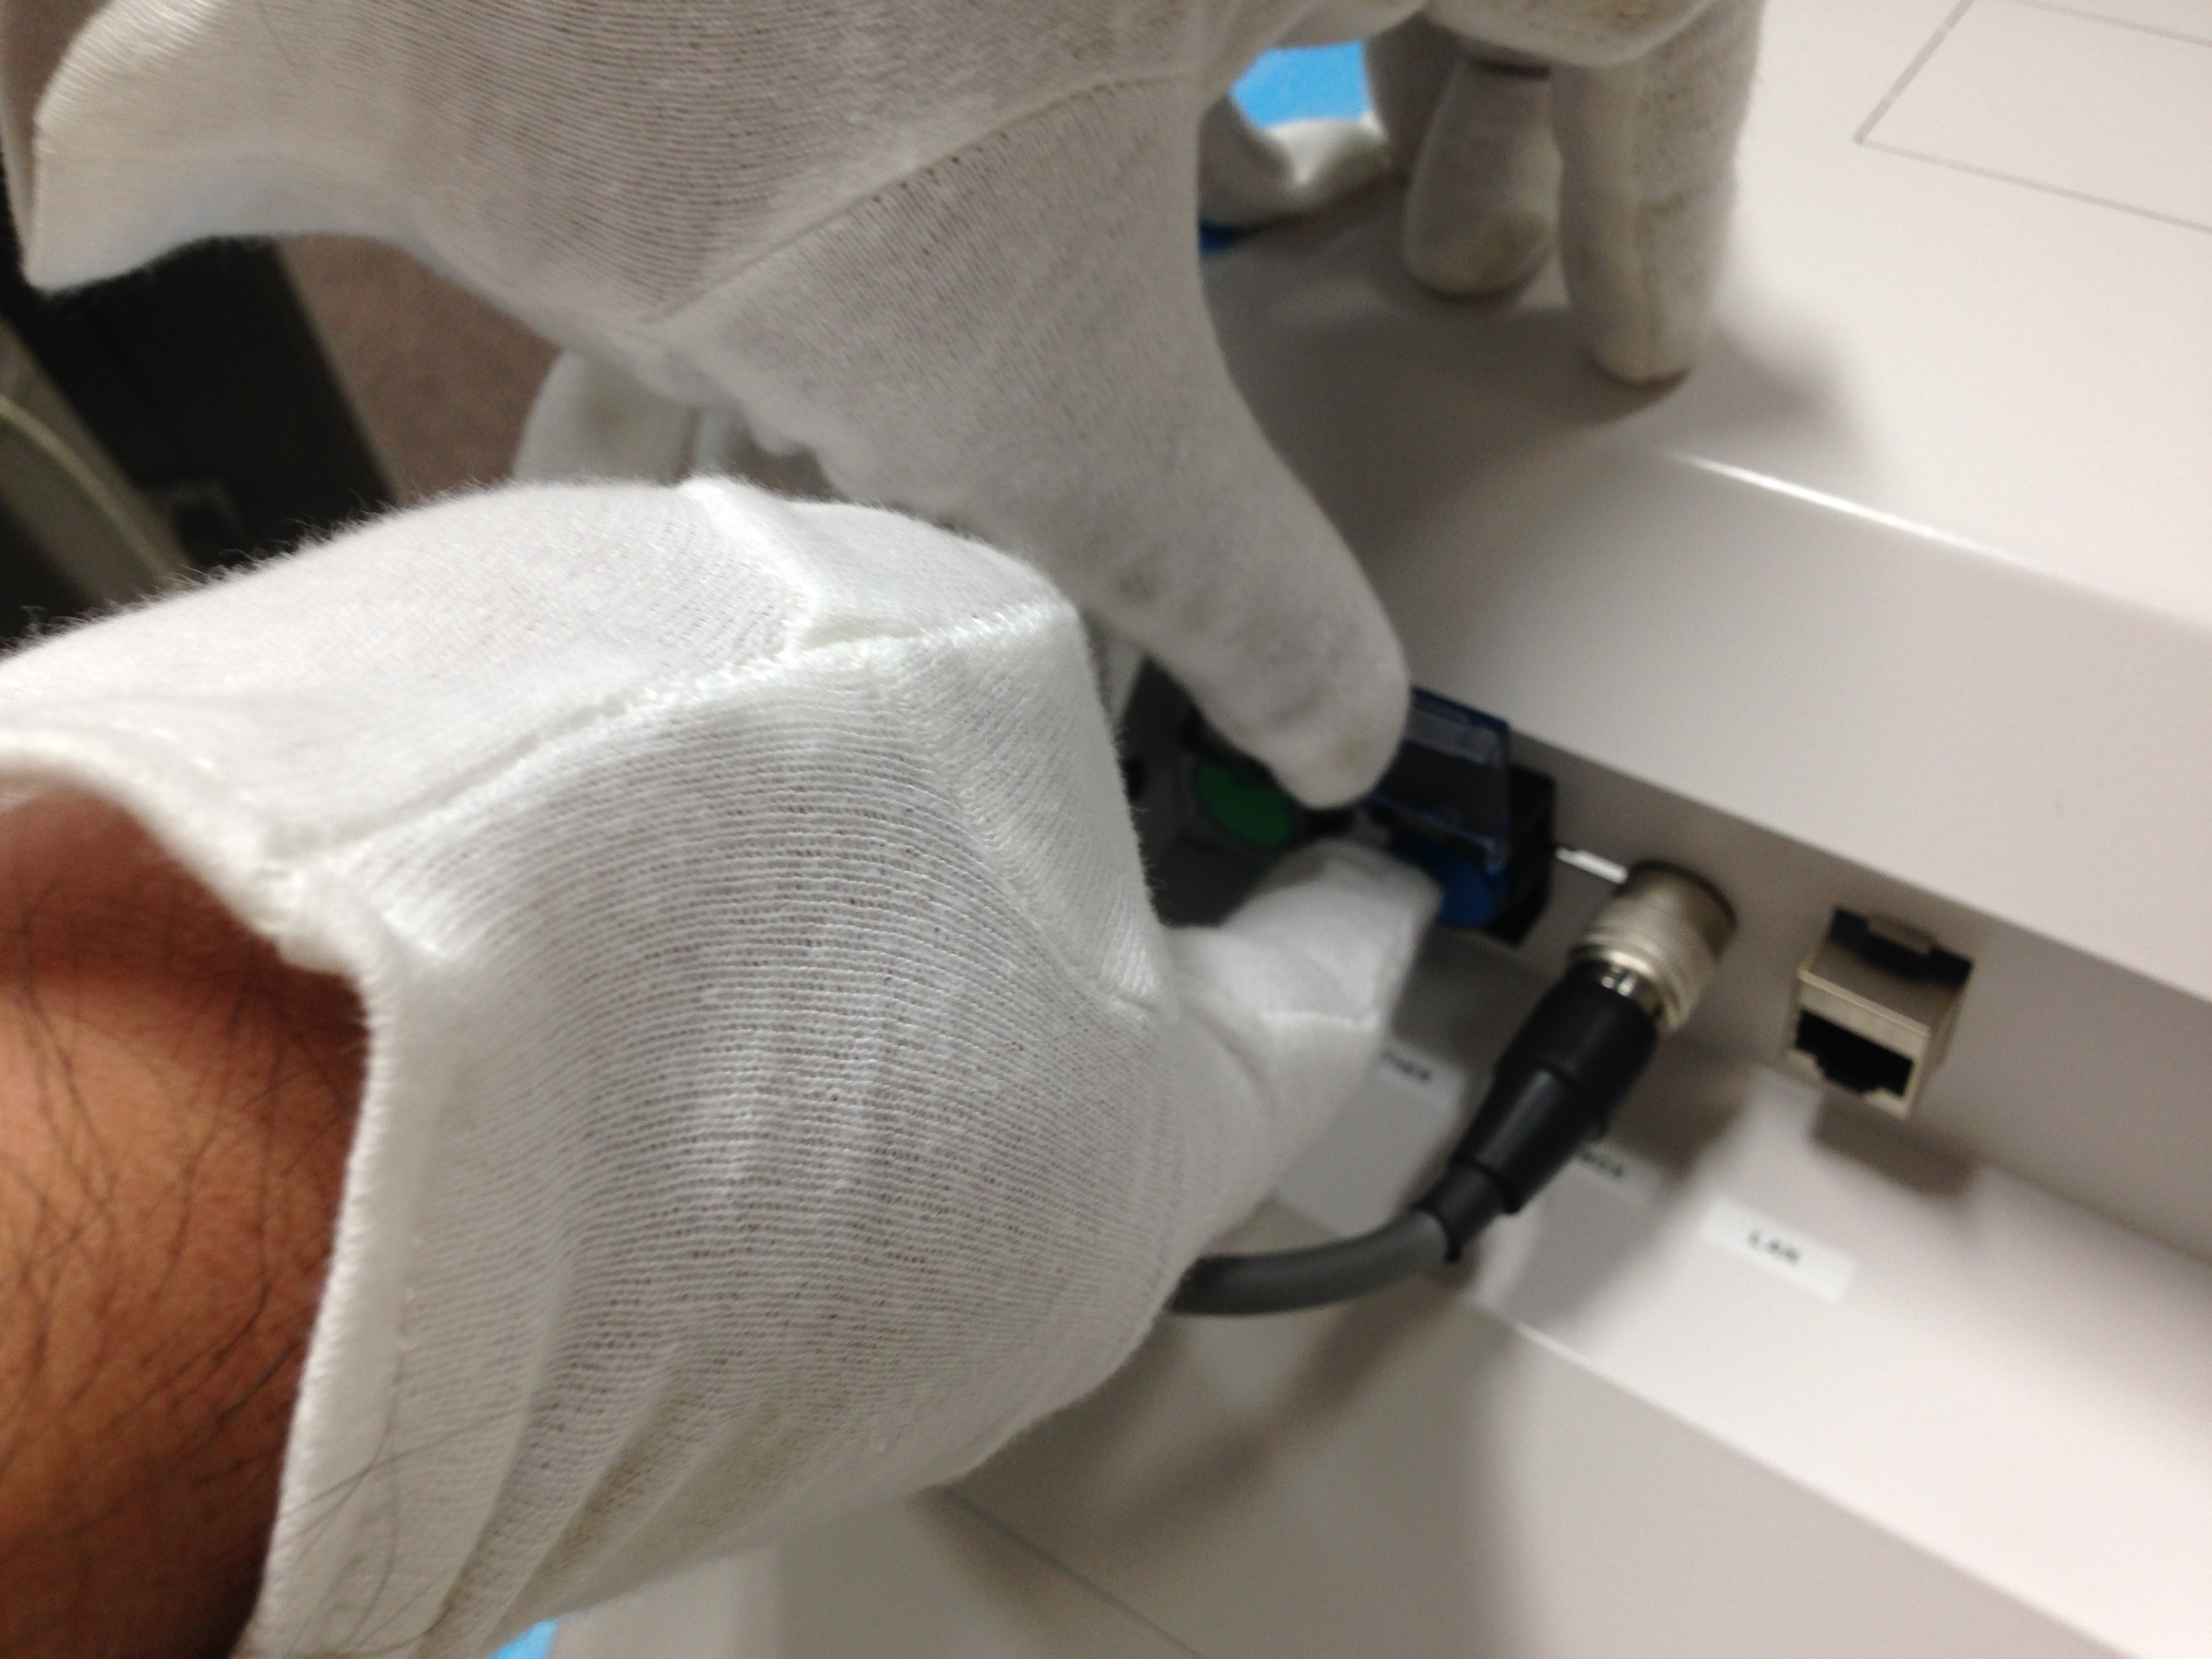
(Gloves are optional)
Update software
After being shipped, there may or may not be newer versions on Ubuntu side of the software. So open a terminal and update them by a single line of command (you'll be asked root password that you should have received off-line).
$ sudo apt-get update && sudo apt-get dist-upgrade
Run ROS server
On the same terminal, then type following commands to run ROS software (replace %HOSTNAME% with your Nextage robot's hostname).
$ roslaunch hironx_ros_bridge hironx_ros_bridge_real.launch    (Hironx)

$ roslaunch nextage_ros_bridge nextage_ros_bridge_real.launch    (NEXTAGE OPEN)
By default NXO is accessible by hostname nextage, and it's already set in nextage_ros_bridge_real.launch. If the hostname of QNX is different, set it explicitly:
$ roslaunch hironx_ros_bridge hironx_ros_bridge_real.launch nameserver:=%HOSTNAME%   (Hironx)

$ roslaunch nextage_ros_bridge nextage_ros_bridge_real.launch nameserver:=%HOSTNAME%   (NEXTAGE OPEN)
This program should remain running while you operate the robot from the program.
Do the simplest moves
![]() On another terminal, start Nextage command line interface, and do calibration.
On another terminal, start Nextage command line interface, and do calibration.
CAUTION-1 These commands move the robot arms.
CAUTION-2 Notice the backquote `, not a single quote or anything else.
Connect the operation command interface
If the hostname is different from default, you can change it with --host option.
$ ipython -i `rospack find hironx_ros_bridge`/scripts/hironx.py -- --host hiro      (Hironx)

$ ipython -i `rospack find nextage_ros_bridge`/script/nextage.py -- --host nextage    (NEXTAGE OPEN)
:
(many connection messages)
:
[hrpsys.py] initialized successfully
This command opens up the ipython terminal. If you don't see the initialized successfully line in the last several lines, something went wrong.
Calibration
On the ipython terminal you just opened in the previous section, run:
In [1]: robot.checkEncoders()
With this command, the arms will move,
FROM: 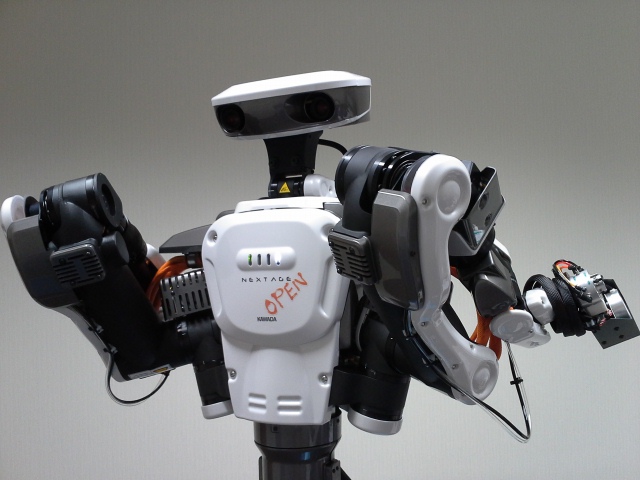
TO: 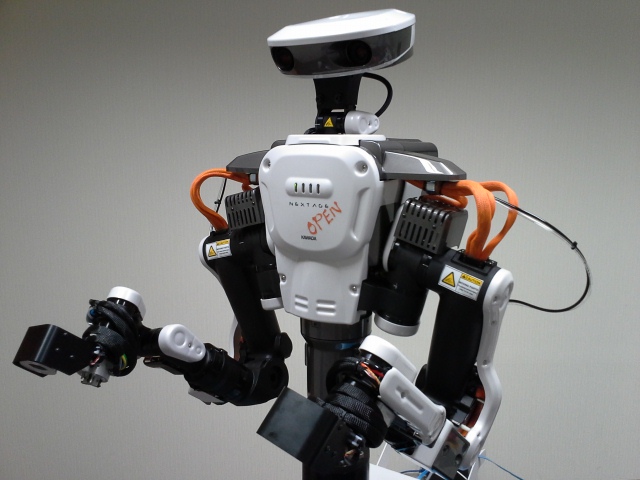
![]() Go to init pose.
Go to init pose.
In [2]: robot.goInitial()
By running this, arms go to this pose, which we often call init pose.

![]() Move right arm now.
Move right arm now.
In [3]: robot.setTargetPoseRelative('rarm', 'RARM_JOINT5', dz=0.05, tm=5)This command moves the right hand 5cm up from the current position in 5 seconds, maintaining the same orientation.
Run sample codes
Run the Delivery Inspection script
Open one more terminal (this should be at least 3rd terminal opened), then open ipython again:
$ ipython -i `rospack find hironx_ros_bridge`/scripts/acceptancetest_hironx.py -- --host %HOSTNAME%
Then on ipython command line, run the sample that does TODO explain.
 The following command runs these tasks via hrpsys interface:
 IN [1]: acceptance.run_tests_rtm()
You can also run task-by-task:IN [1]: acceptance.run_tests_rtm(do_wait_input=True)
NOTE: If you're using hironx_ros_bridge version older than 1.0.20 (check by command $ rosversion hironx_ros_bridge), name of the command is different as following:
$ ipython -i `rospack find hironx_ros_bridge`/test/acceptancetest_hironx.py -- --host %HOSTNAME%

IN [1]: acceptance_test.run_tests_hrpsys()
 The following command runs these tasks via ROS interface:
 IN [1]: acceptance.run_tests_ros()
When you're done with work on ipython, press Ctrl-d to escape its command line.
More samples
TODO add code from hironx_tutorial too as a more task-oriented example
At the end of the day
When you're done with the work:
 Tuck the arm, turn off the servo. On ipython terminal:
 IN [4]: robot.goOffPose()
Arms should now tucked like the pose that we saw earlier: To turn on the servo again, see the tutorial for operations.
 - Close all the program you started. You can simply close all terminals you opened along with this guide.
Shutdown QNX by using NextageOpenSupervisor tool that you should be able to find on the Desktop on Ubuntu.
Shutdown Ubuntu by $ sudo shutdown now.
You may keep the computers on even during your absense; follow the manufacturer's instruction.
Next up
Please also go through other tutorials; each session helps you to familliarize yourself with Hiro / NXO, both of which are not pure-ROS robot.


