| Note: This tutorial assumes that you have completed the previous tutorials: Software Installation, Hardware Setup. |
| |
Quick demo: empty map navigation
Description: Quick setup to navigate with your Tangobot in an empty map.Keywords: Tango, Navigation
Tutorial Level: BEGINNER
Overview
After completing hardware and software setup, you are now ready for a quick demo. This will show you how to send navigation goals to the Tangobot in an empty global map. Tangobot will use a Laser Scan provided by the device's sensors to identify and avoid obstacles.
A client application is required to send goals to the robot and visualize it. There are two options for this: using a Linux computer with RViz, or a second Android phone using Map Nav application. If you choose the Android client, skip the desktop instructions.
Desktop instructions
1. Using the same terminal, source your environment. Assuming you used the directories specified in the previous tutorial:
source ~/tangobot_ws/devel/setup.bash
2. Setup your network. Open another terminal and run
export ROS_IP=YOUR_COMPUTER_IP
You can check your local IP address by running ifconfig in a terminal (check for local "inet addr", starting with 10, 169, 172 or 192).
3. Finally, run the demo launchfile from the same terminal:
roslaunch tangobot_desktop tangobot_demo_visualizer.launch
You should now see RVIZ open with an empty image.
Tango-enabled Device Instructions
Assuming you already have the hardware connected as indicated before, start the Tangobot application on your device. If it is the first time you run it, you should see a Settings screen where you can write the ROS Master's IP address, or choose to run it in the device.
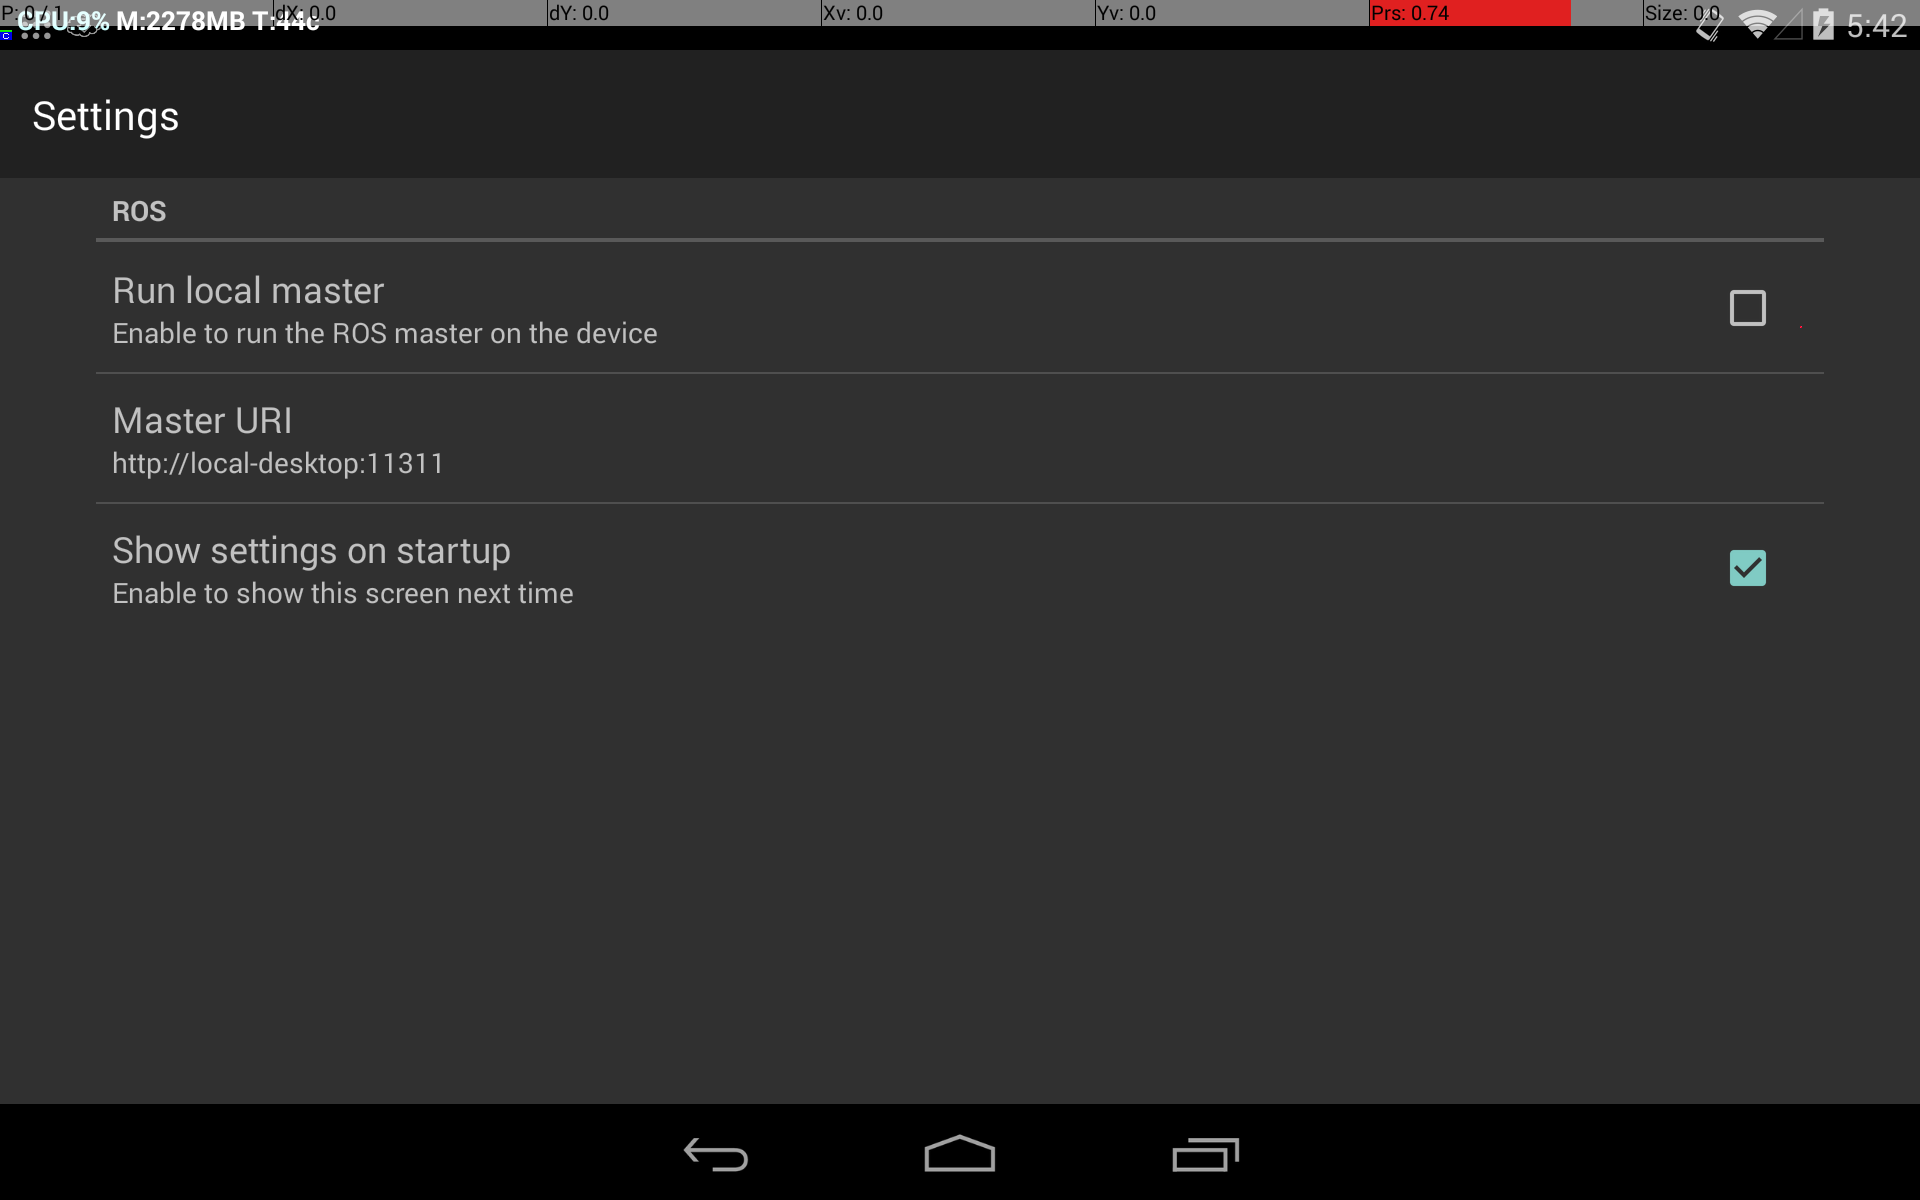
1. If you are using a desktop with RViz, write your desktop's IP (which is running ROS Master). Set the Master IP address with port 11311 (e.g: "http://YOUR_IP:11311"). 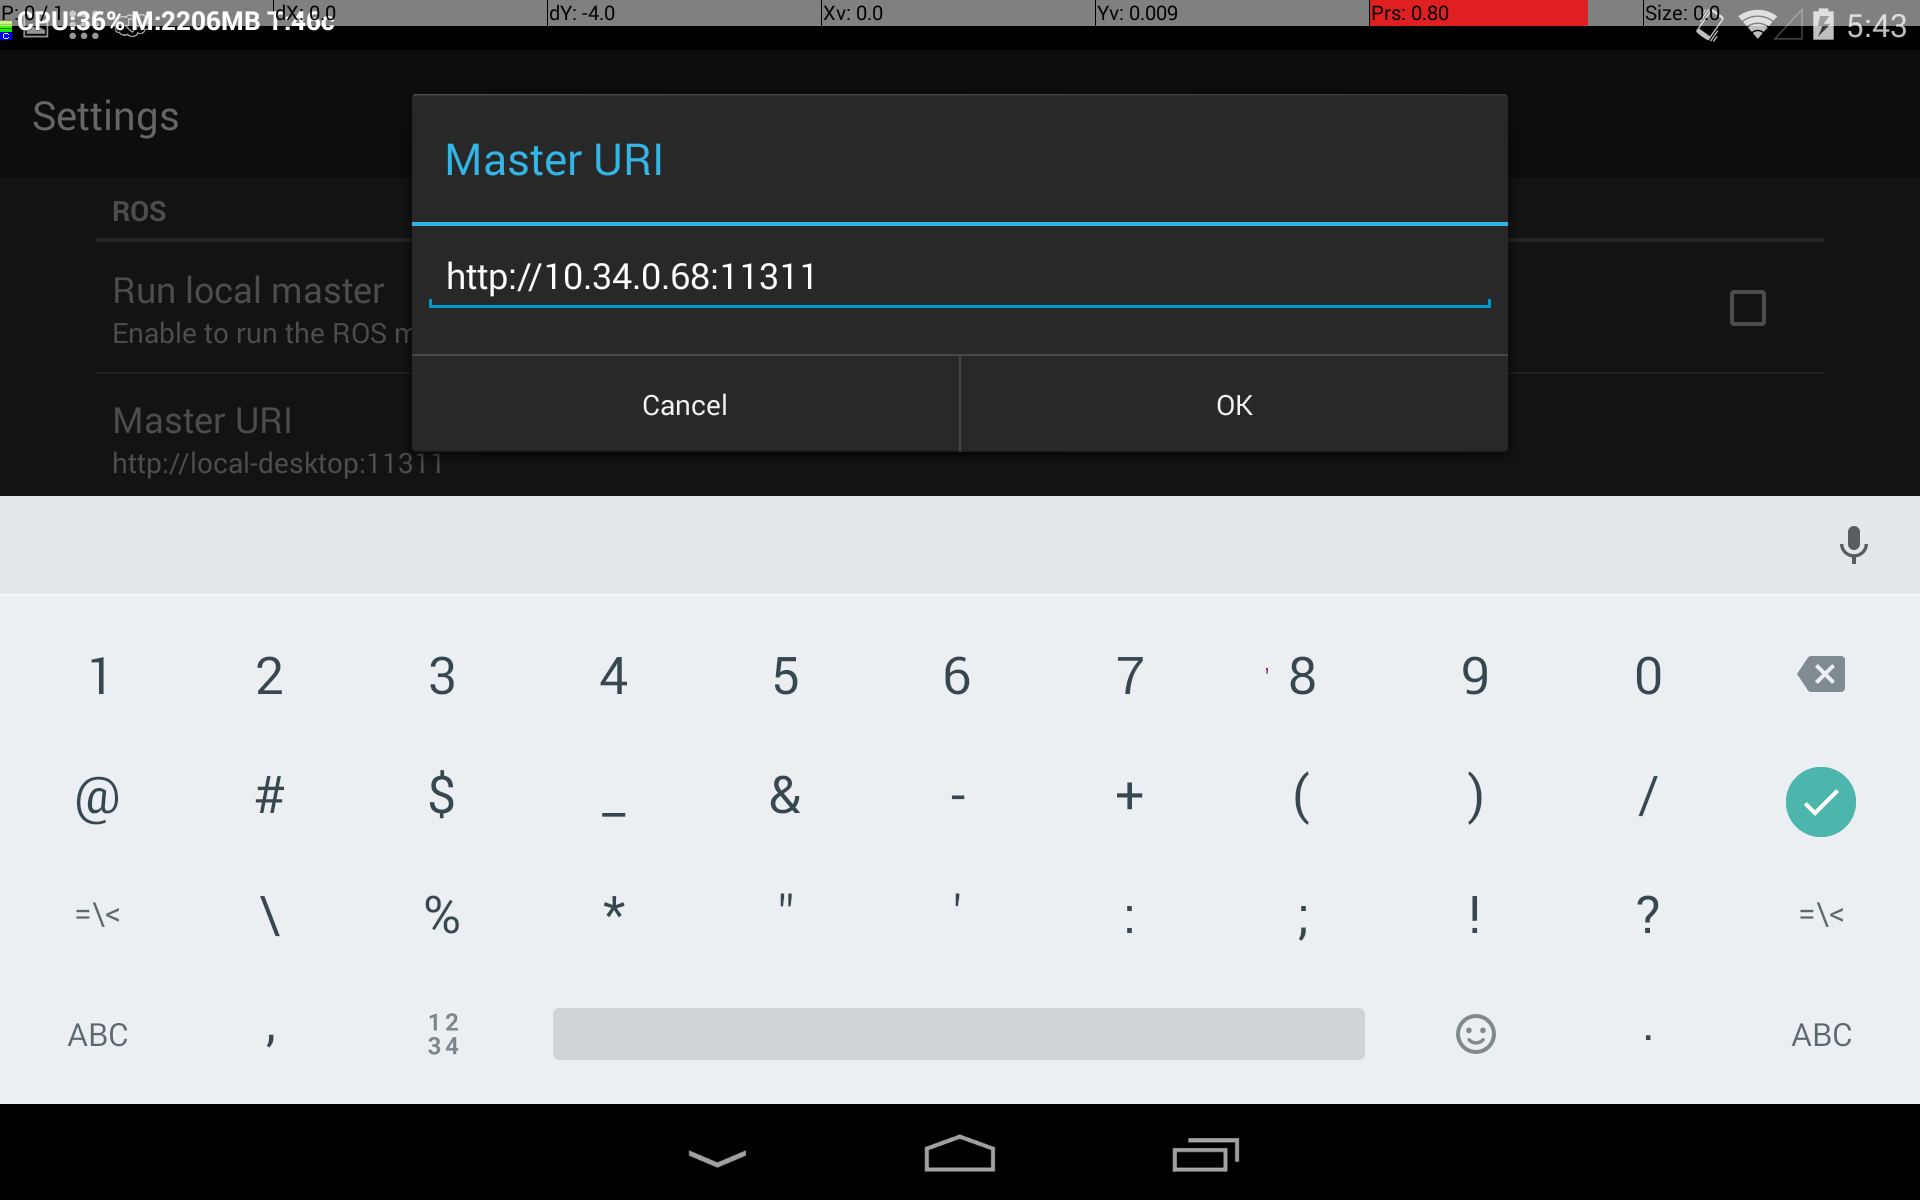 If you are using an Android device as a visualizer, check "Run Master on this device" option.
 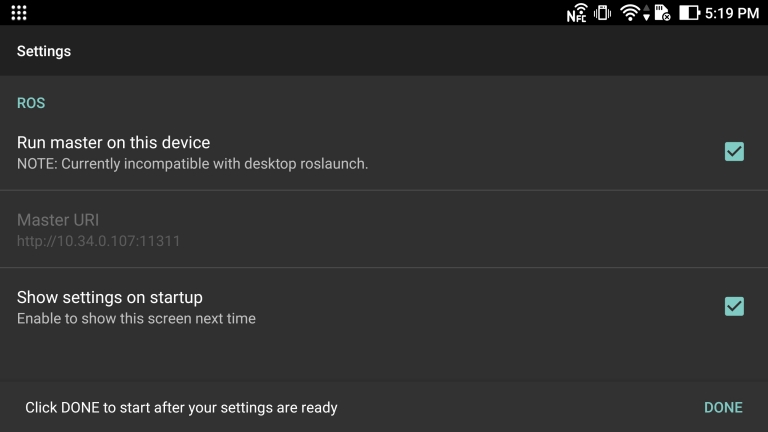 Then, press the "Back" button or "Done" in the snackbar at the bottom of the screen.
2. You will be prompted to grant USB access to the application. Once you accept, the application will start and you will hear a sound coming from the robot base.
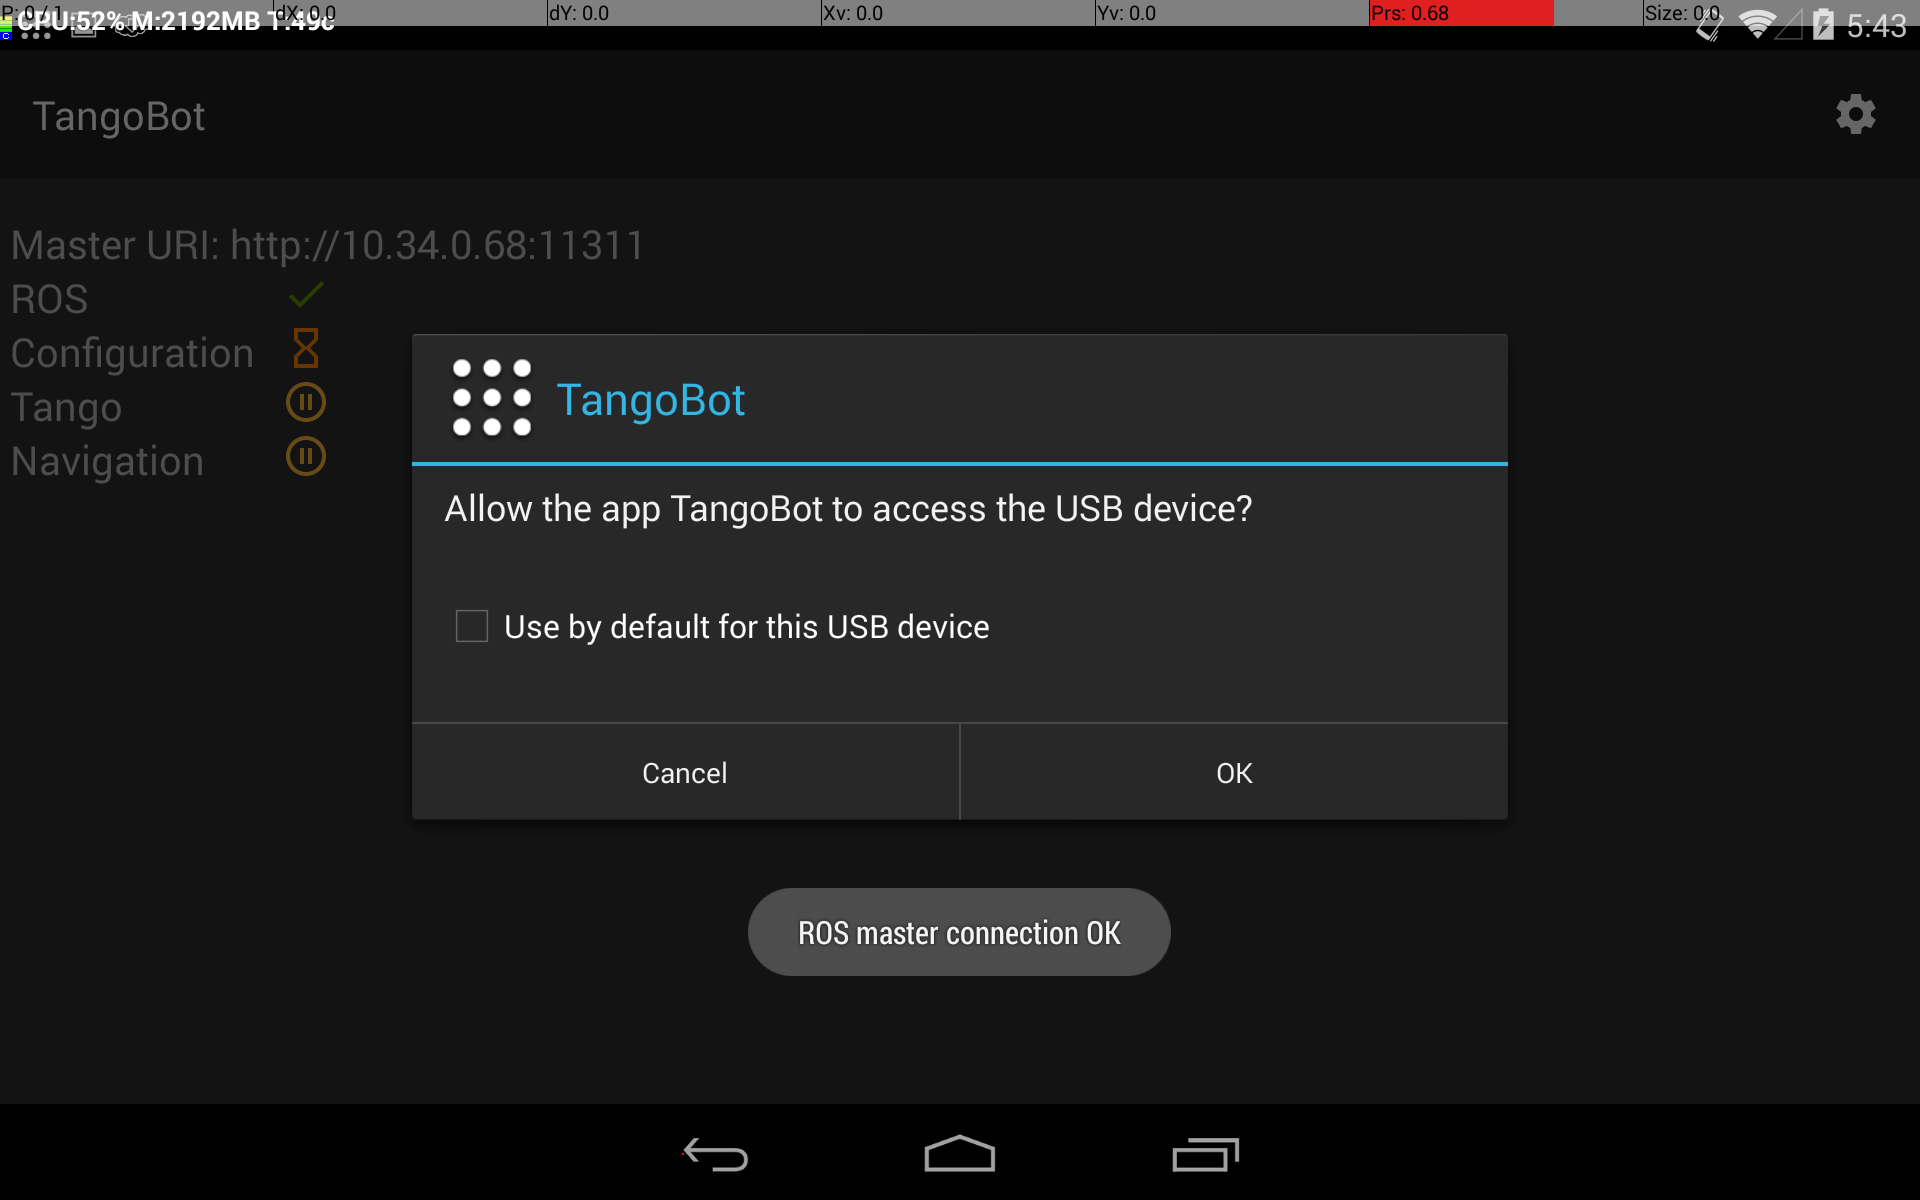
USB Permissions are not sticky
Note that even if you check the "Use by default for this USB device" checkbox, you will be prompted for this on every use of the application. This is a known issue.
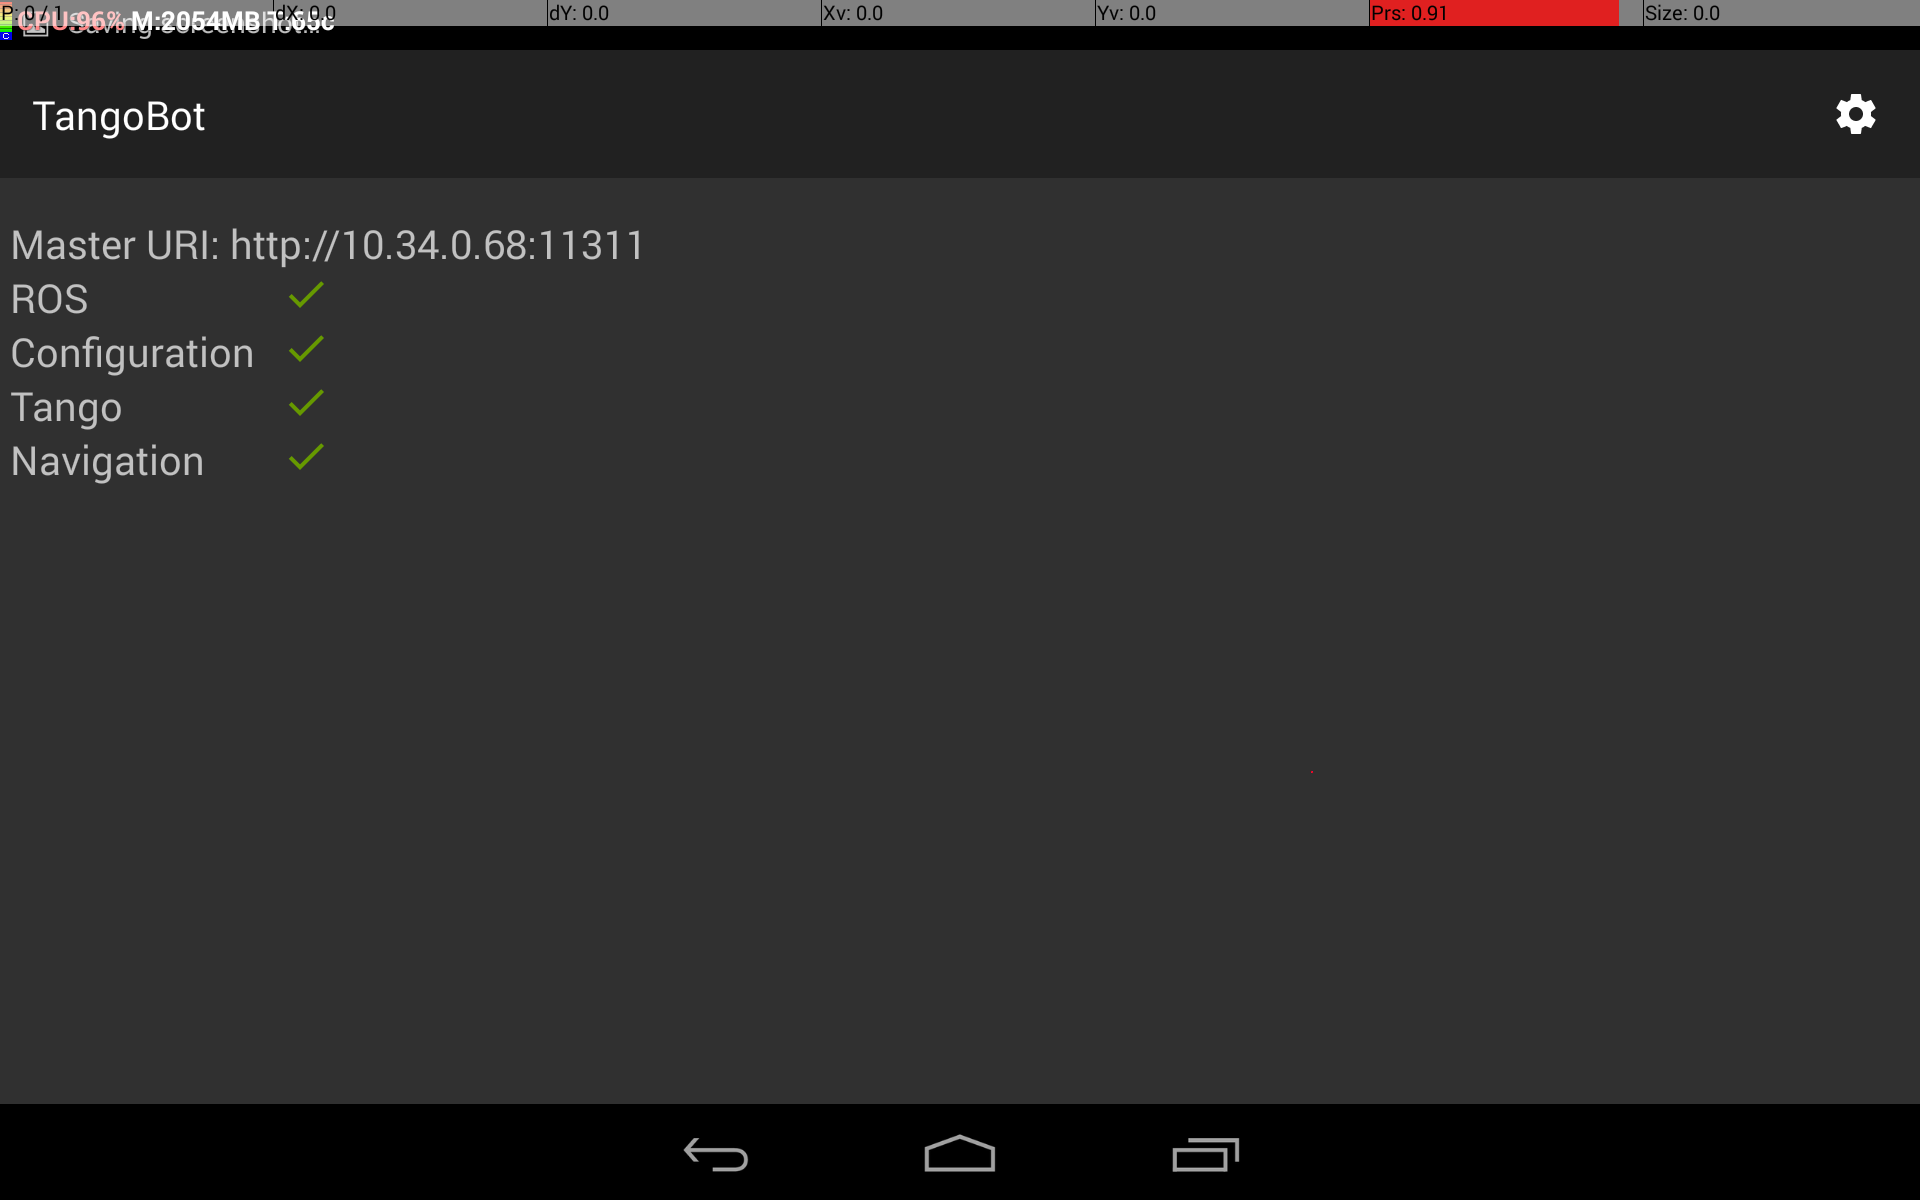
3. If you are using a desktop computer, you are ready! You will now see the robot in the middle of the empty map in the visualizer. It will be ready to accept goal poses; you can use the "2D Nav goal" button for that purpose.
Note: take into account that for this demo, the robot will be navigating without a map. Each square in the grid represents one square meter.
Android client instructions
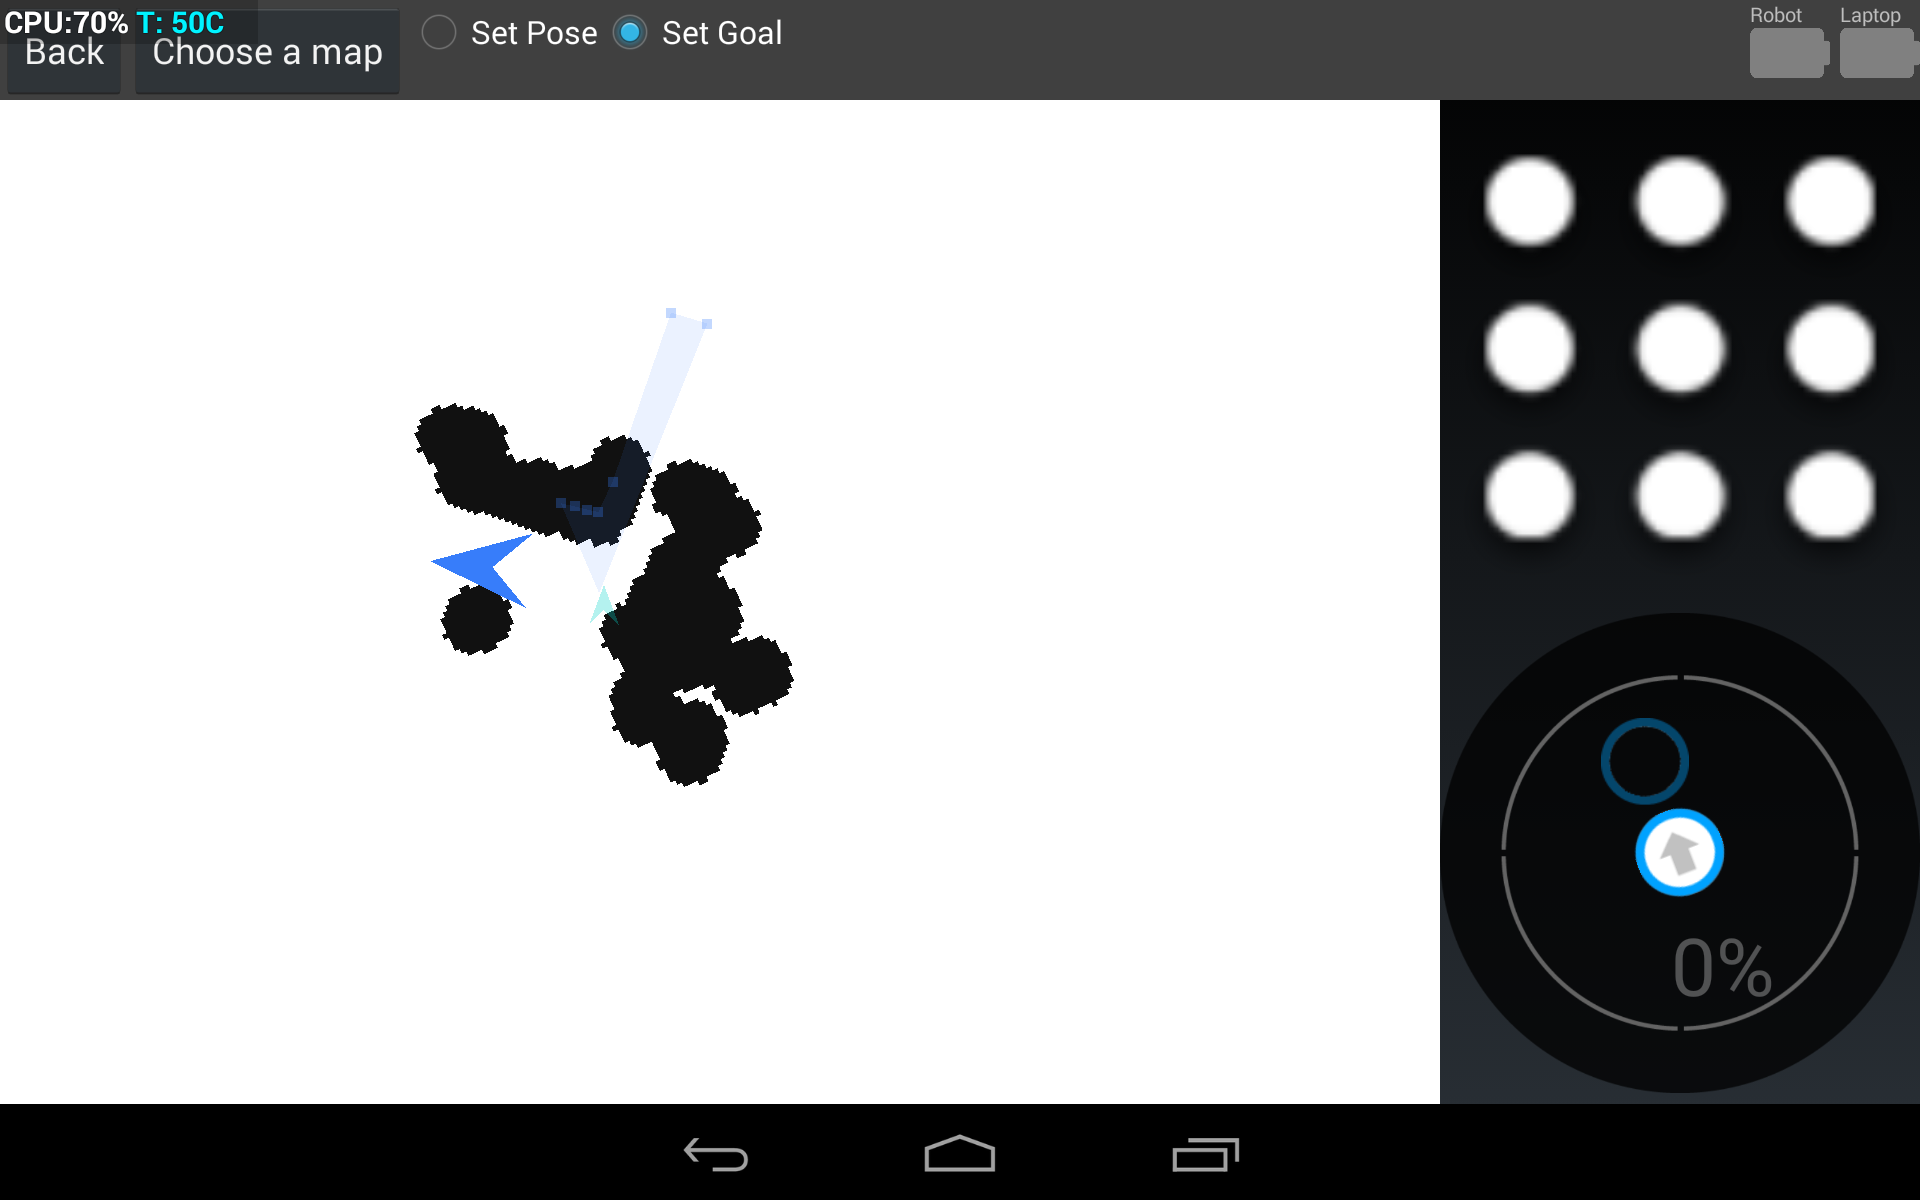
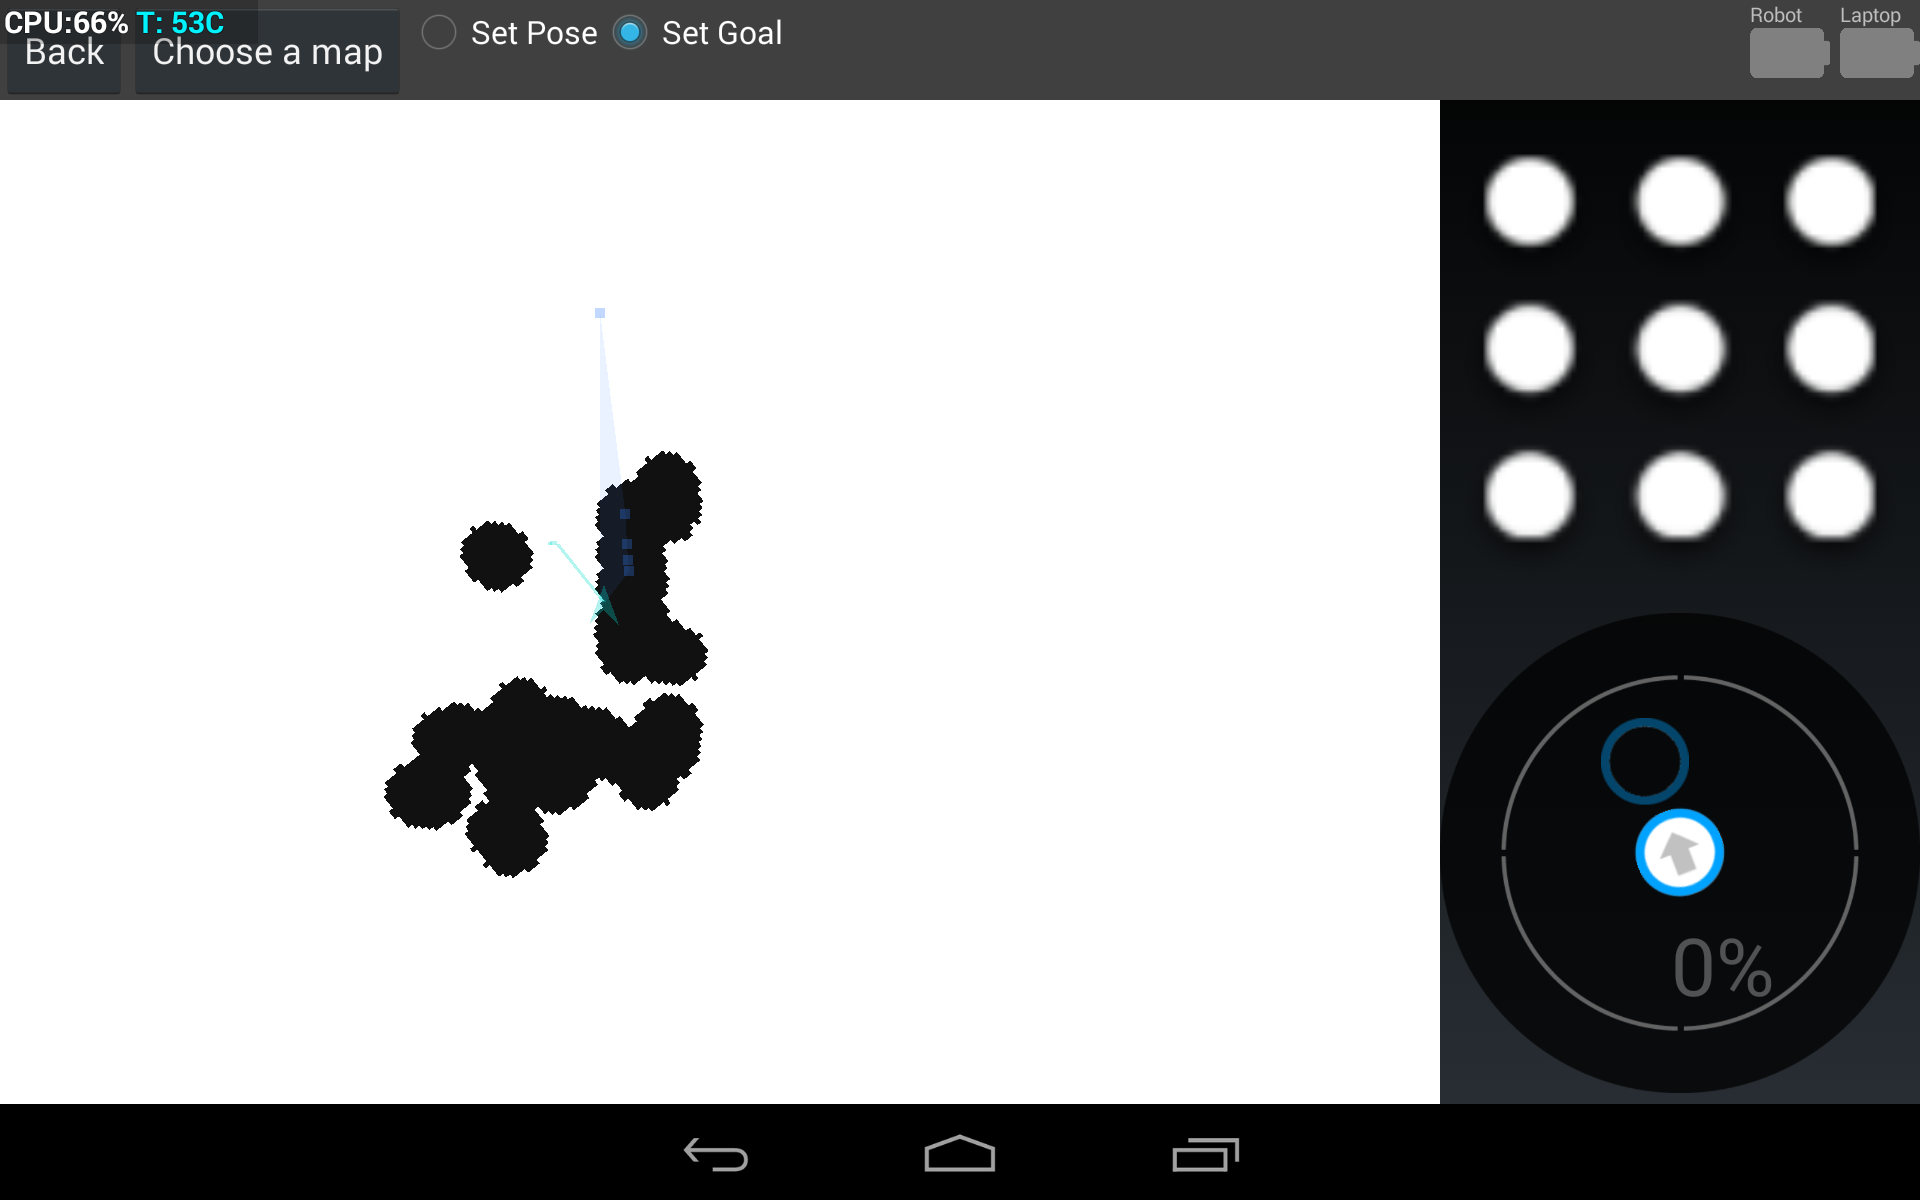
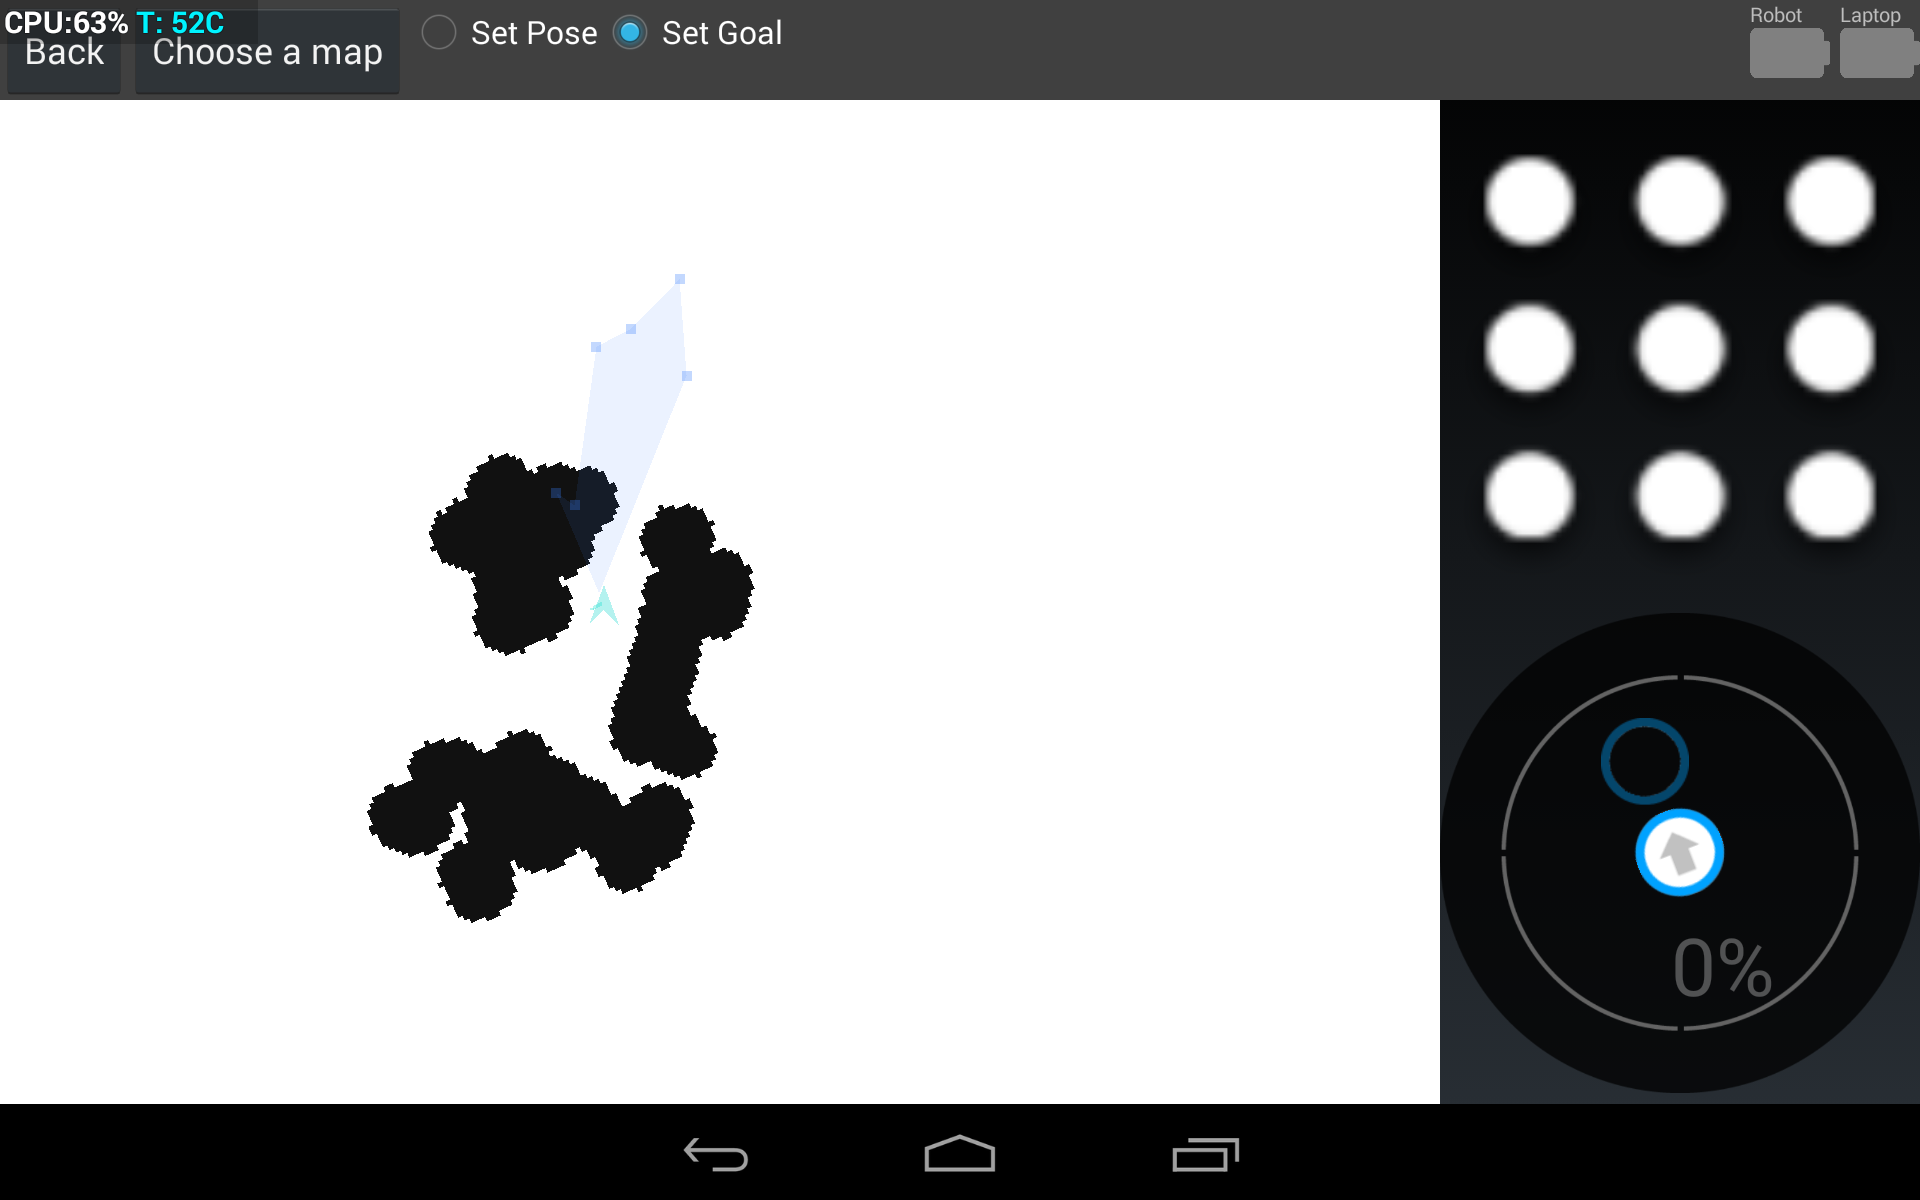
Run the installed "Map Nav" application in your second Android device. Write the IP address of your Tango device (you should be able to see it in the running Tangobot application). Press "Connect" button. You should now see a 2D view of the robot and it's obstacles in the screen. Make a long tap to send goals to the robot. The black stains in the map are obstacles found by the laser scan. Note that you can also teleoperate the robot by using the virtual joystick in the application.
What's next?
Go back to the Tangobot's main page.


